Friday, October 30, 2020

My First Ever Halloween Tour!! Halloween 2020


Hello, all!  I hope this post finds everyone in good health and safe!  


A couple of weeks ago, as I began taking photos for my upcoming Halloween post, something strange happened.  The shutter (not sure if this is the problem) of my camera stopped working on all of my lenses.  Horrible!!  The camera focuses and makes the sound as though it is about to shoot, but then, nothing happens.  I have had my Nikon a good ten years almost now; perhaps it's finally time for an upgrade, sighs.  


I don't know why, but recording on the camera seems to work.  That is why I am assuming something must be amiss with the shutter mechanism of the camera.  


Please forgive the grainy pictures I was able to capture with my Ipad, which is old as well...I do LOVE all things antique, but perhaps I've taken my love of antiquity too far, lol.  I hope you will, however, enjoy the virtual tour of my Halloween décor at the end of this post, as the video does it much better justice than my older-version Ipad.  


Ahhhh, Halloween.  That whimsical time of year I adore almost as much as Christmas.  Maybe it's reflecting upon the memories of youth.  I love it!!  I also am a self-proclaimed Halloween and horror film enthusiast, so most of the time, you will not find kitschy-cute Halloween here.  I adore the macabre aspect of the season (added bonus:  I allow myself to be a tiny bit lax on the housekeeping this time of the year only; the leaves pile up a small bit, dust settles on the furniture adding a bit of spooky charm...lol)!  


Here is a peak at the rooms and vignettes I have set up around the house.  Again, I would love for you to also take a look at the video I've included.  As I mentioned, it is a SCARY  tour, so if that is not your forte, you may not enjoy it.  I've also filmed it in a very Blair-Witch-esque way, so if you get motion sickness, you are hereby warned (translation: I'm not that great taking videos with the camera yet.  Cackles wickedly).


So!  Let's get to the tour!!

Front doors:


I always try to decorate my home for the holidays beginning with the front doors.  Here is a look at the wreaths I made for this year.
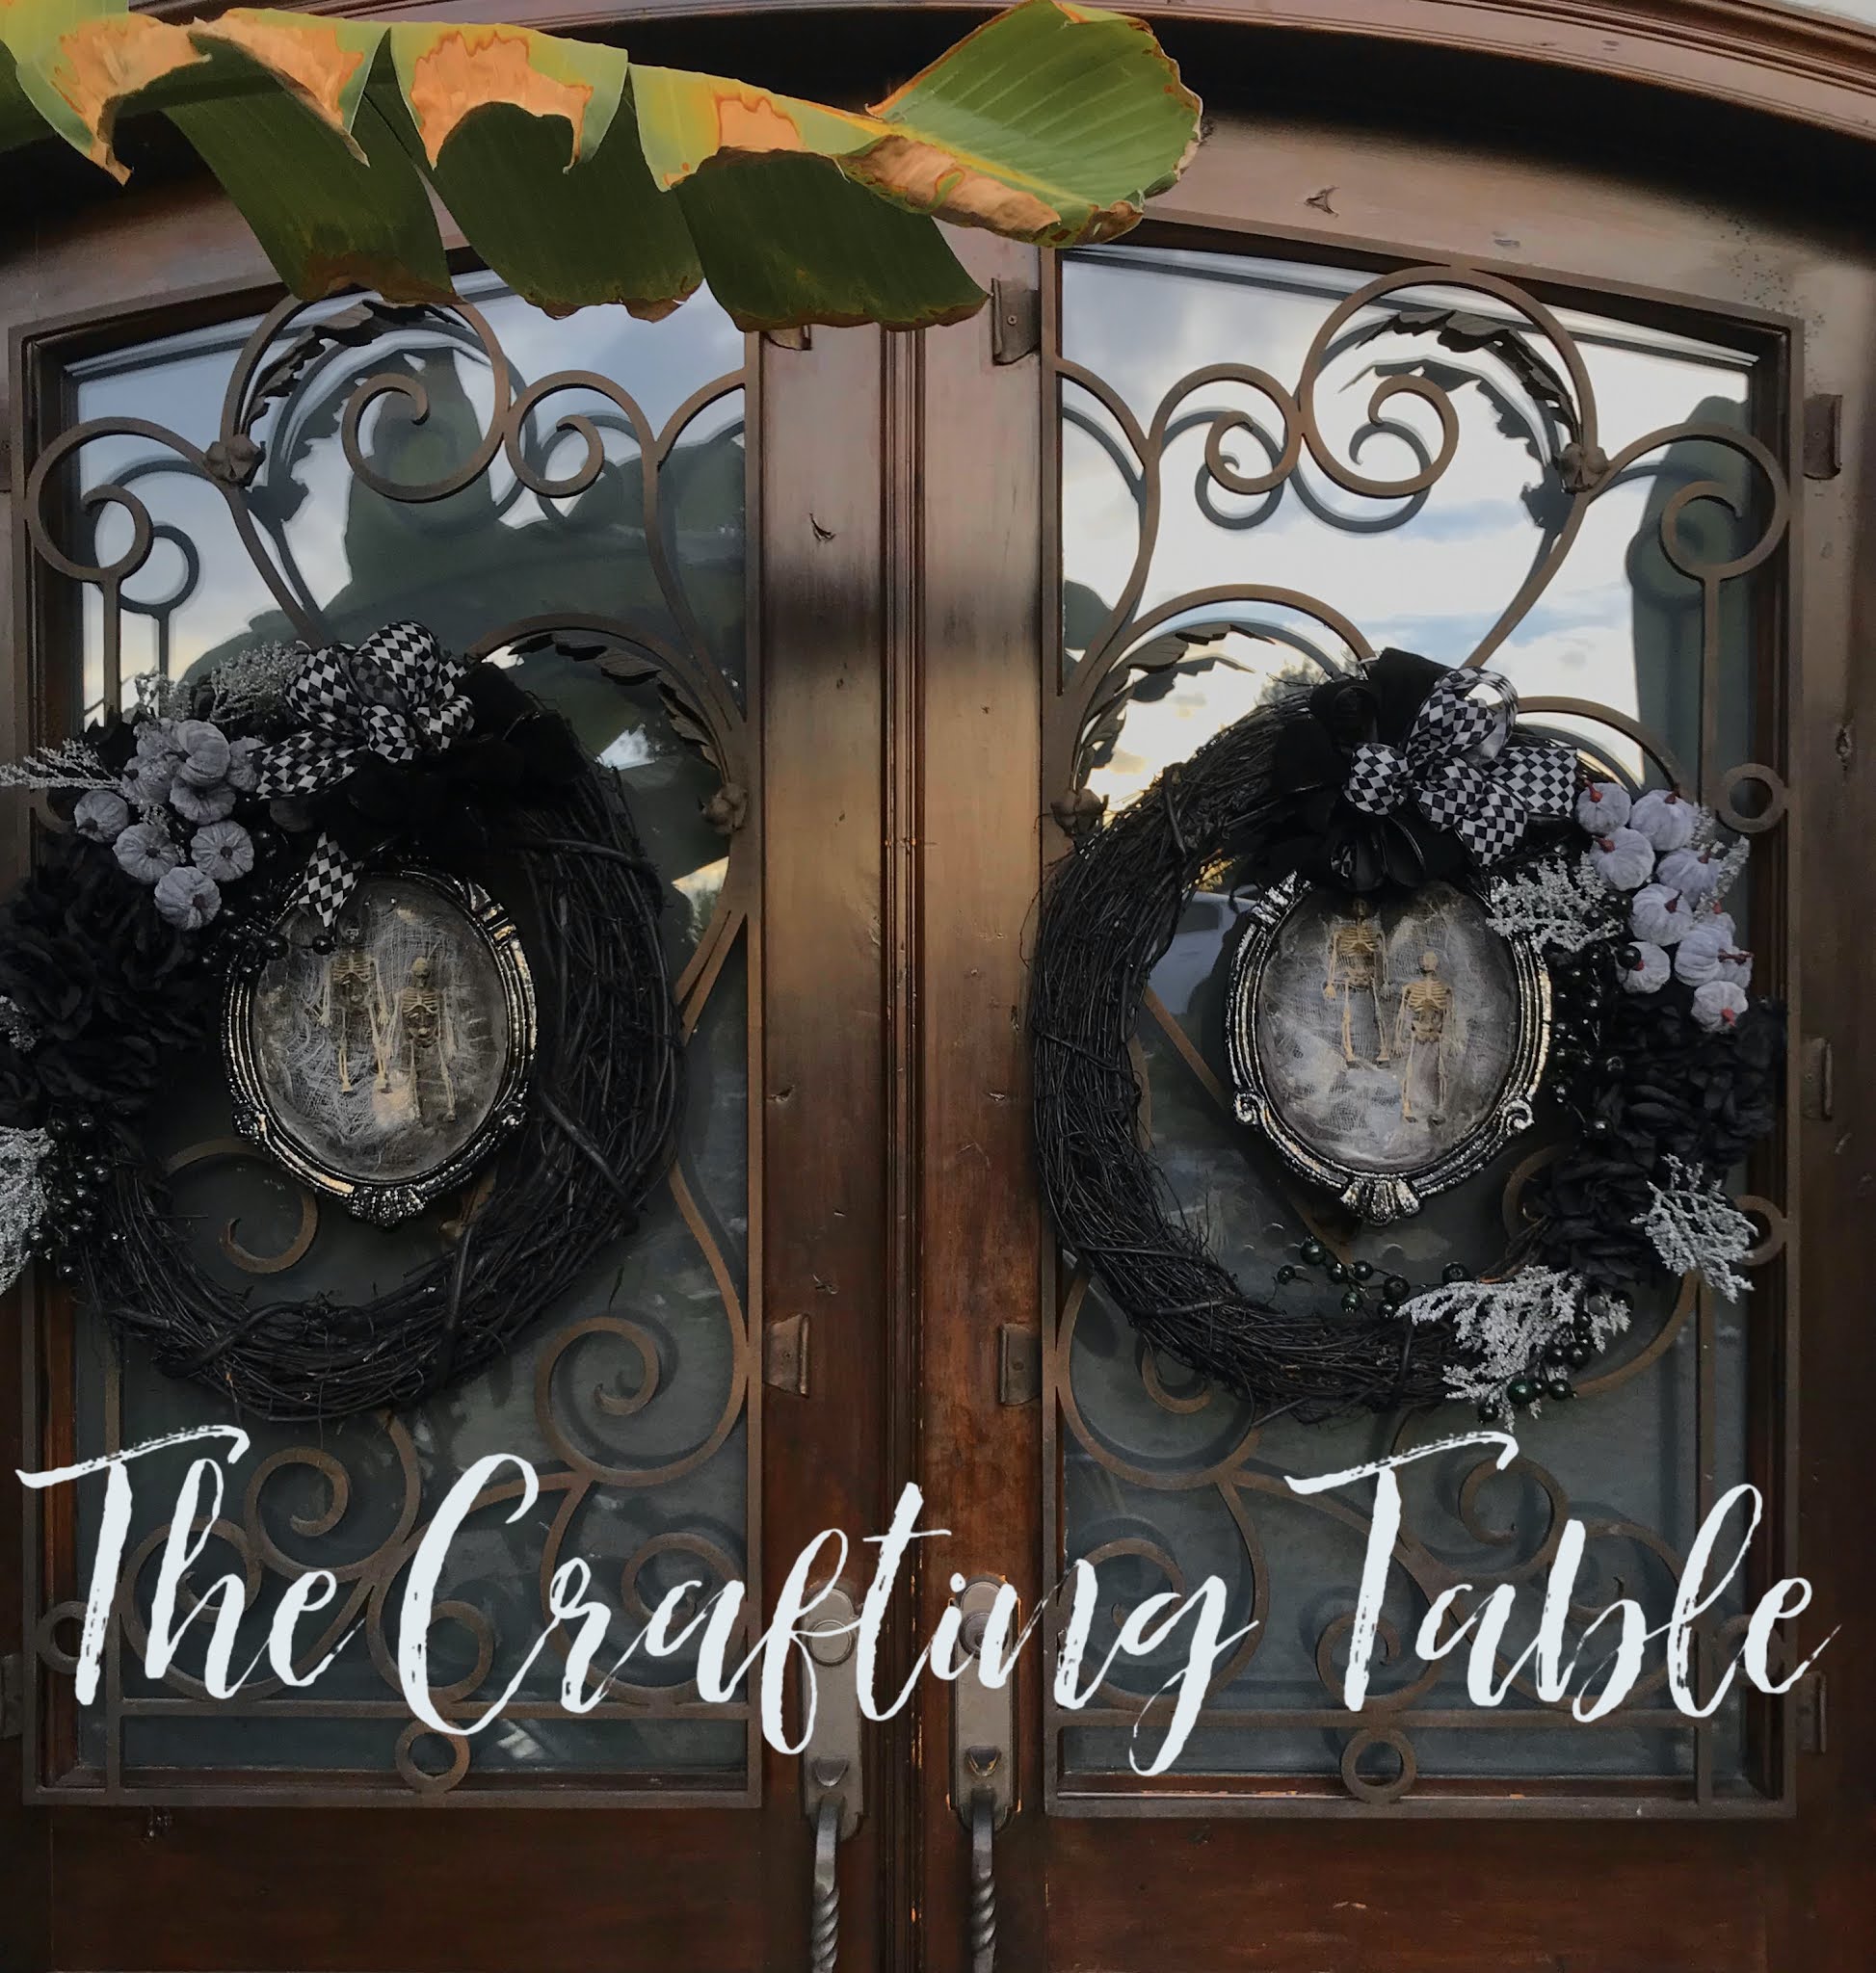


Right


Left


If you would like to see the tutorial of how I created these wreaths, you may visit the post on my blog The Crafting Table here.


Here is a shot of the matching garland. 


It is also handmade.  You may see how I put it together on this post from my blog The Crafting Table.


Flowers, flowers, flowers.


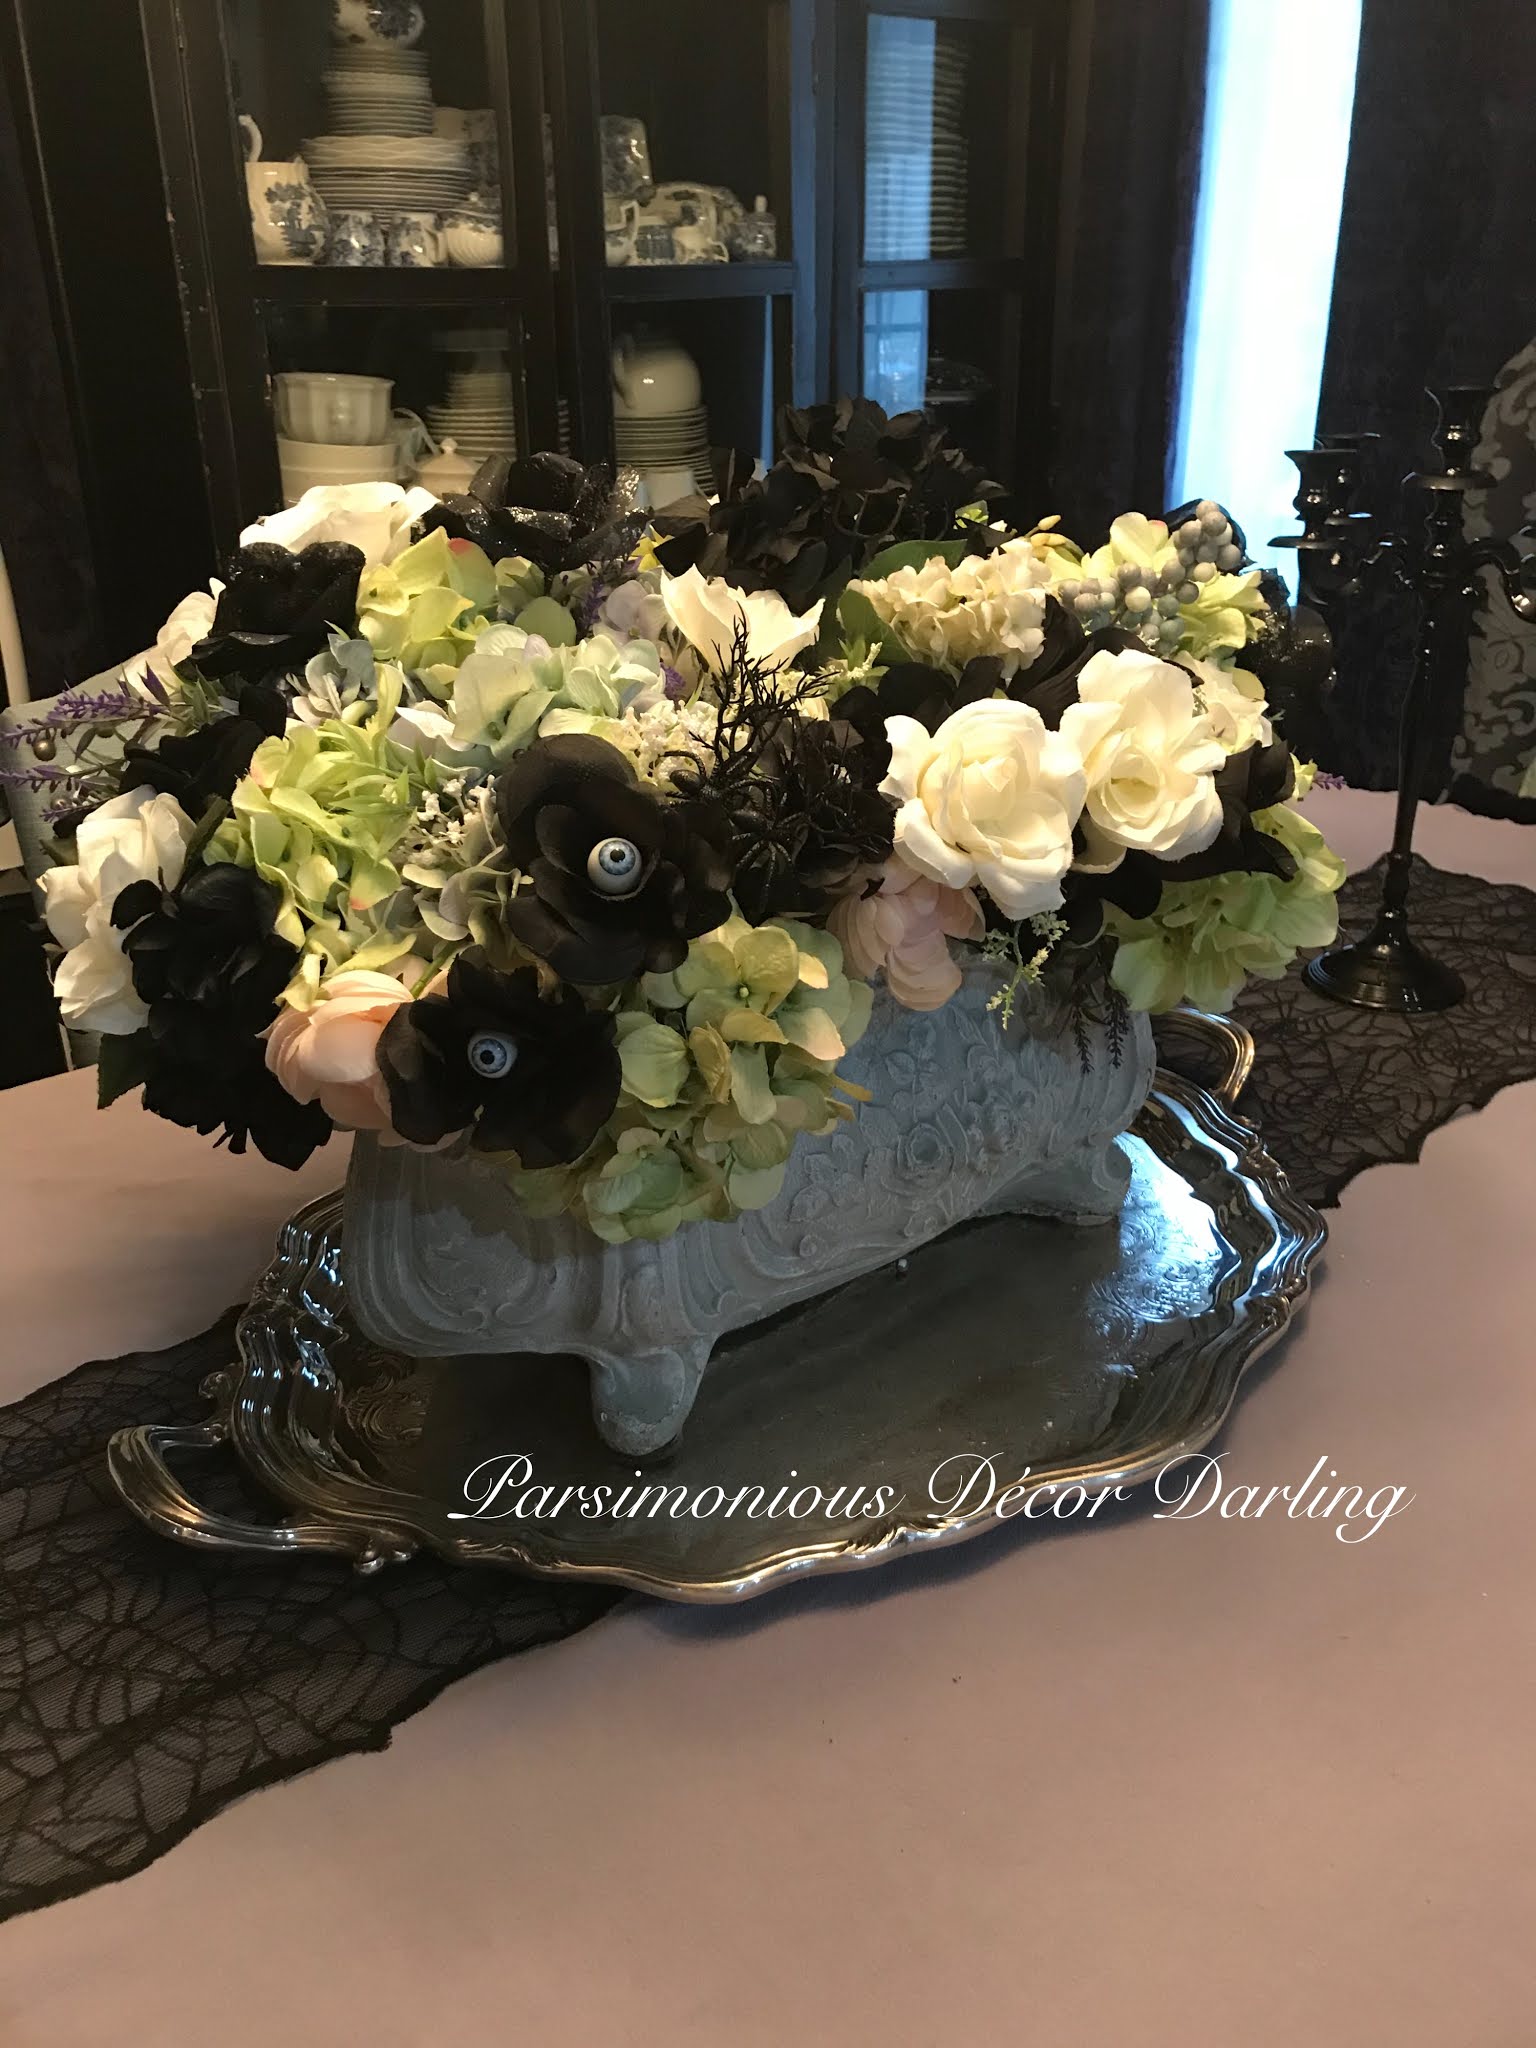
The easiest way for me to add an element of festive charm is to just add additional flowers to my existing arrangements to coordinate with whichever season it is.


Here is a shot of the arrangement in my foyer:


The globe I've placed in the center of the arrangement throws Tim Burton-inspired lighted figures that dance merrily once you turn the lights out.


I also added some spooky branch foliage to the wall mounted fireplace in the foyer.  Here is a closeup.


An arrangement on the antique table leading into the living area:


Dining room arrangement:


A couple of closeups:


Living room flowers in my antique Reed & Barton punch bowl.  I love this bowl to pieces!!  It is so versatile!! You can read all about my receiving and lovingly caring for this bowl in the archives here.


I try to have all the arrangements coordinate with each other.  Also in the foyer, I have adorned my bench with cute throw pillows:


and a haunted gentleman plays on.  


The art painting situated where music books normally sit is noise and motion activated, and plays Chopin's Marche Funebre added with flashing lights and wicked laughter.


On one side of the piano next to one of the lighted lanterns sits an automated motion-activated violin that plays Saint-Saens' Danse Macabre.


Also in the entryway, a mirror is decorated with a hairy friend (or FIEND),


and the chair


offers the weary a spot to sit and enjoy some haunted tele.  This television is motion and noise-activated, features ghoulish growls as it flashes and jumps about while the zombie inside demands to be set free.  You can see this in the video.


As you head towards the living room, you will see my Halloween tree.  It is adorned with spiders, black ornaments, skully floral stems, ribbon, and remote-controlled lanterns.


Sparkle!!!


The lanterns have the option of a multi-color constantly changing setting, or you may choose a specific color.  A look at the tree lit up:


Here is a closeup of the tree topper:


The tree is a nine foot Christmas tree I purchased for not a lot, and I simply spray painted it black.  A tree this scale and size (back when I purchased it) would have cost over $500 or more.  I think I paid around $145-$150, and that includes the paint!  I think Halloween trees have become much more popular nowadays, and you likely can find a nine foot black tree for around $250-$300.  I still made out like a bandit, lol.

On to the kitchen:


Bat chair covers over the barstools:


A centerpiece of creepy trees runs down the middle of the kitchen island in my very, very old dough trough:


On one side of the island, a menu promising disgusting delicacies


joins a birdcage full of cups and such ready for them or for a magnificently miserable mourning tea.


On the other side of the island along with poison bottles and creepy art is a witches’ recipe book.


It’s also automated; it opens via a sound and motion sensor, and a witchy voice reads from the book.  So fun!!
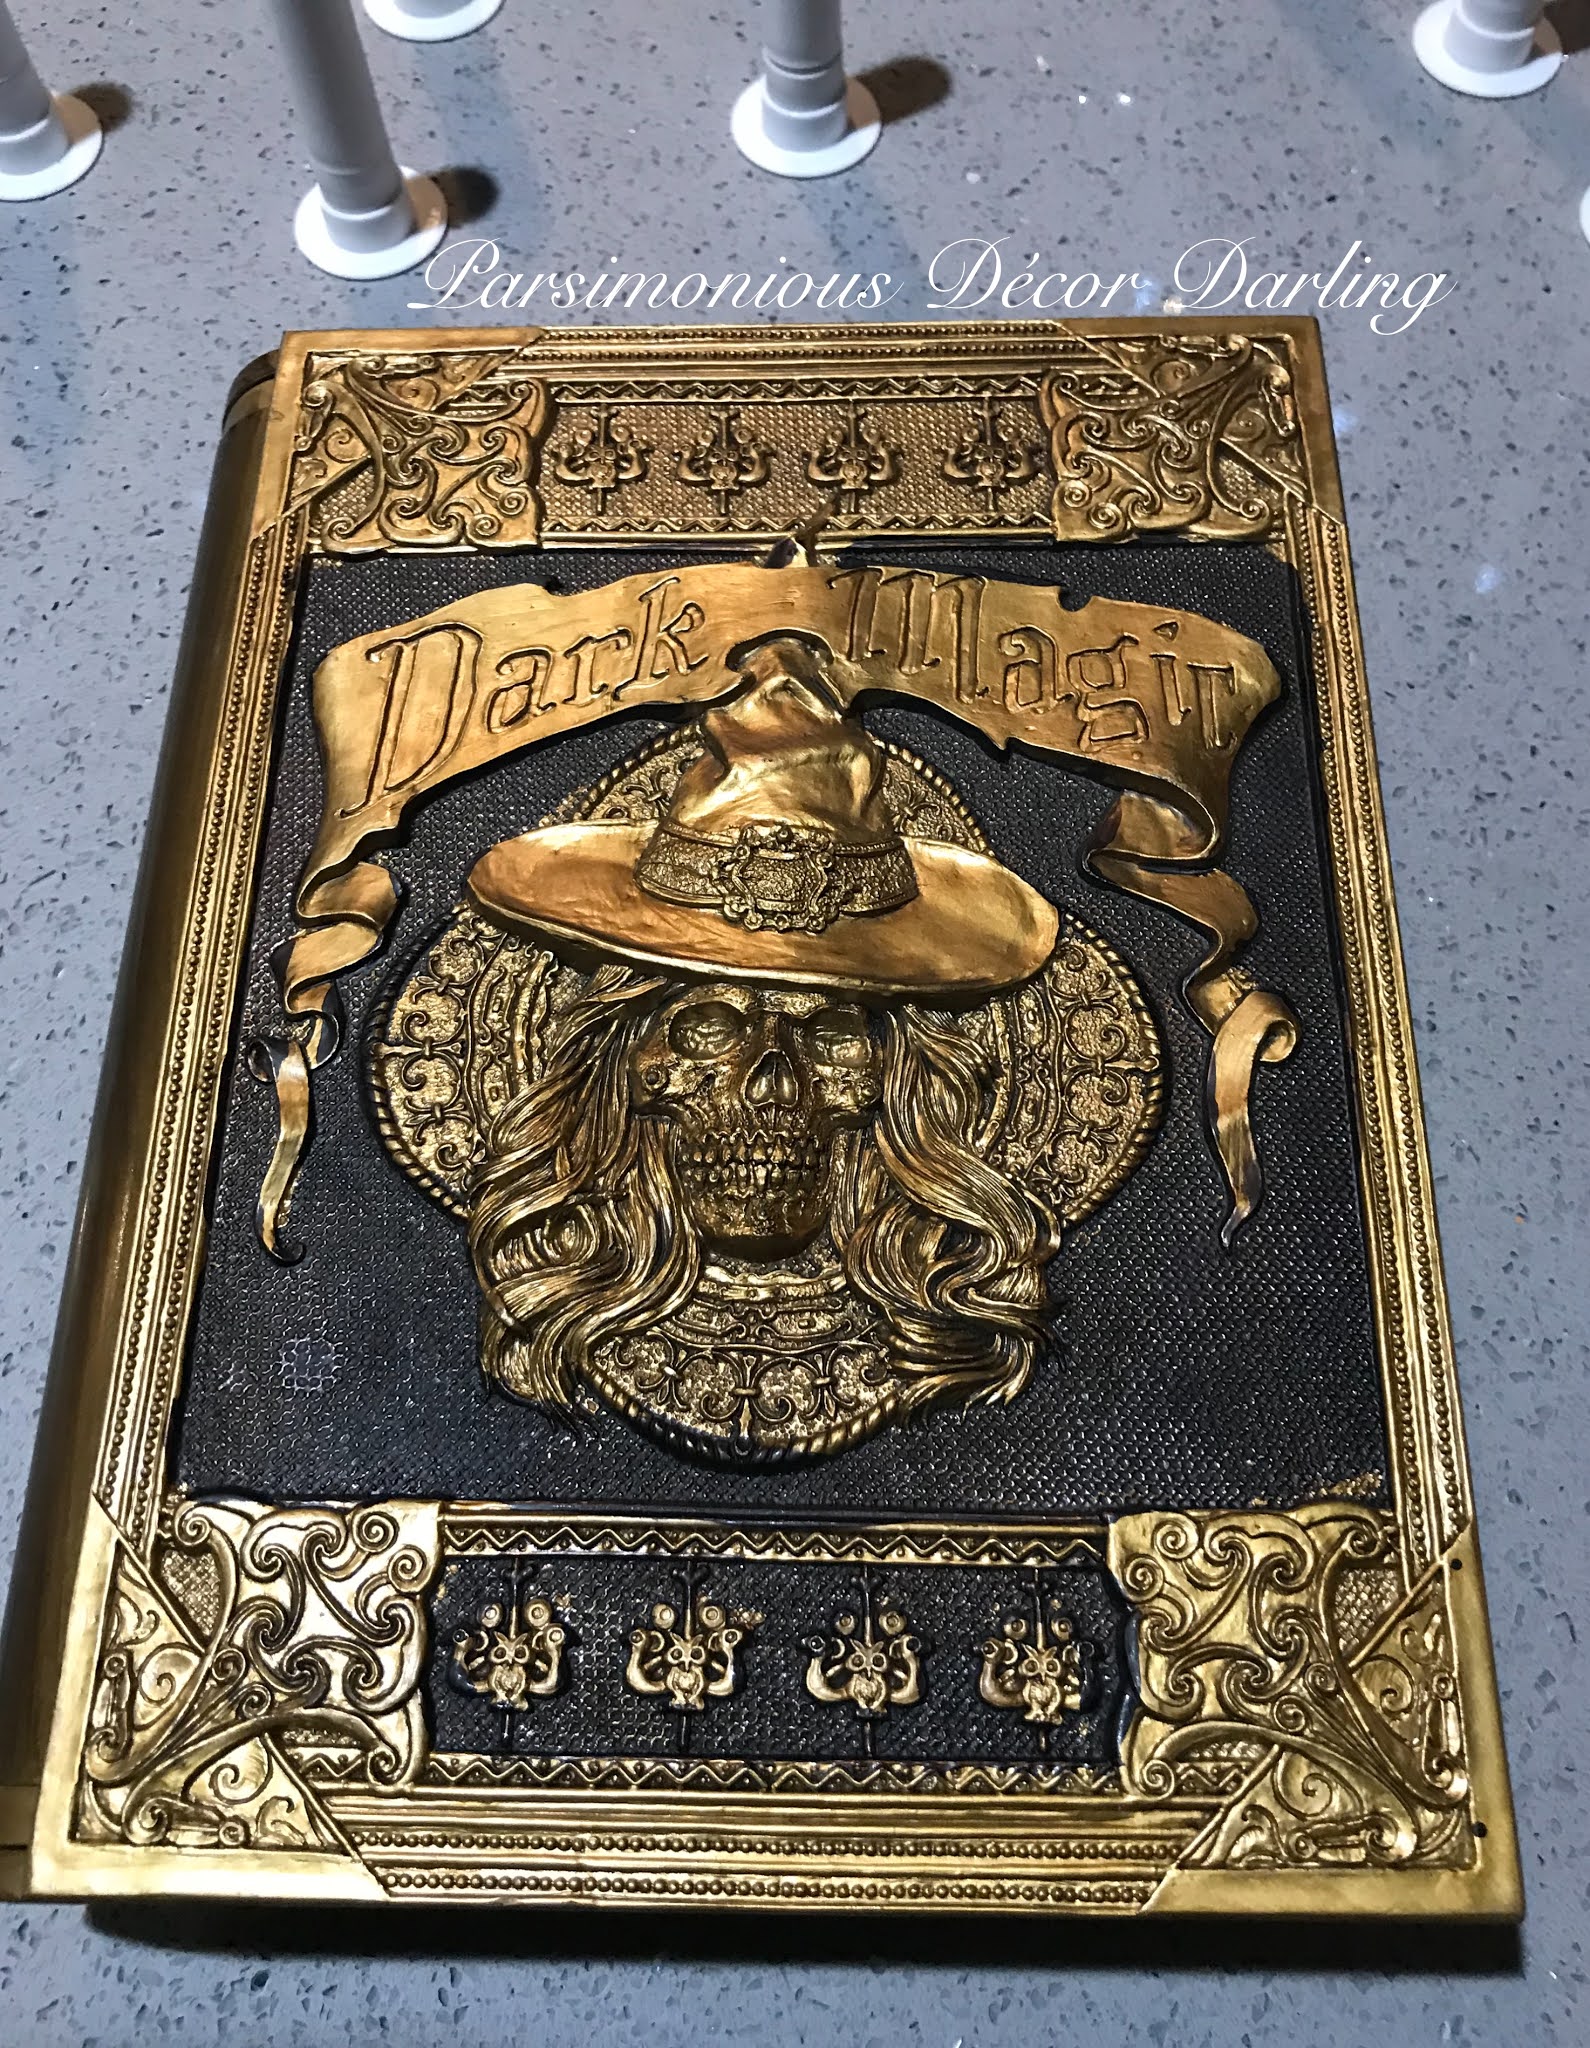


The painted art is also motion and noise animated, and flashes lights along with spooky laughter.


The pantry is guarded by this scary creature warning little ones not to come too near.  It is also motion-activated.


I've set up some very cool spooky vignettes in the other areas of the house:


In the hall, I've set up a pseudo-office full of haunted fun.  There's nothing spookier than antique books, candles, and a typewriter that is motion and sound activated that types on its own!!


The door leading to the laundry area pays homage to one of my favorite Halloween tunes, Every Day Is Halloween by the band Ministry.  I also love that this banner features characters from Tim Burton's The Nightmare Before Christmas.  If you've been here before, you know that I am a huge fan of Burton's works!!  

In the laundry, Mr. Bones looks (or hangs) on.  Hello, there!


A fun skull taunts at the back door.


The back yard:


Remote-controlled candles in the chandelier and more candles in the fireplace all add to the ambiance of a spooktacular night!


A simple setting in the back yard features floral arrangement in a dark enamelware pitcher,


black and rose infused glass pumpkins, 


a pretty cake plate of black and blooming roses,


and an antique cup perfect for a wicked witch's brew.


From my Collection:

Enamelware pitcher, Mackenzie-Childs Flower Market Collection from Horchow/Neiman Marcus.
Glass pumpkins, Marshall's.
Cake plate, Grace's Teaware,  HomeGoods.
Teacup and saucer, Royal Albert Masquerade Collection, antique.

Remote-controlled candles, all, Amazon

All automated artwork, skull stems on the tree, ribbon on the tree, spiders and black floral stems, throw pillows, spooky trees in the kitchen, and piano lanterns came from The 99 Cent Store.  

Haunted telly, Target.  

Witch's spellbook and automated typewriter, Grandin Road.  

The animated violin came from Big Lots, as well as the path lights leading to the house (featured in the video).

The jumping spider at the front door (featured in the video) and dragon door knocker on the pantry both came from Spirit Halloween.

Remote-controlled lanterns on the tree, a lucky find at Savers a while back.


You may view take the video tour here:


I hope you have enjoyed a look at my 2020 Halloween decorations.  Have a Happy, safe, and FUN Halloween!!  Until next we meet,

-Y


If you enjoy this post, please visit the archives!  You may also visit my full profile to view my other blogs. Connect with me on my Facebook Page, Parsimonious Décor Darling.   You might like to visit my other blog hubs,

The Marvelous Maison, a lifestyle blog hub and 
Frugal Fab Fashionista, my fashion blog hub. 

Follow me on Pinterest!!  Please be sure to kindly follow the board guidelines!  Thank you!  

Thank you for stopping by! ❤


Sunday, August 30, 2020

Series: Setting the Scene for Year-Round Enjoyment. Part Two: Outdoor Furniture Finds

Hello Friends!

I hope this post finds you in good spirits!  Today, I hope you will join me as I discuss my adventures in outdoor furniture shopping.


I started updating the space in my backyard and I initially began with looking for the perfect dining set.  You can read more about that here.


Although I loved the little bench I put in the area, it still looked a bit barren, so I decided I wanted something more substantial for the seating area.


When I began the process of choosing my outdoor seating, I knew I wanted something comfortable and modern, with clean lines and not too avant-garde.  

I considered quite a few ideas before finally settling.  Here are a few examples of the type of aesthetic I was interested in:


I really like the idea of this outdoor cabana from Horchow.  Doesn’t it look relaxing??  Calgon, take me away, lol.   See it here.


Über-modern, sleek, and I love it!!  From the Mika Collection by Rove.


Love the color palette of this collection from Wayfair.  You can view it here.


The clean lines of the Grid collection from Gloster are sublime.  Shop here.


Of course, when shopping online, one can get sucked into a vortex, and down the rabbit hole you tumble.  This statement is especially true for someone with design ADD like me, lol. Even though I really wanted a modern aesthetic, I also came across some fancies I could not ignore. A few whimsical options:


I just adore, adore this butterfly chair from Horchow.  Such a perfect garden chair!   View it here.


I love the color palette of this fun design by Mackenzie-Childs.   Fresh blue and white has always been a favorite of mine!  It is from the Indigo Villa Collection, available here from Horchow.


Speaking of fun, how adorbs is this snail garden table, also from Mackenzie-Childs??  See it at Horchow here.


In the end, I settled on this set from Living Spaces.  It is from their Pompeii collection. You can see it here.  


Here it is in the space.  I love the subtle grey tone of the wood, the clean lines, and the coordinating soft dove grey upholstery!  


I also added a small portable fire pit for those cooler Autumn evenings.  Fun!


I almost couldn't wait to christen the little guy with an official marshmallow roast!!  Please stay well, and until next we meet...


-Y


If you enjoy this post, please visit the archives!  You may also visit my full profile to view my other blogs. Connect with me on my Facebook Page, Parsimonious Décor Darling.   You might like to visit my other blog hubs,  

The Marvelous Maison, a lifestyle blog hub and 
Frugal Fab Fashionista, my fashion blog hub. 

Follow me on Pinterest!!  Please be sure to kindly follow the board guidelines, as it takes time and effort to find fabulous pins across the Internet and Pinterest!  Thank you!  

Thank you for stopping by! ❤


Tuesday, August 18, 2020

Easy DIY Charcuterie Board/Pizza Peel

Hello, Dear Friends!!

How are you all acclimating to a Summertime pandemic-wrought?  I hope you are faring well.  We have been trying to play it safe here, especially because Mr. Parsimonious works in the medical field.


I don't know why, but the Summer months often make me think of the Mediterranean countryside.  Perhaps it has to do with the fervent weather.  My palate also craves a lighter menu this time of year.  Two of my favorite things to eat this time of year are wood-fired pizzas and beautiful nibbles presented on a charcuterie board.

Charcuterie is the French art of preparing different types of meats that are often sold in a delicatessen.  A huge board for presenting these delightful noshes is a perfect addition any entertainer, epicurist, or chef-aspirant's paraphernalia, but the board can also be utilized as a board to slide pizzas into a fire-brick oven.

In today's post, I am sharing a simple tutorial of how I made an extra-large presentation board perfect for the dual uses of charcuterie presentation and as a pizza peel (paddle).  I hope you enjoy the post!


You will need a large plank of wood.  I chose a beautiful African Mahogany.  I really loved the gorgeous grain of the wood.  I bought my plank from the Home Depot.

I began by roughly sketching (very rough, lol!!) a drawing of my handle.  I wanted my board to be quite large, so I kept the wood at the 3-foot size as purchased and didn't cut any away, save for the handle.


I cut the template using a jigsaw, carefully following the lines.


Next, I cut out a hole that will be used for hanging the completed piece on a wall.  To cut out the hole, I drew an approximate area where I wanted it to land, and then


cut it out using a drill fitted with a Forstner wood-boring drill bit.


A closer look.


Next, I used an oscillating spindle sander to smooth out all those edges.  An oscillating sander works very well for sanding out curves.


Finally, I used a sheet (finishing) sander fitted with sandpaper of varying grits to complete the board, removing any flaws and/or remaining pencil marks.  I began with papers of coarser grits, continuing to decrease the roughness of the paper with each sanding succession until the final sanding, for which I used a very fine grit paper.  As you sand, be sure to sand in the same direction of the wood grain.

To seal the wood, I used a mineral oil I found at Ikea.  You can likely find cutting board wood oil at any hardware store, or even on Amazon.  Just be sure that it is a food-grade or food-safe oil.  You may also opt to add a layer of all-natural bees wax to the wood as well as an additional sealant.  The same rule applies; be sure it is food-safe!!


Just use a very clean, soft dry cloth and wipe the mineral oil on the board until all of the wood is covered.  The mineral oil will absorb into the wood and act as a barrier between the raw wood and your food.  It will also protect the wood.  Be sure to repeat this process after every few uses.

Completed board.

Handle Detail.


I can't wait to use it!!  Please stay tuned, I will be sharing some special treats soon!

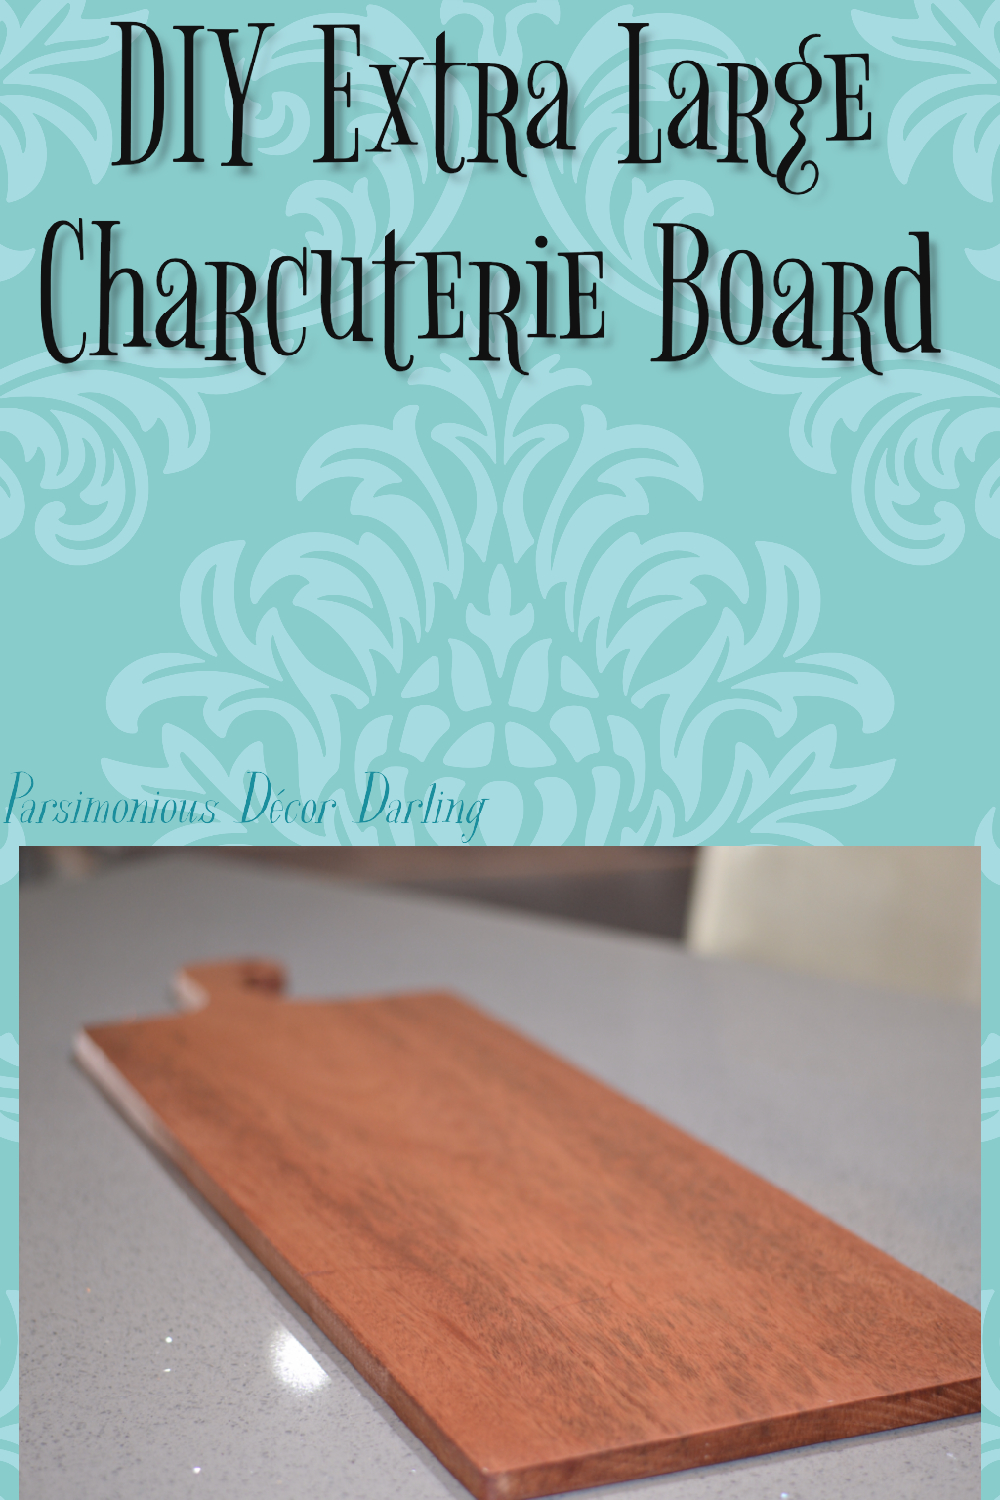
If you have enjoyed this tutorial, you may pin it here:

Or, if you prefer, here:


Until next we meet,

-Y


If you enjoy this post, please visit the archives!  You may also visit my full profile to view my other blogs. Connect with me on my Facebook Page, Parsimonious Décor Darling.   You might like to visit my other blog hubs,

The Marvelous Maison, a lifestyle blog hub and 
Frugal Fab Fashionista, my fashion blog hub. 

Follow me on Pinterest!!  Please be sure to kindly follow the board guidelines!  Thank you!  

Thank you for stopping by! ❤


Sunday, August 16, 2020

Set Your Table With Flair--Afternoon Tea Week in the Dog Days of Summer


Hello, Friends!

I don't know about you, but I need a little reprieve.  A little bit of a distraction.  I want to think of simpler, happier, (and definitely more care-free) times.  A few months ago, I shared on my Instagram a simple teatime among the spring flowers in my garden, but I never wrote about it.  Today marks the last day of Afternoon Tea Week, so I thought this would be a perfect time to do so!  I so hope you enjoy.

Back in Spring, when the weather was wonderfully fair, my little blossoms were all a-bloom; their fragrant scent danced on the light breeze.  It was a perfect time to be outdoors and enjoy a simple teatime.

I used almost no color in the setting, which, quite honestly, I questioned then but can absolutely appreciate now because of the soothing feeling it imbues as I look back upon these photos.


A pretty topper with delicate periwinkle petals and soft greens, white, and muted beiges was the foundation of the setting.  A closeup of the detail. 


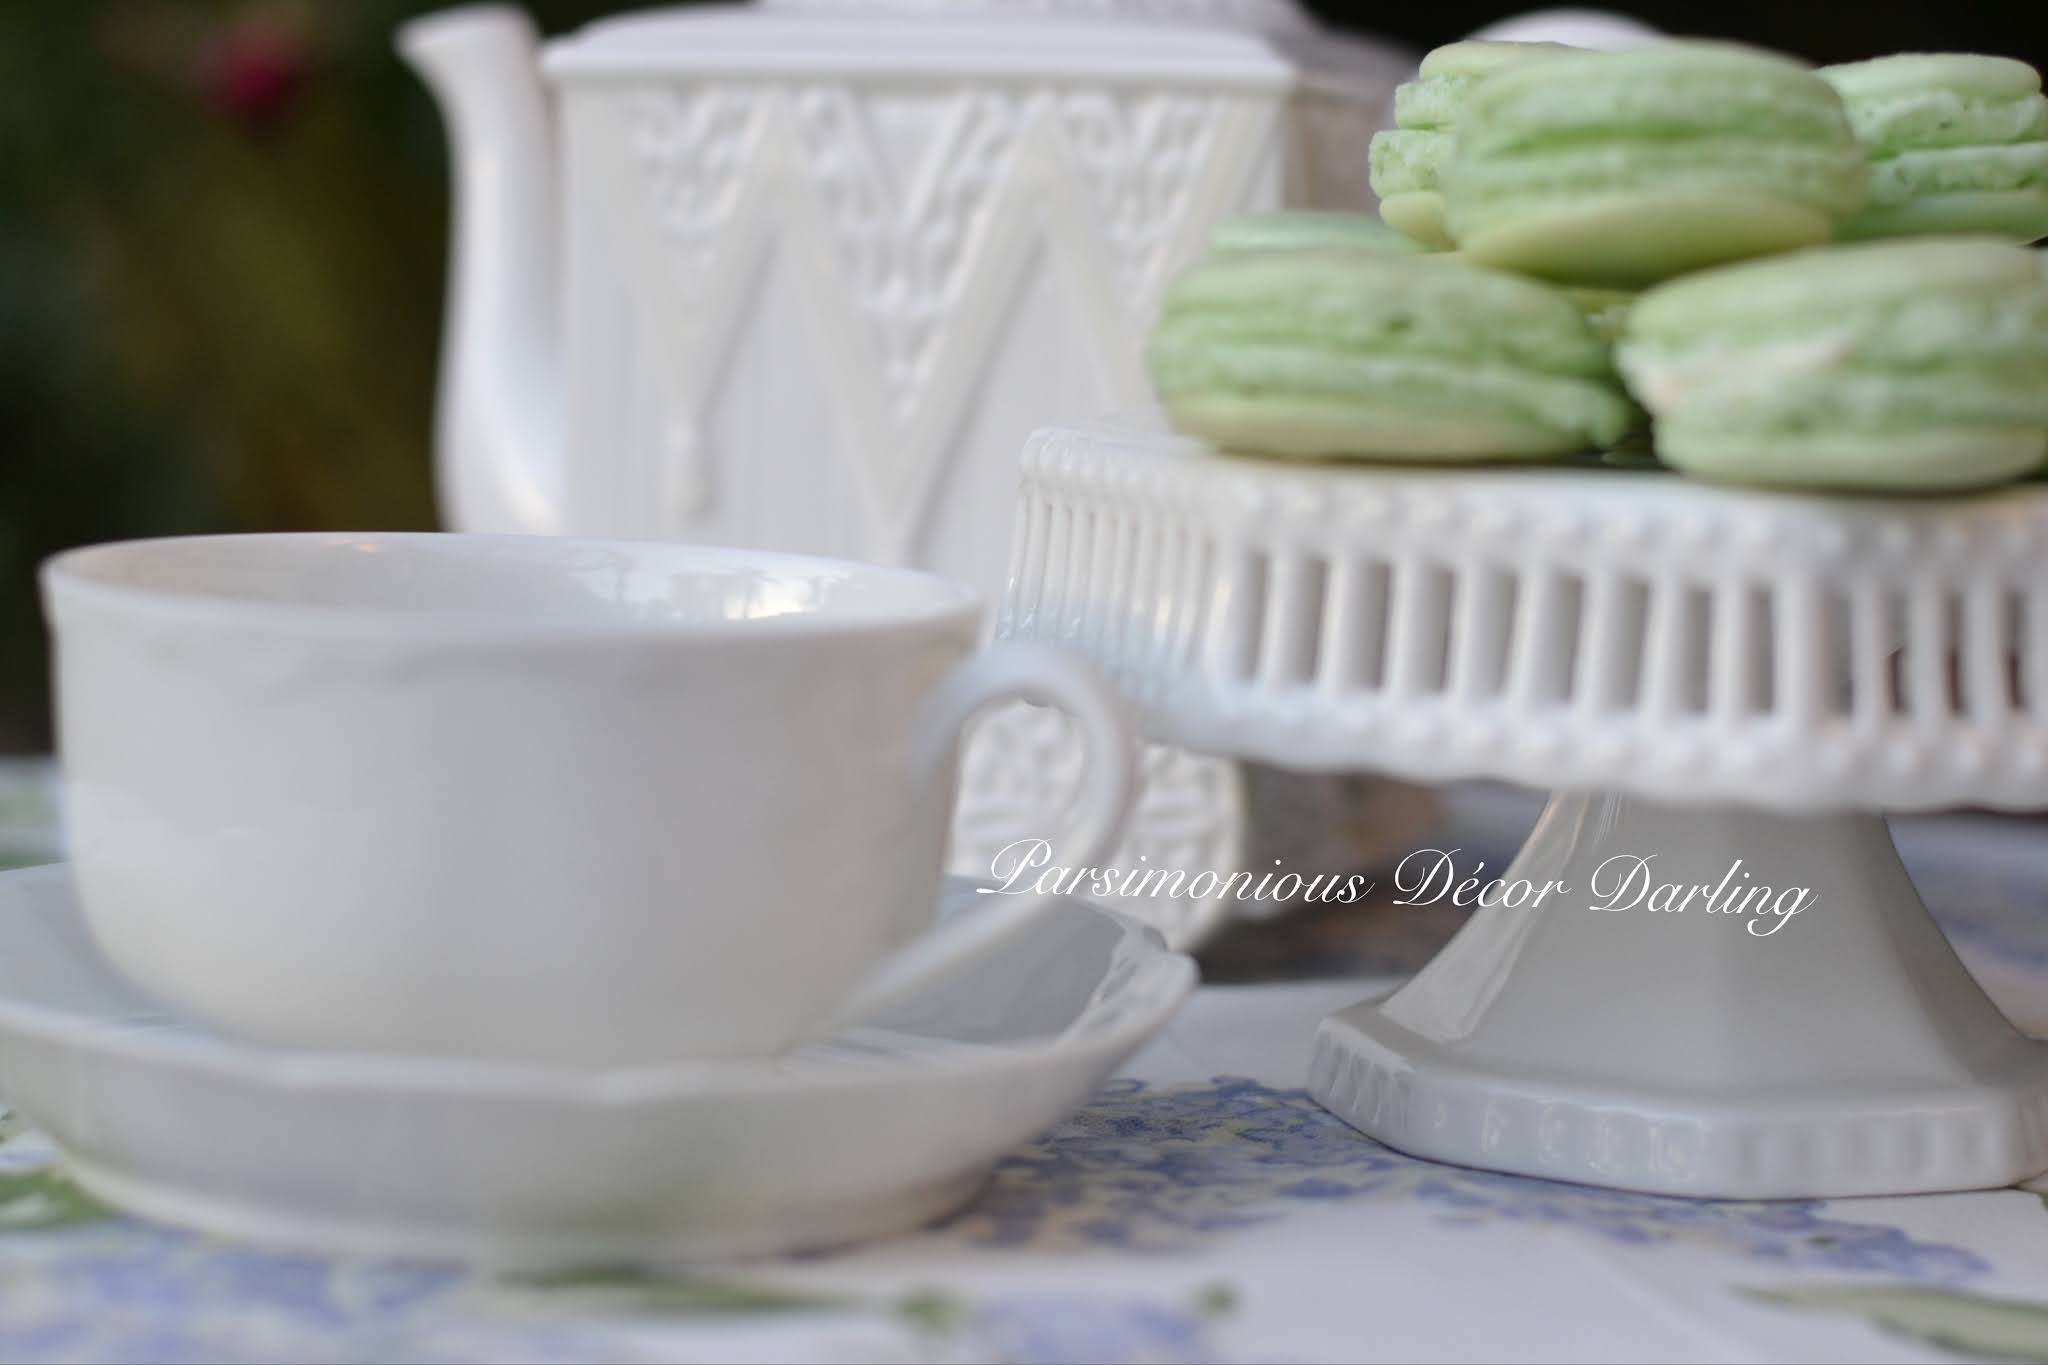
Simple white bone china for the teacup perfectly balances alongside 

the elegant lines of the fluted stand.


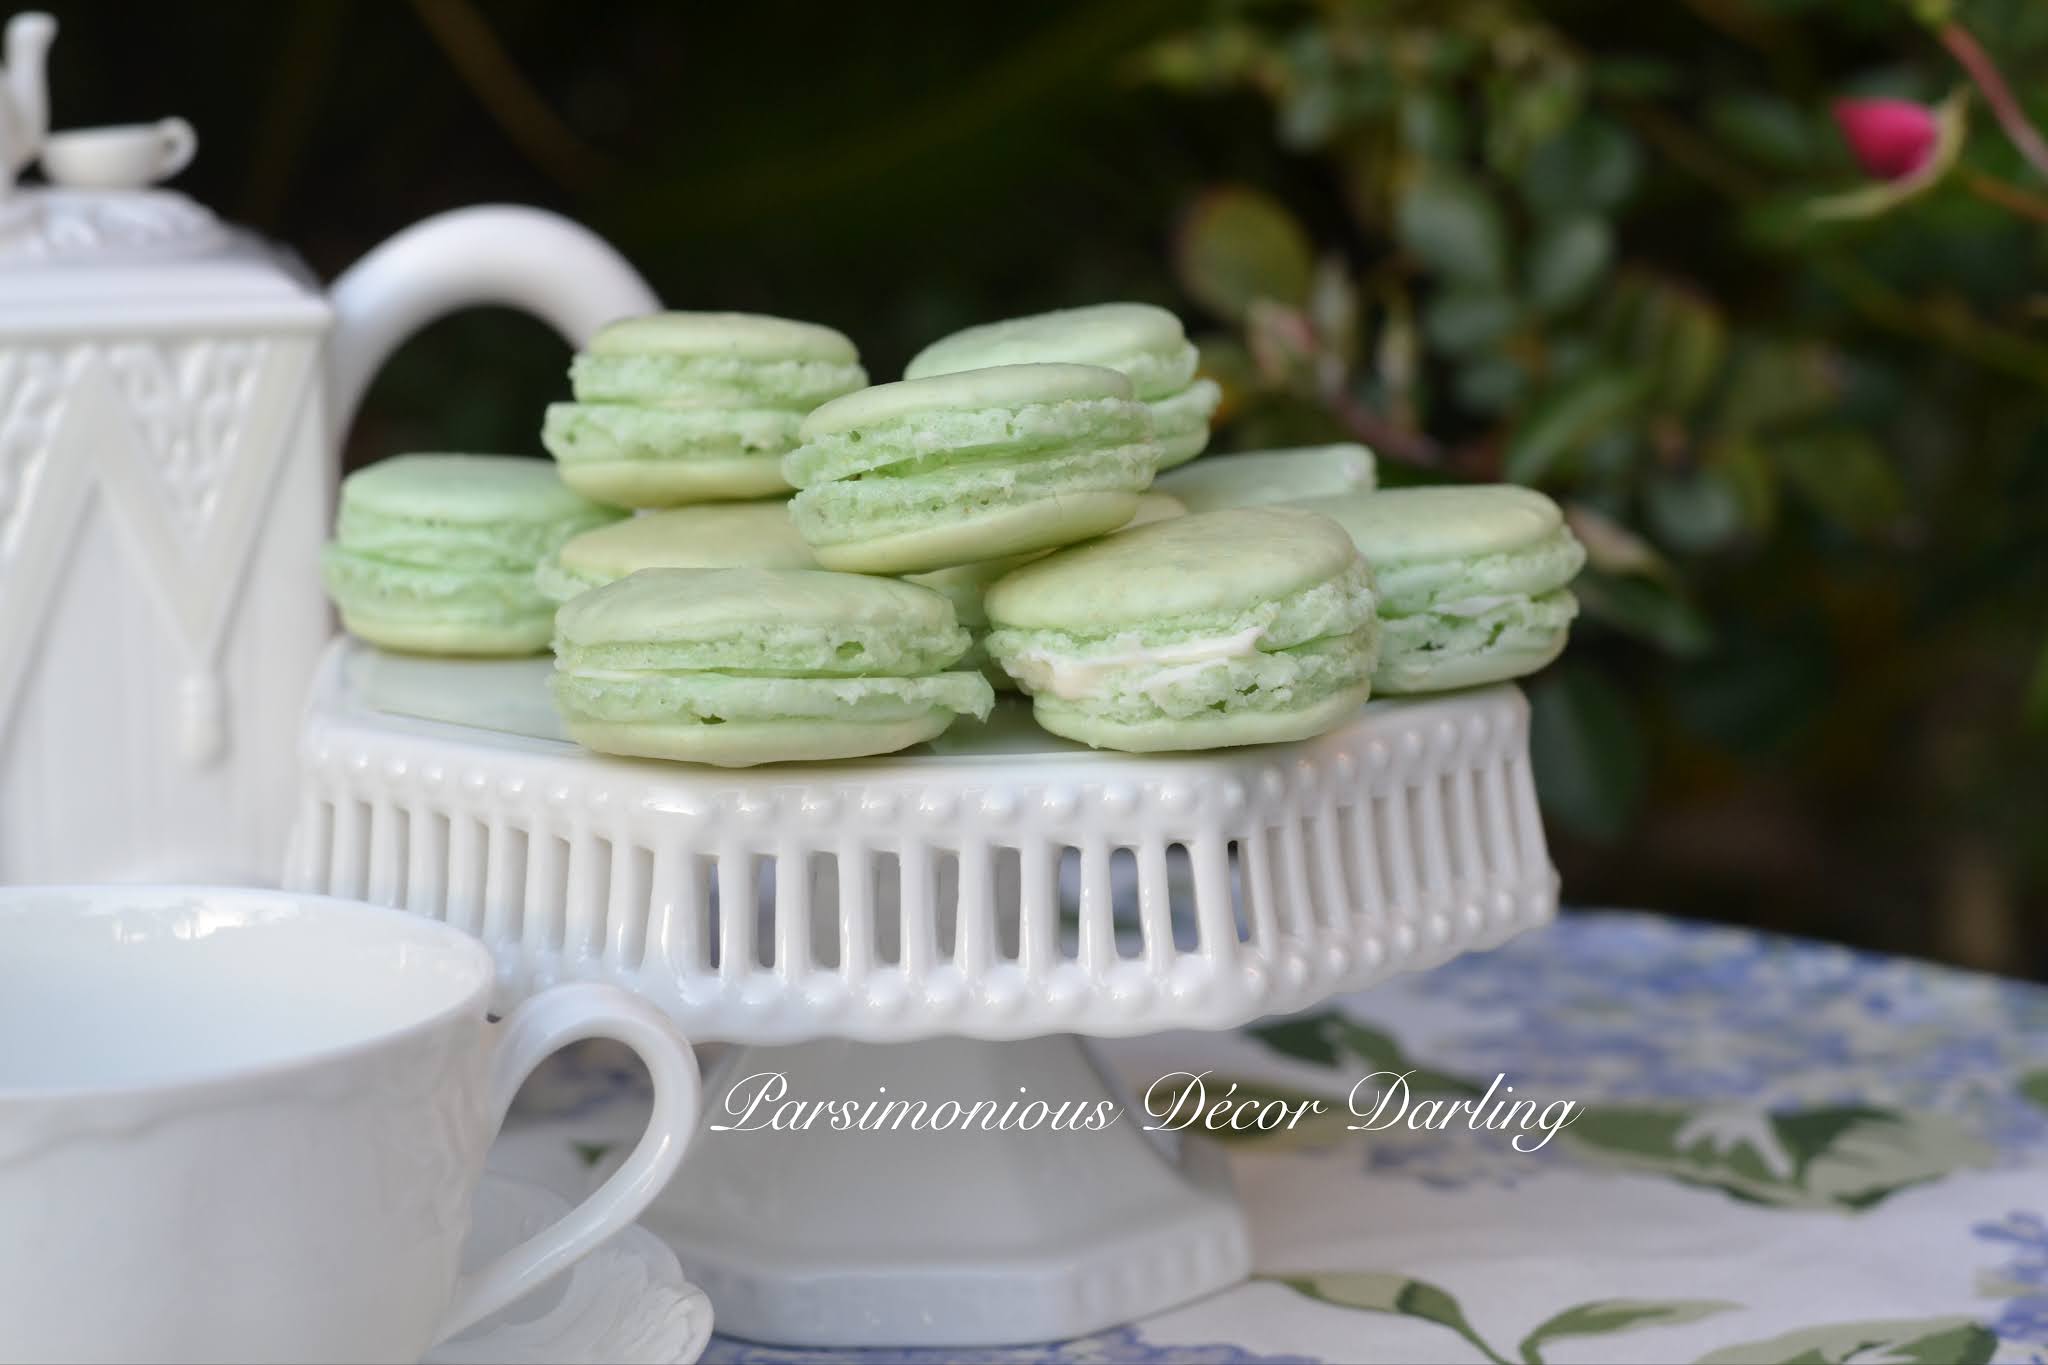
Closer look.  A perfect serving plate for my homemade macarons, such a light treat! 


A whimsical tea kettle completes the setting.


I adore the detail of the miniature Tea-for-Two setting on the top!  So sweet!


Completed setting under the canopy of my roses.


Another look.

Thank you for joining me in this look back, and I hope it has served as an enjoyable and peaceful lazy-day reverie.


From my collection:
Topper, Ralph Lauren Cape Elizabeth Lilac Collection
Tea kettle, Butler's Pantry Collection By Lennox
Teacup and saucer, Haviland France Ranson, Marseille Collections
Fluted cake plate, Ralph Lauren Pavilion Collection


Until next time, you are all in my thoughts!

-Y


If you enjoy this post, please visit the archives!  You may also visit my full profile to view my other blogs. Connect with me on my Facebook Page, Parsimonious Décor Darling.   You might like to visit my other blog hubs,

The Marvelous Maison, a lifestyle blog hub and 
Frugal Fab Fashionista, my fashion blog hub. 

Follow me on Pinterest!!  Please be sure to kindly follow the board guidelines!  Thank you!  

Thank you for stopping by! ❤