
Hello, lovely DIY and decorating enthusiasts! Thank you so much for taking the time to pop by my blog. Today's post was a long time in the making. I hope you will enjoy and also be patient with the length of this post.
For a few years, I had long wanted a woodfired pizza oven. I think I first became obsessed when we began frequenting Sammy's Woodfired Pizza Kitchen when my kiddos were very little. This predated Pieology and Blaze Pizza Restaurants being near where I lived, and I had never tasted such delicious pizza!
When I began stalking these ovens online, it was probably somewhere between 2016 or 2018, so quite a while ago!! In the time since, the in-home pizza oven has become immensely popular. When I began looking, most pizza ovens cost anywhere from four thousand to twenty thousand dollars!
Isn't this fab? It's the Four Grand-Mere 1500 B Short 22 Turnkey by The Bread Stone Oven Company, and starts at $13,995.00.
One of my favorites is the Palazzo from Forno Piombo. These beauties have a starting price of $14,000.00.


One of my favorites is the Palazzo from Forno Piombo. These beauties have a starting price of $14,000.00.
I even liked rustic looking ovens such as the Lisboa Traditional Oven on Amazon, which starts at $3,895.00.
In the interim since those first inklings of obsession, several companies have jumped at the opportunity of the popularity of the pizza oven, and now there are even kits, tabletop versions, and versions that fit right on your charcoal grill, for not much money!
After fantasizing about ovens like these and watching about a bazillion videos of people making their own oven out of everything from exercise balls and perlite mixed with concrete, cob, to handmade clay bricks, to mud and straw, ad nauseum, and so on in perpetuity, even researching the ancient ovens of Pompeii, tandoor ovens, lol...I set out to bite the bullet and make my own.
This build was initiated the last week of November of 2020, and I completed the work early March of 2021, so it took me approximately three months and a week to complete.
After all this time, the oven has held up remarkably well, with my only having to replace a couple of tiles on the facade, just repainting it only this year...and we still use and enjoy the oven thoroughly.
Please keep in mind that I am an absolute novice, and at the time of this build, I had never built anything this major. Hindsight is always 20/20, and I am sure that expert builders will recognize my errors immediately, lol!
My method was an amalgamation of several of the aforementioned. Here is my process:
First, I began with a freshly painted concrete slab. This is my porch which was already in existence. In this photo's background, you catch a glimpse of my pile of concrete blocks and of fire bricks. I made sure to use these type of bricks in the build because they are specifically fired to withstand higher temperatures.

Next, I measured out the space where I would be building the foundation for the oven,

and dry-stacked to see how the build would look. This process was very time consuming and needed a great deal of patience as I stacked, demolished, re-stacked, and demolished again, until I was satisfied with the layout. I used extra large concrete cinder blocks for the foundation, along with smaller ones and concrete caps as well.

Notice here, I am using reinforcing metal and hardiebacker on the front part of the foundation, creating a shelf of sorts, so that wood can be stored under the oven rather it being just a simple square or rectangular foundation.


Notice here, I am using reinforcing metal and hardiebacker on the front part of the foundation, creating a shelf of sorts, so that wood can be stored under the oven rather it being just a simple square or rectangular foundation.

Cutting the hardiebacker to size beforehand.


Once the footprint was decided upon,

I began using a very strong construction adhesive to adhere the concrete blocks to one another.

I used mostly Gorilla Construction Adhesive, but I believe Quikrete works just as well. Just make sure that whatever adhesive you use bonds to masonry and/or stonework. 

I used rebar to strengthen the staggered concrete blocks,


and filled the spaces with a mixture of blocks, concrete, and brick.

I filled each cell until they were approximately 3/4 full, or just enough to strengthen the rebar. This means if there was a three-block staggered stack, I would add enough concrete and stone in the cell to the middle of the third stack, reinforcing the bottom two stacks where the rebar is.

For the inside of the cells, I used a combination of broken bricks, cinder blocks, and quick-setting concrete. This was a way to use every bit of material by making good use of what could have been debris.

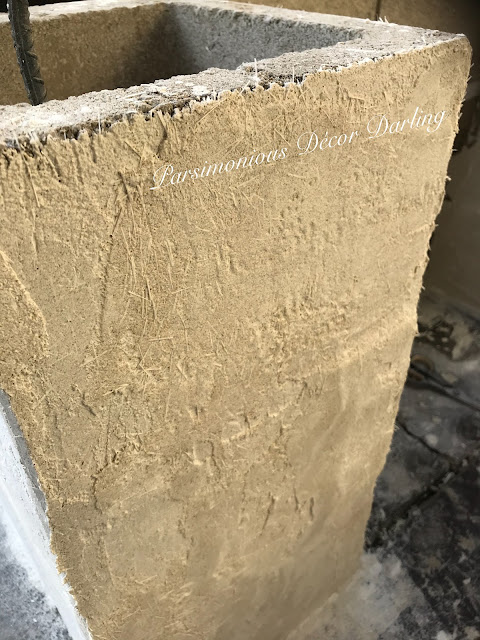
I used a mixture of Quikrete Quick Wall with a small amount CementAll as coating for the outside of the concrete block foundation rather than a standard stucco mix.


If you look closely, you will regard the fibrous nature of the Quick Wall mixture, which is much stronger than simple stucco because of the addition of fiberglass. It bonds to and also reinforces the wall strength.


Concrete caps were glued in place using the construction adhesive. They did not need to be perfect, because I built a form around them using wood beams to create a concrete slab, so they are hidden, and the concrete slab will be level and smooth from skimming.

After the concrete slab cured overnight, I set about making the oven. The first step in making the oven was making the base and form of the oven out of fire bricks. As previously stated, it is important to use this specific type of brick, because they can withstand very high temperatures.

To create the dome shape of the oven, I used wet sand. I believe I used approximately two to three bags of sand. The sand must be completely wet. Then shape the sand into the shape you would like your oven to be.

The bottom of the oven was laid, but it is important to note that NO adhesive or grout was used in the base. The bricks were laid together dry closely, but no grout was used. I set up the footprint of the bottom of the oven, and then set sand on the base allowing it to fill any empty spaces. The sand and lack of adhesive allows for expansion during high temperatures. Next, I created the dome shape of the oven.

To create the dome shape of the oven, I used wet sand. I believe I used approximately two to three bags of sand. The sand must be completely wet. Then shape the sand into the shape you would like your oven to be.

Here is a view from the front. You will note here that the sand dome was built upon two cement blocks. This enables you to reach in and pull them out once your bricks are placed and cured, and then you can begin removing the sand. Once the wet sand dome was built, I lined the top of it with layers of wet newspaper.

Brick by brick I built the form of the oven over the sand dome, using refractory mortar as grout. This type of mortar is extremely heat resistant, and can be used in making stoves, ovens, and fireplaces. You will note that it can withstand temperatures up to 3,000 degrees as listed here on the front of the container.

I need to state that this is where I made a huge error. I tend to be very impatient, and sometimes rush through things too fast. I will say here in building the form, I needed take my time and go more slowly, and there wouldn't be as many imperfections on the form that are clearly noticeable. I could've taken much more time on the laying of the bricks, or even smoothed out the errors when I insulated the form, but I digress.

When I reached the top of the dome, I left space for a stove pipe I bought from my local Lowe's. I gently pushed it into the wet sand below and built around it.
To make the form around the stove pipe and to place brick in the smaller or intricate places, I cut bricks sometimes using a heavy duty chisel and hammer, and sometimes scoring the stone with my electric grinder, depending on what was needed and how extensive the cut I needed was.
I built a small box form using bricks to set inside the front of the oven to hold the other bricks in place as I built, then placed a wood form there, keeping the bricks from falling as the mortar cured. Once the form was completely cured, I removed the wood form holding the oven's mouth in place, pulled the cement blocks out, and removed all of the sand.

Next, I set about insulating the oven. The whole brick form was first covered with a semi-layer of the refractory mortar, making sure there were no gaps, or empty spaces between the bricks. Once that was set and cured, I covered the whole form with stucco (or chicken) wire. I then covered the complete chicken wired form with a mixture of crushed fire brick,

straw,

perlite,

and a sand-concrete mix.

Almost there.
The dome is done!

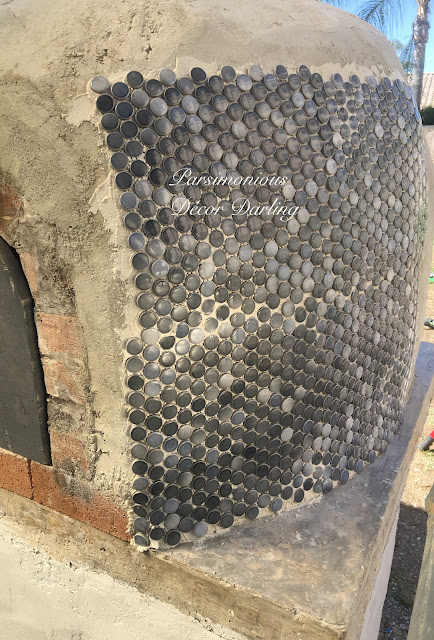
I began adding decorative elements. I covered the entire oven with penny tile in a soft grey and white color, and I added some Spanish style tile on the facade of the oven.

The final stretch!


To place the tiles on the front, and for adhering the penny tiles to the form, I used an adhesive grout. 

After the penny tiles were attached initially with the adhesive grout, in between them I used a grey grout mix that just required the addition of water.
I allowed these to cure overnight.

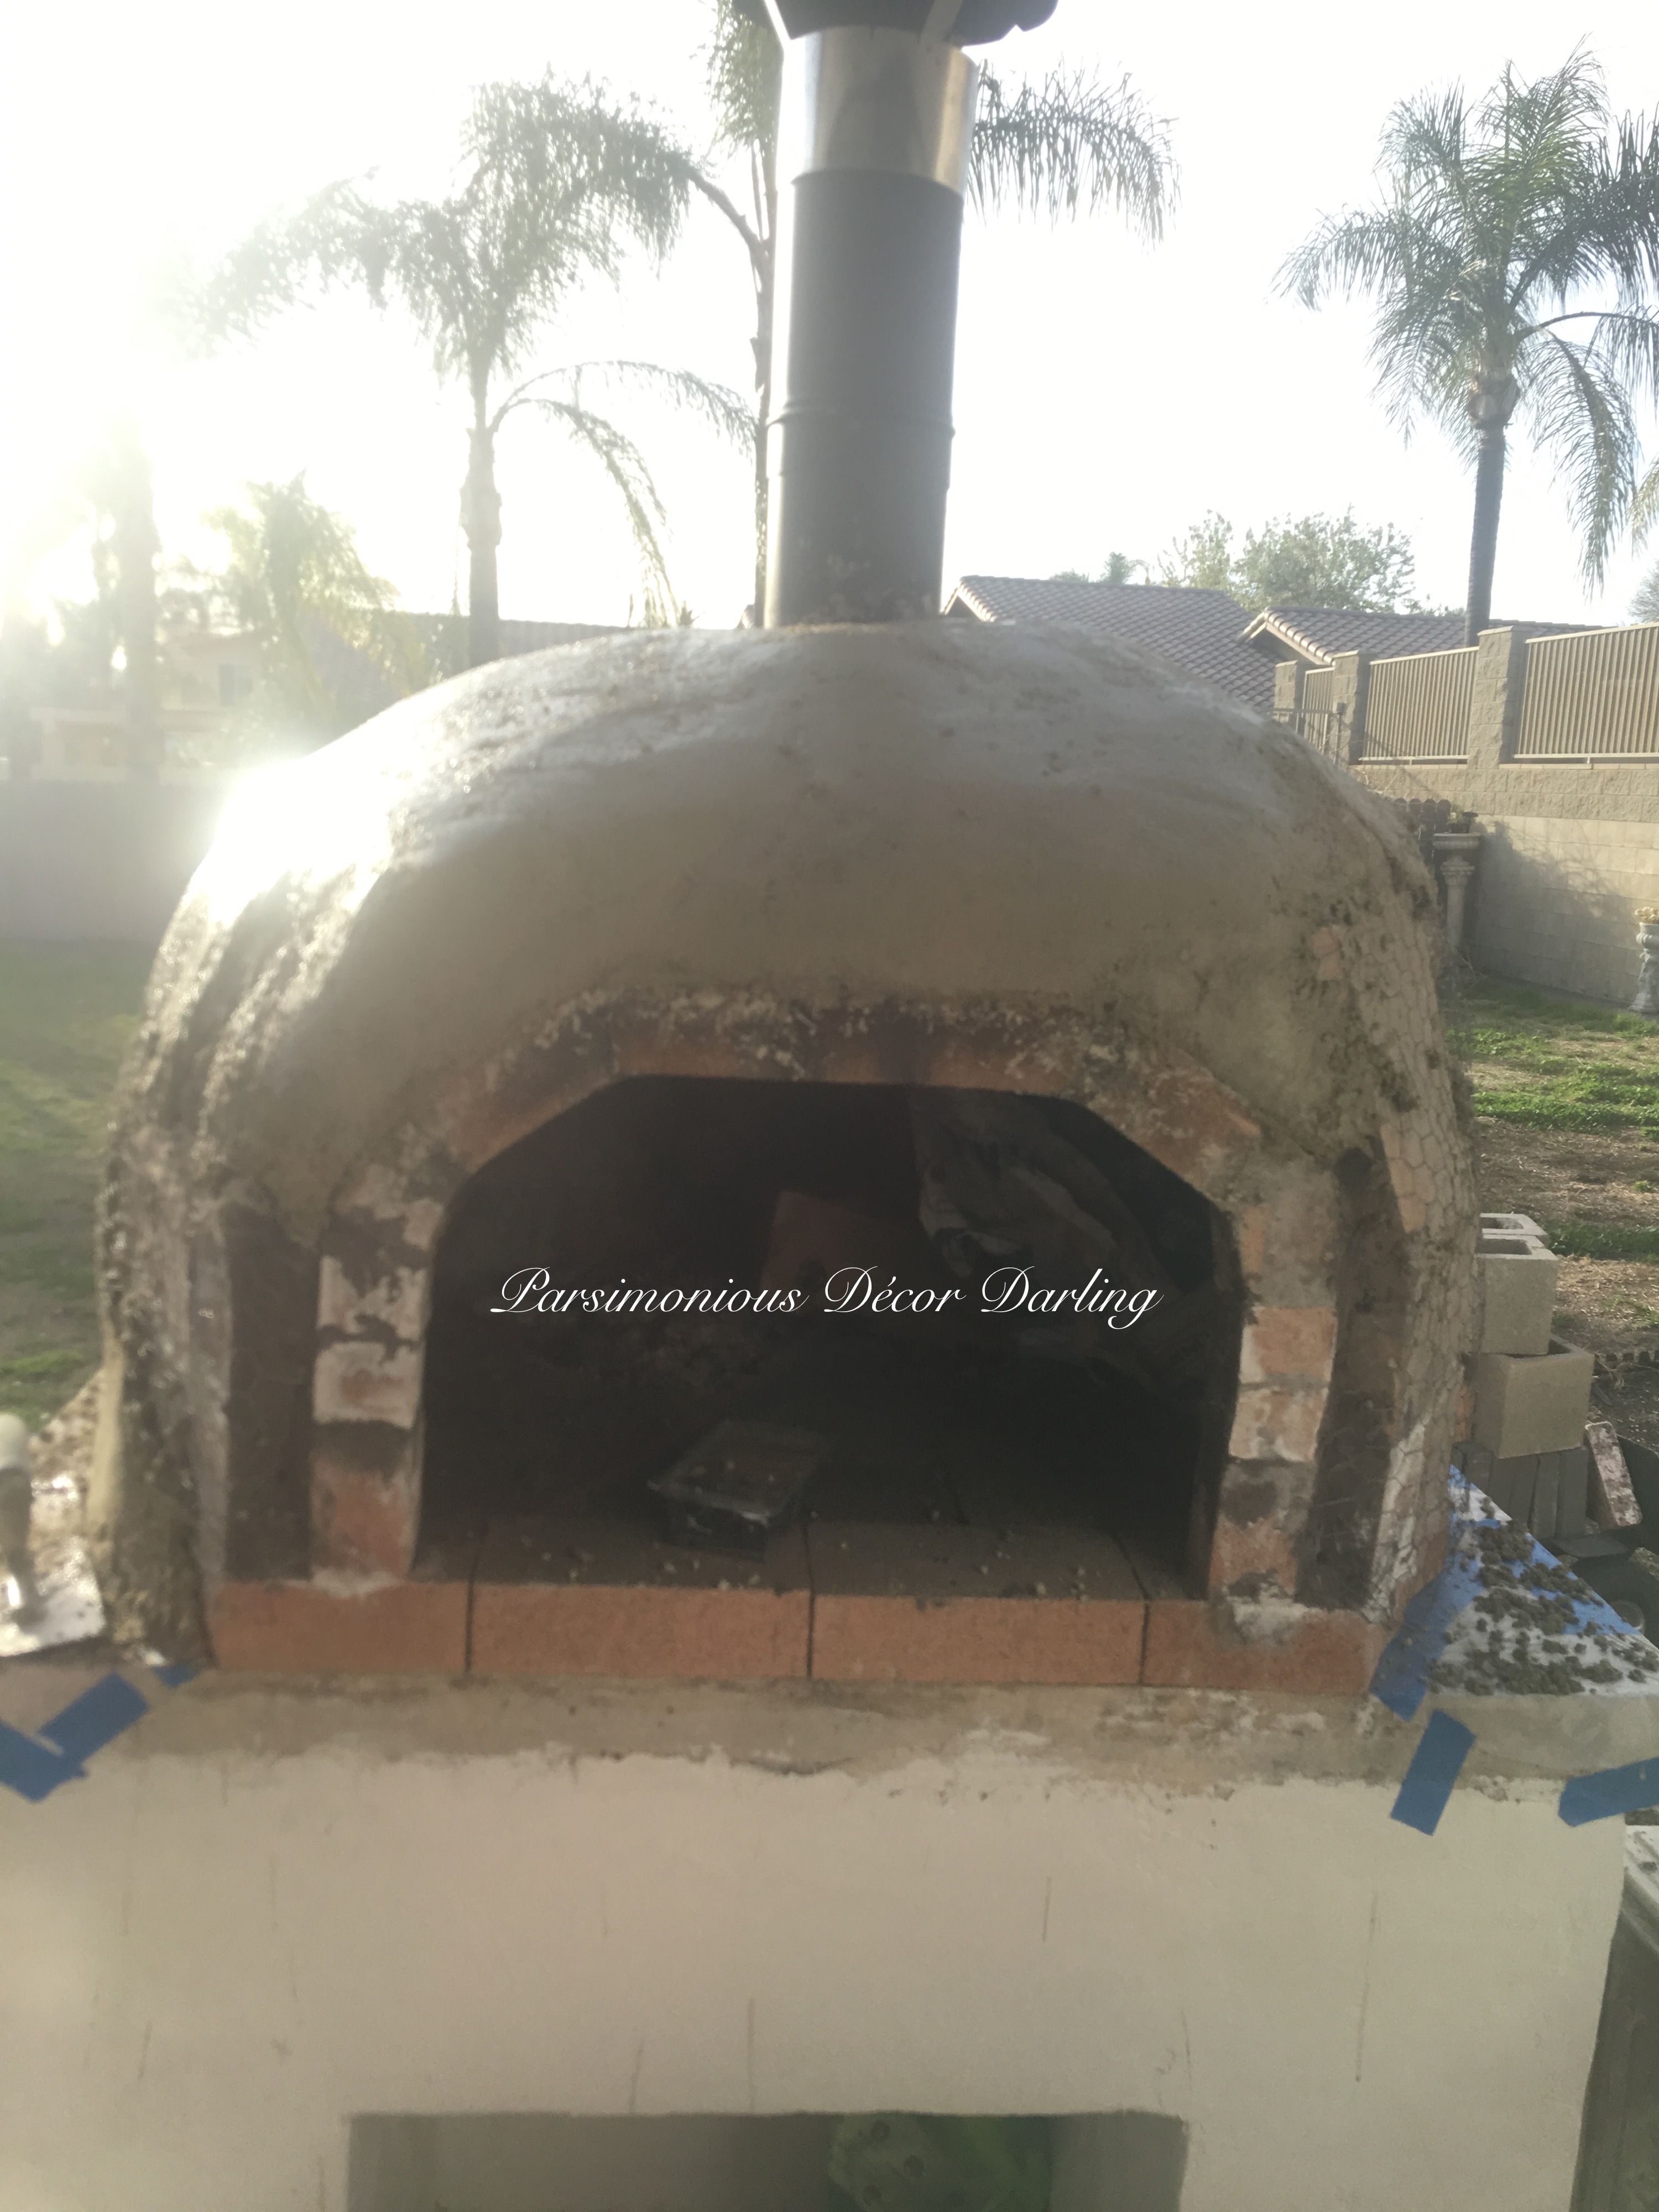
Once the penny tiles and the tile on the facade were cured (24-48 hours), I fired a curing fire in the oven. A curing fire is needed to help the refractory mortar bond.

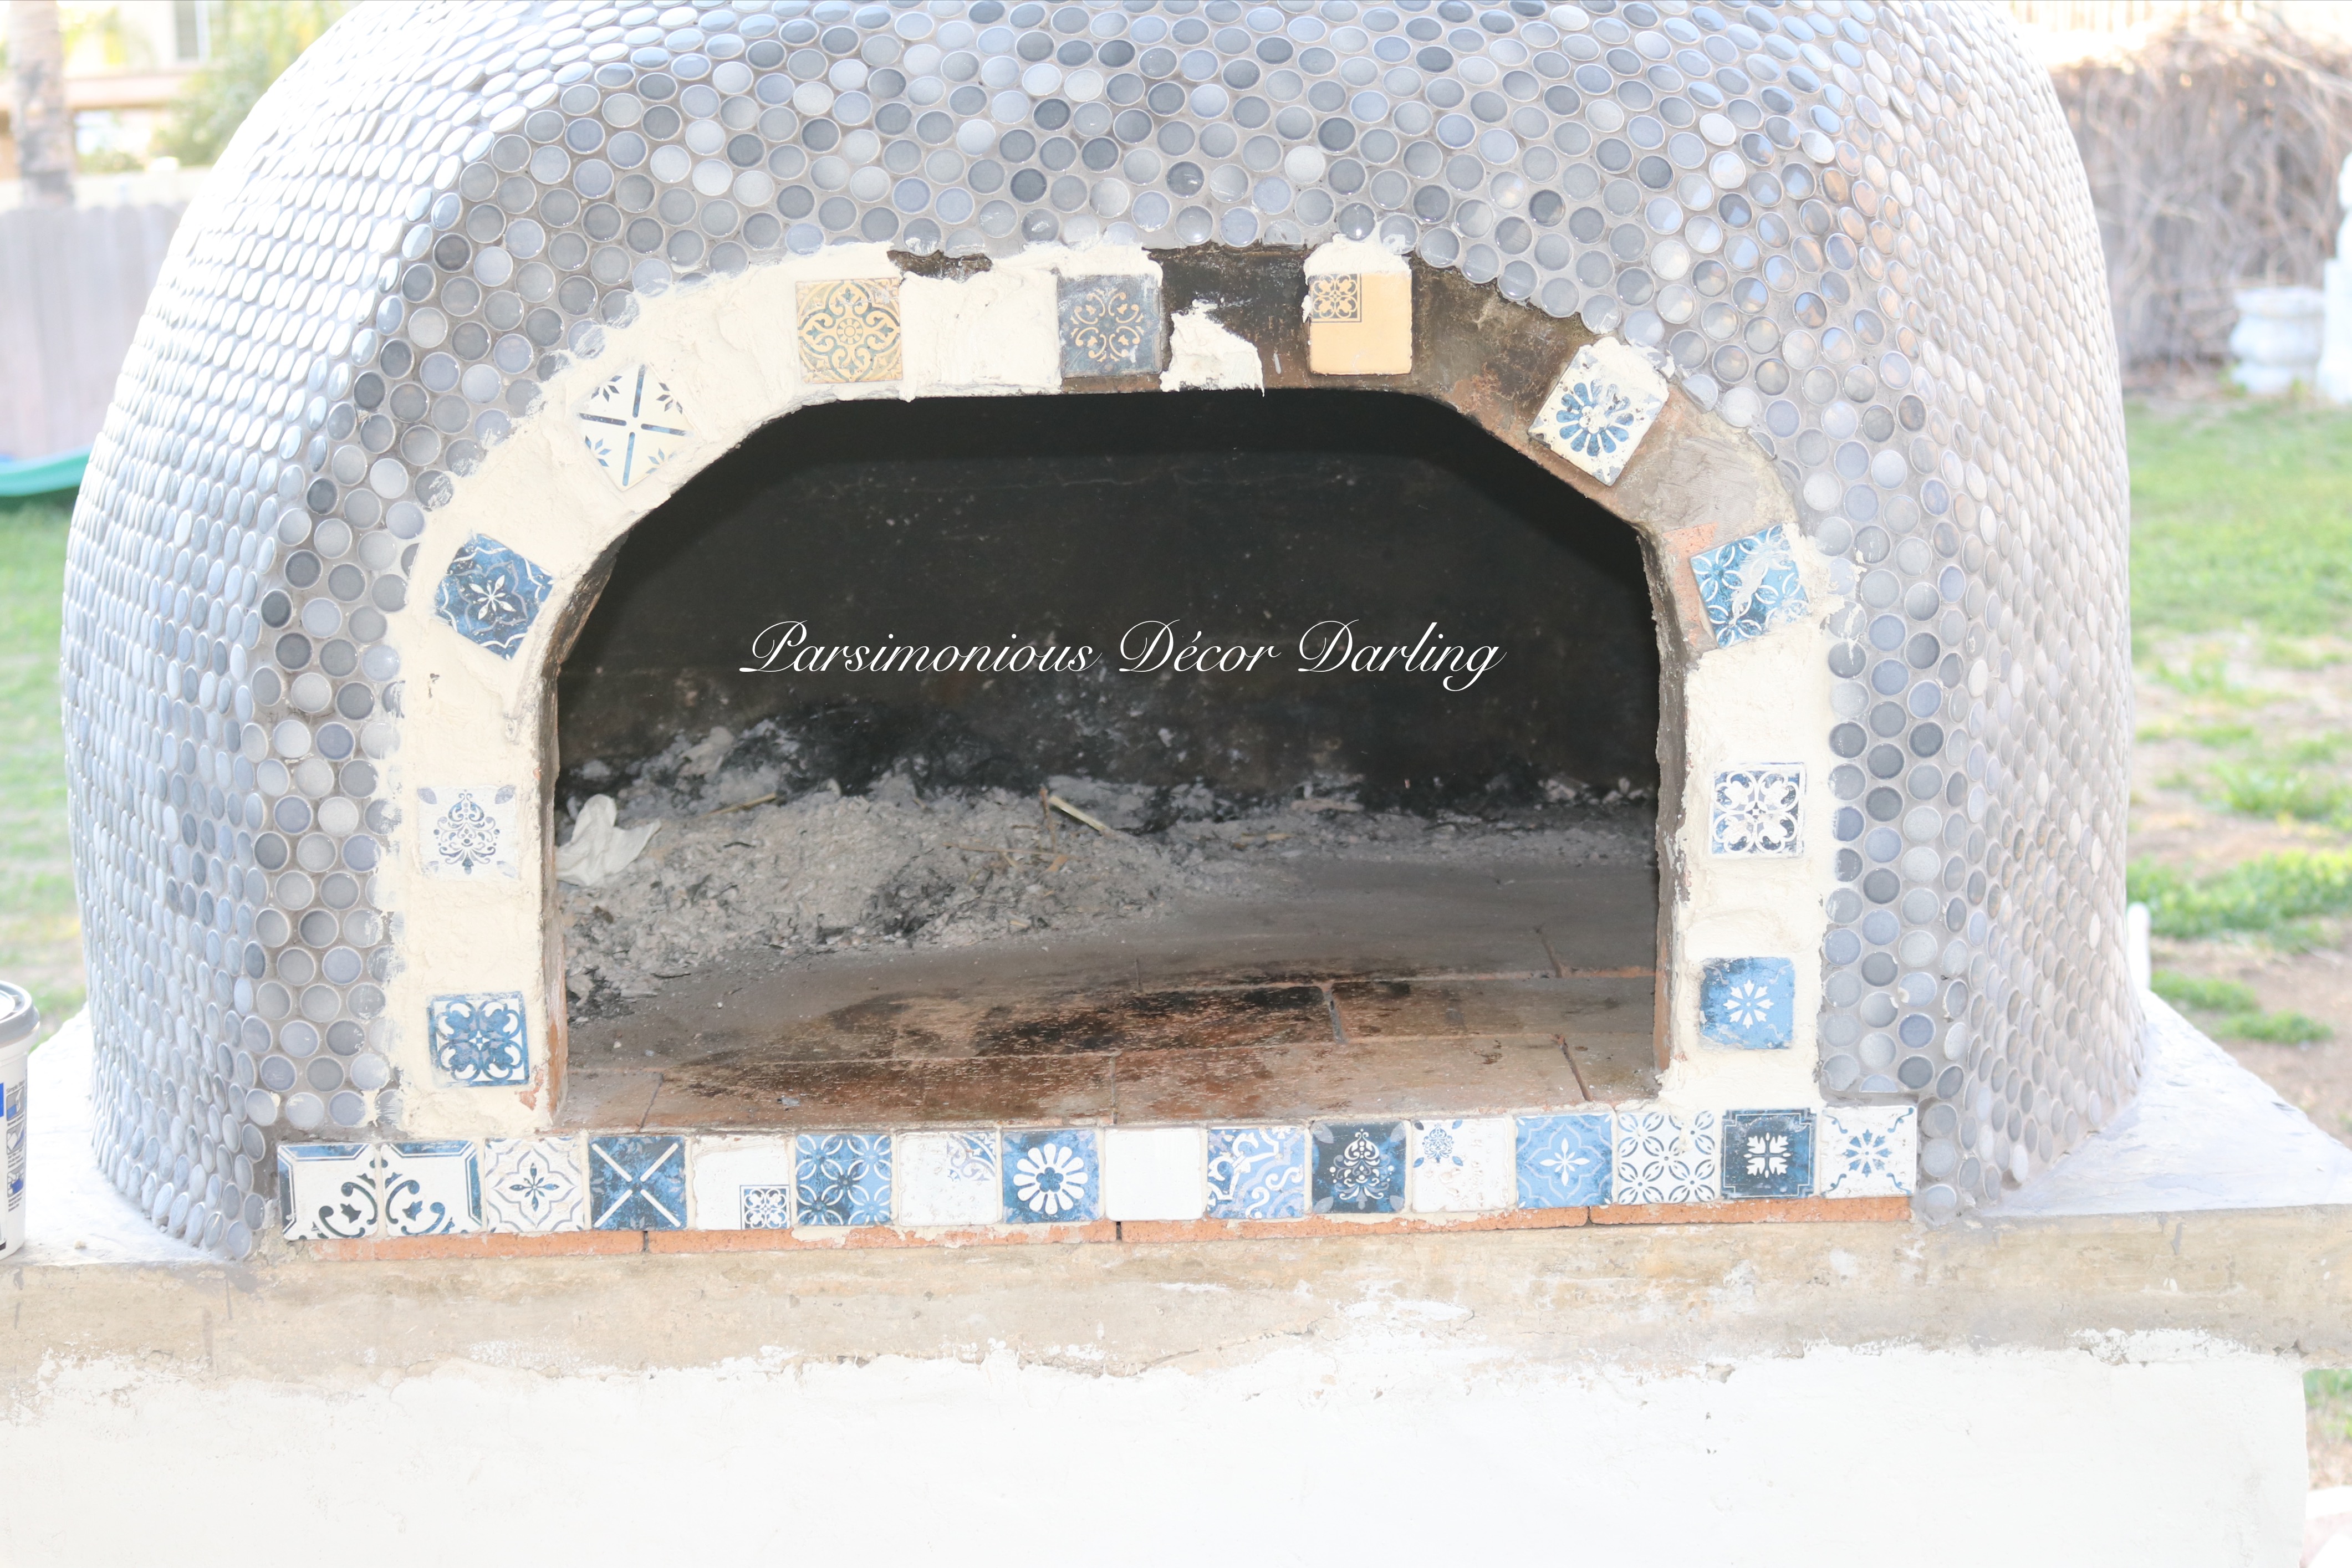
Here's a view of the oven after the curing fire. We are almost there!!! Please excuse the lawn, lol...as I stated, this was winter, so everything was pretty much dead due to the cold. 

After the curing fire, I used the white (alabaster) adhesive grout again on the front of the oven to make the facade of the oven appear seamless with the tiles.
Closeup, in process.
Closeup, grouted and complete.

The completed oven. Here, again you can see those darn imperfections, lol! If I ever were to do this again, I would be sure to snap photographs of every. single. step. Sometimes, when you are working on something, you cannot see up-close mistakes that are very evident in photos. Sigh.

I painted the front and the foundation of the oven bright white after all of the foundation’s form had been covered with the Quick Wall and it had completely cured.

Tucking wood in the space for later use.

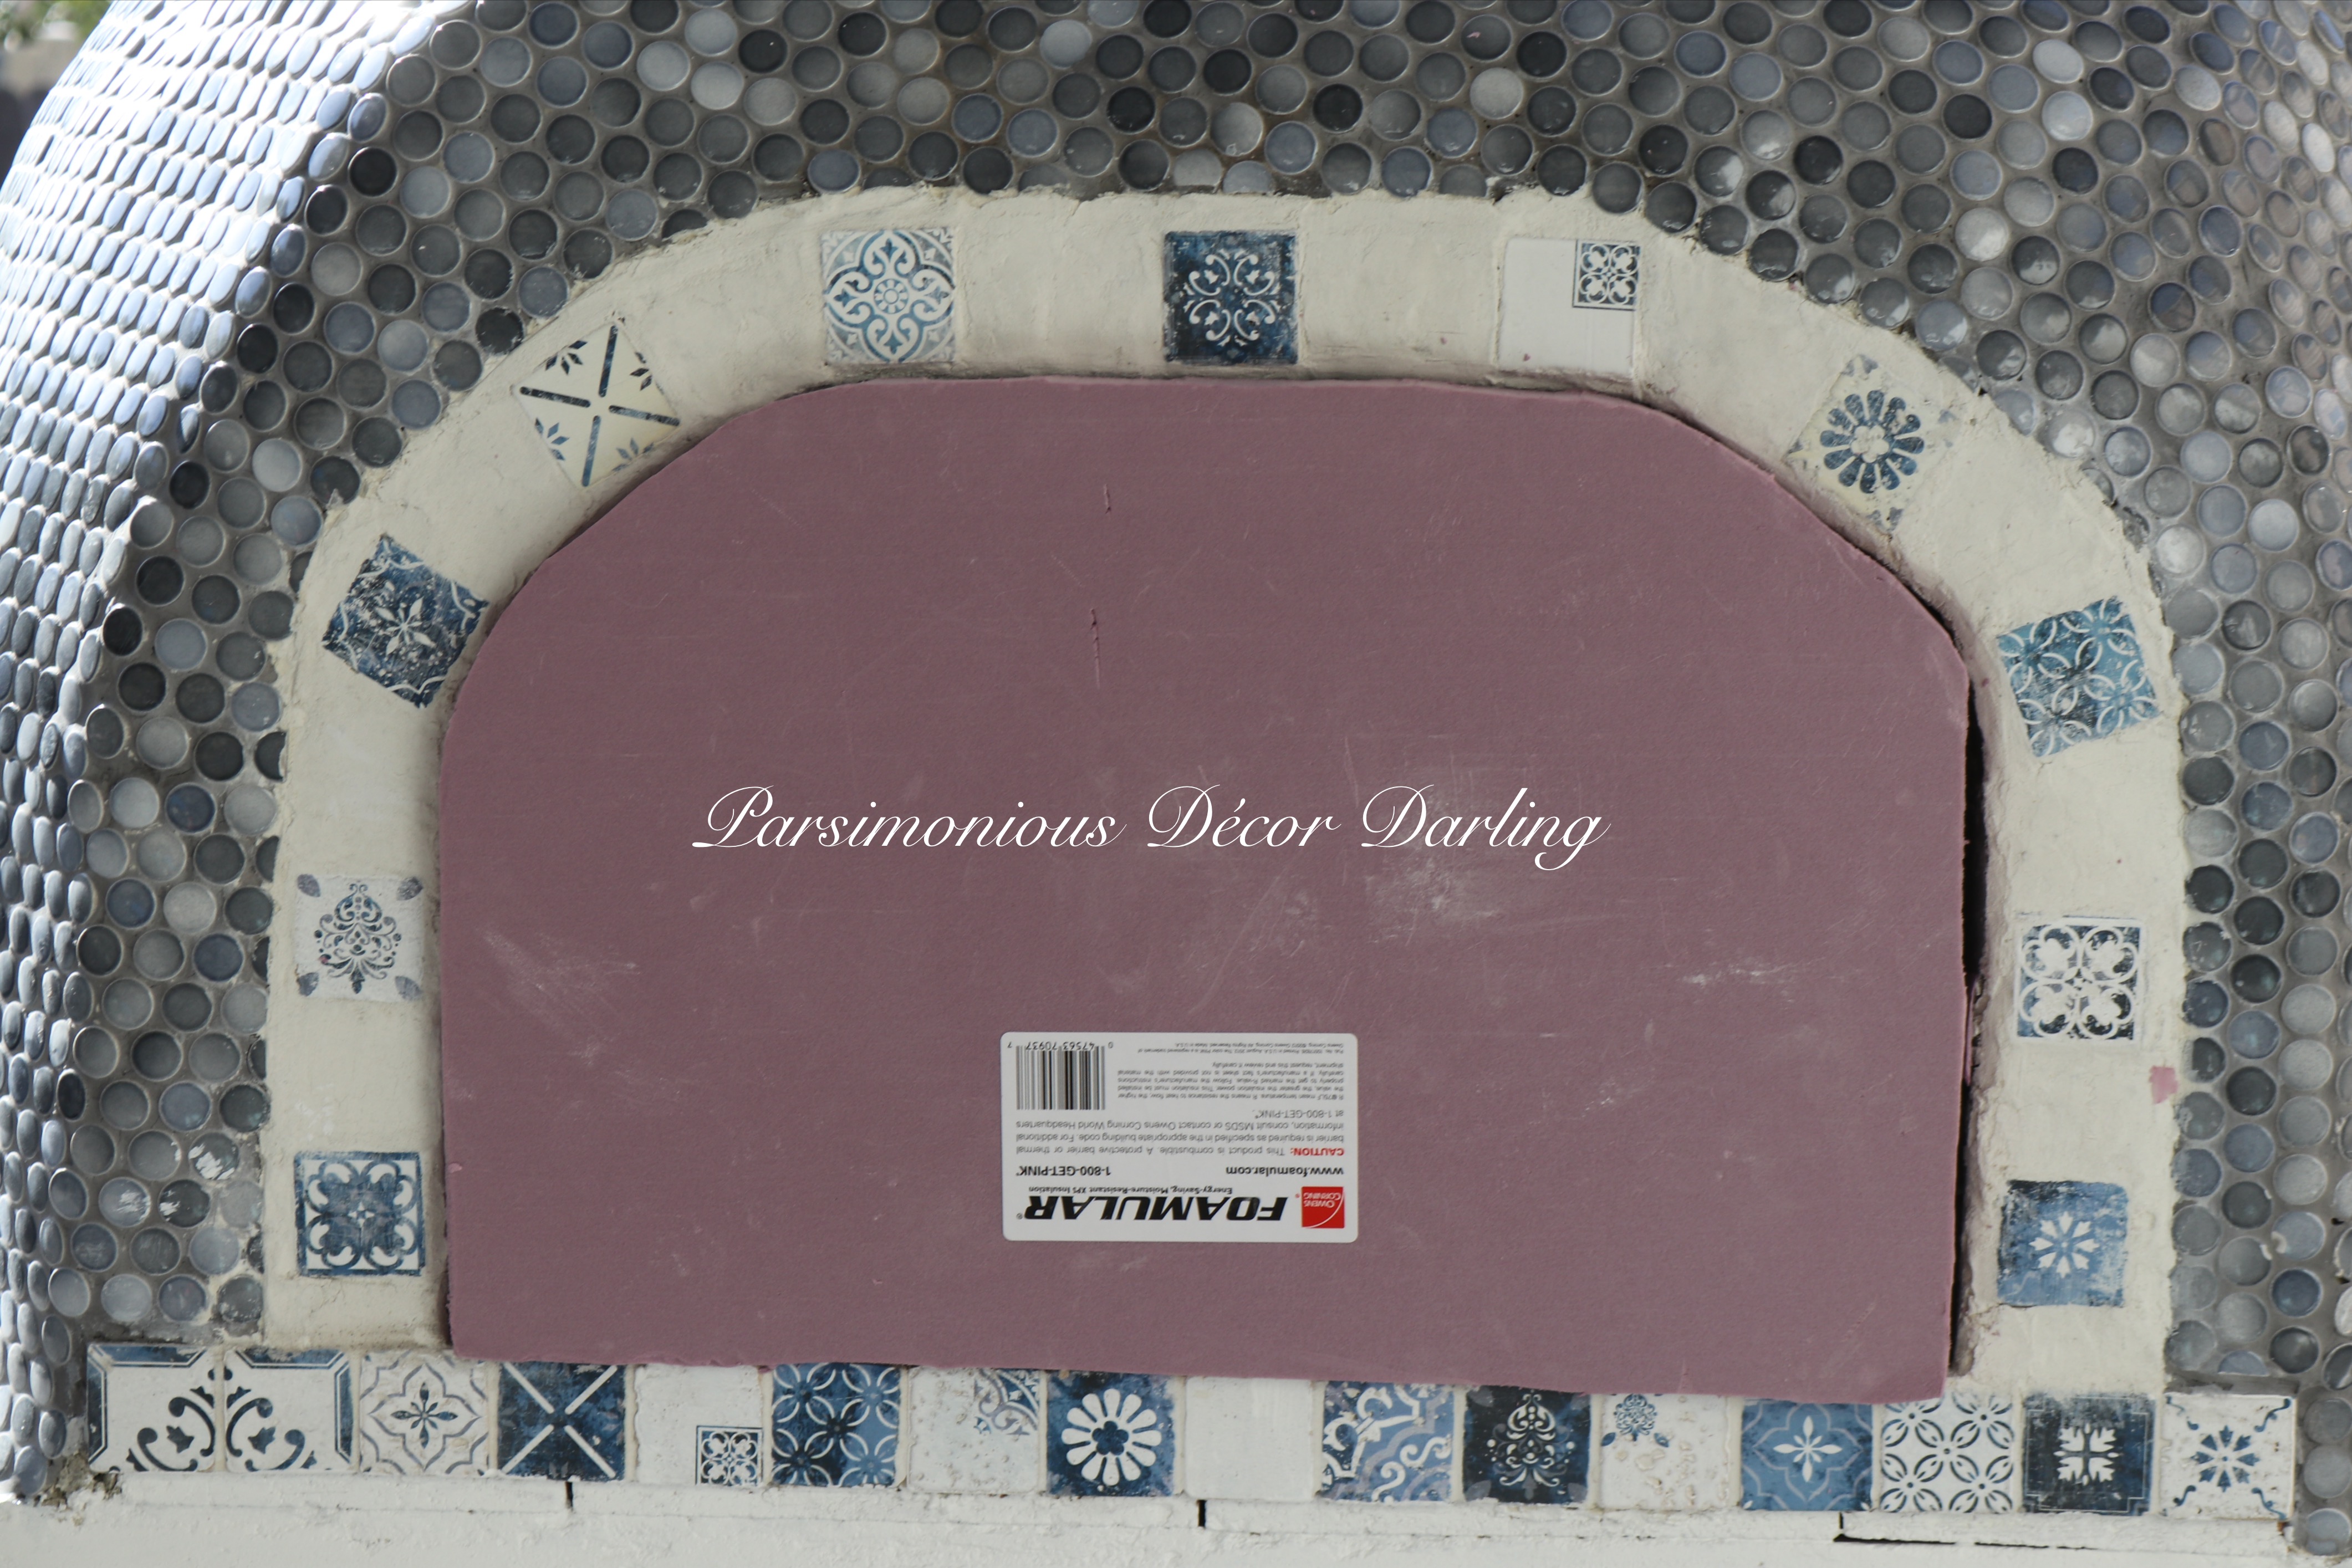
Now, to make a door for the oven.
I first made a template from craft foam.

Slowly cutting to fit.

I first tried to make the door with the inexpensive wood I had used to hold the bricks in place, but I did not like it. 

It was quite flimsy and beginning to splinter, shown here.

Instead for the door, I opted to use a very heavy duty wood. This beautiful quality wood was perfect.

Much better.

To protect the wood, I added a thin layer of heat-resistant sheet metal on the inside of the door using heavy-duty heat-resistant screws.
After painting the wood a darkish grey, I added a beautiful antique brass handle. Love it! 

Finally complete!!!

Now, I was ready to try her out. Here is where I ran into another humungous uh-oh. The first time I tried to cook pizzas in the oven, it went horribly awry. I wanted the food to have a smoky flavor, so I thought, ‘Ok, let’s try to make the fire with some hickory wood.’ I haphazardly tossed some wood in, lit it, waited for it to get hot, and attempted to cook the pizzas.

Ummm, no. HUGE mistake, lol. These tiny chunks of wood did not generate enough heat, and my pizzas stuck to the floor of the oven, and were a huge, half-cooked mess. To say I was disappointed is a major understatement.
I decided to actually research how to fire a pizza oven, and I found a video on the website of one of the professional pizza oven builders.
This is the correct way to fire your oven, lol:
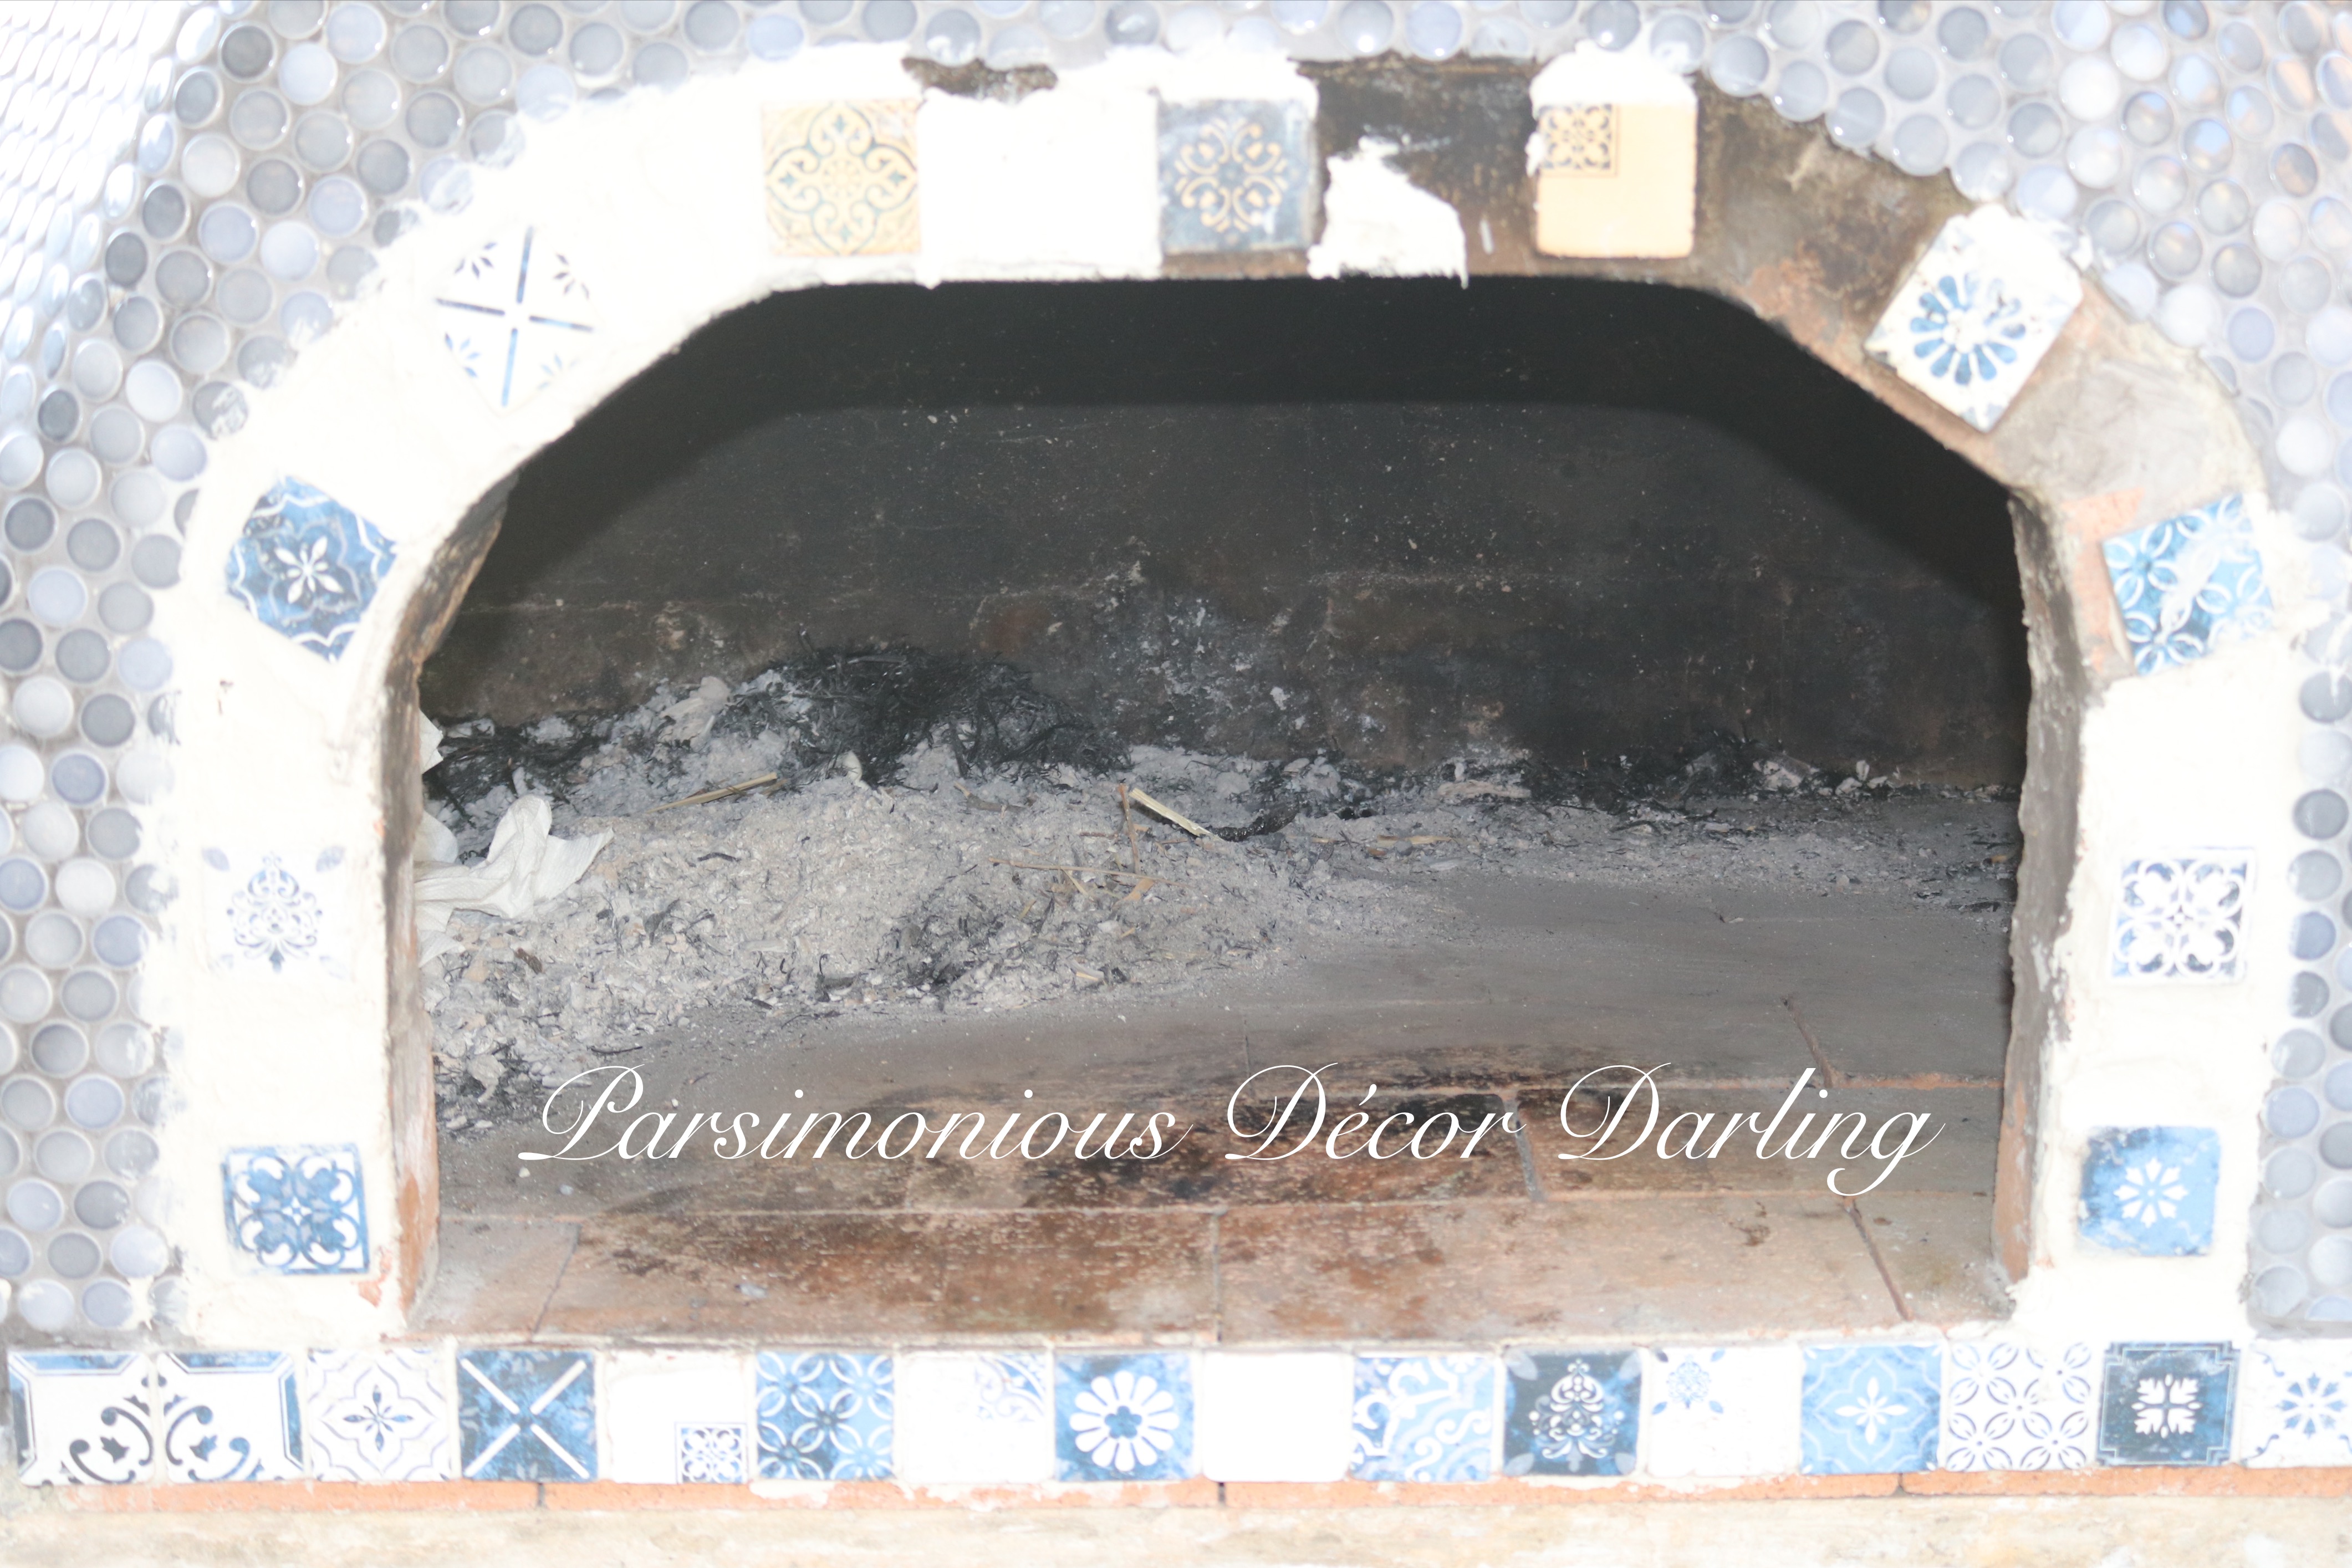
Begin with the clean, empty oven. You will want to begin building your stack of burning materials near the middle of the oven.

Line two rows of extra dry firewood. Over the course of my many times using this oven in the time since the build, I have found that piñon wood works the very best and also emits the least amount of smoke.

Next, place paper between the rows (plain paper bags or craft paper work very well).

On top of the paper, place kindling wood. It can be store bought or small twigs and sticks, et cetera. Just be sure the material used is completely dry.

Repeat this process in the opposite direction on top of the first stack. Continue the process, but do not over stack. Use common sense and measure depending on the height of your oven. I typically fire my oven using two to three stacks. Light the paper, and you will be amazed how well this all catches, with no need for additional fuel!

Once the fire has been burning for approximately 45 minutes to an hour or so (adding wood as needed), your oven should be plenty hot enough to fire your pizzas!!
I ended up purchasing an infrared laser thermometer from Amazon, and it works great. You just point toward the oven's inside, click the trigger button, and it will measure the temperature in the oven. You want the temperature to be higher than 500 degrees, but no higher than 700, or your pizzas will cook too fast. If you DO cook at a temperature higher than 700 degrees, just be sure to hover at the oven so that you rotate your pizza to prevent burning. A good temperature for my being able to walk away to prep more is between the 500 to 700 range.
Once your fire is hot enough, you will push the embers and wood toward the back of the oven. I use this grill rake tool I also found via Amazon. Add wood as needed contingent upon how many pizzas you are cooking and how long you need to maintain heat.
As the pizzas cook, from time to time, you will want to turn them so that they cook evenly.
After more trial and error, the best tool I found to help in achieving this task was the Ooni Pizza peel. This pizza peel works wonderfully, and only took a bit of practice before I became quite adept. I found it from WebStaurantStore.
I initially tried this peel from Amazon, but truly, the Ooni is the absolute best!!
I often use the two in tandem. I use the larger Amazon peel to put the pizzas in the oven and the Ooni is perfect for rotating the pies as they cook.
Eventually, I even made my own extra long pizza peel out of wood, which I use to carry and prep four personal-sized pizzas at a time, due to the fact that we have a large family. It makes for a huge time saver! If you would like to view the tutorial of how I made this wooden pizza peel which also doubles as a charcuterie board, you may read about it in the archives of my blog here. Just make sure to dust any of these tools with cornmeal or flour to prevent your pizza from sticking!
Now onto the best part: The PIZZA!
The first time I fired the oven, I used homemade crusts, and remember, it went horribly wrong. Sticky. Goopy. So. Not. Good. Lol. So, the second time I fired the oven, even though I used the correct fire building method, due to fear, I ended up making the pizzas using premade Boboli crusts. They were pretty good, and one step closer to autentica!!

The next time, I made homemade crusts using this hot roll mix. Even better.

Here's how that turned out:
While being fired:

After:
Bellismo!!

After much trial and error, I've now evolved to using authentic Italian 00 flour, though I don't have photos. This makes for beautiful, delicious pizzas!!

We have used this oven lots of times since, and we really enjoy it. If you have reached the end of this very long post, I truly appreciate it!! I hope you all are enjoying the early Autumn season!! Thank you so much again for visiting!

--Y
If you enjoy this post, please visit the archives! You may also visit my full profile to view my other blogs. Connect with me on my Facebook Page, Parsimonious Décor Darling. You might like to visit my other blog hubs,
The Marvelous Maison, a lifestyle blog hub and
Frugal Fab Fashionista, my fashion blog hub.
Follow me on Pinterest!! Please be sure to kindly follow the board guidelines! Thank you!
Thank you for stopping by! ❤