Wednesday, July 1, 2020

Adding the Final Touches for Independence Day

Hello, Friends out there in the Bloggersphere and beyond! 

During these uncertain and contentious times, I truly like to reflect and remember what is important.  Even though our country is rife with dissension, social and civic unrest, and an ever-growing pandemic, I still love this land.  I still care greatly for our country and my fellow countrymen; I am by definition, a patriot who holds on to the belief that we are evolving closer to the tenets upon which this great nation was founded.  It will take work, for certain, but I truly believe (not naïvely) that we will eventually get there.  Independence Day is just a short time away, so I thought I would share a few last-minute ideas that can be incorporated into your celebration with ease.  I hope you enjoy the post!

Decorating the Front Doors

Nothing for me screams Summertime like nautical flair.  I made these adorable door hangers, and they took no time at all.  They combine the whimsy of Summer fun, and of course, proudly display the red, white, and blue!


To make these you will need:

Red faux flowers
Nautical-style oversized beach tote(s)
Miniature versions of "Old Glory"
Paper towels
Red Ribbon


I began by wadding up the paper towels


and placing them inside the beach totes


until the tote is able to stand up on its own.


I then added the red flowers and the mini flags.


Shown here.


Each tote was attached to the iron on my doors by adding a bit of red ribbon.


I originally placed the flags inside the bags, but I found that threading them through the grommets of the tote held them in place much better.


The completed look.


Left.


Right.


So fun, and so SIMPLE!


Sweet Nuances

I wanted to continue with the nautical theme, so at the backyard cottage,


right next to the flowerbox, a new flag is displayed.  I usually change the flags to match the season, and when I saw this one at Lowe's, I knew it was perfect for this year's theme.
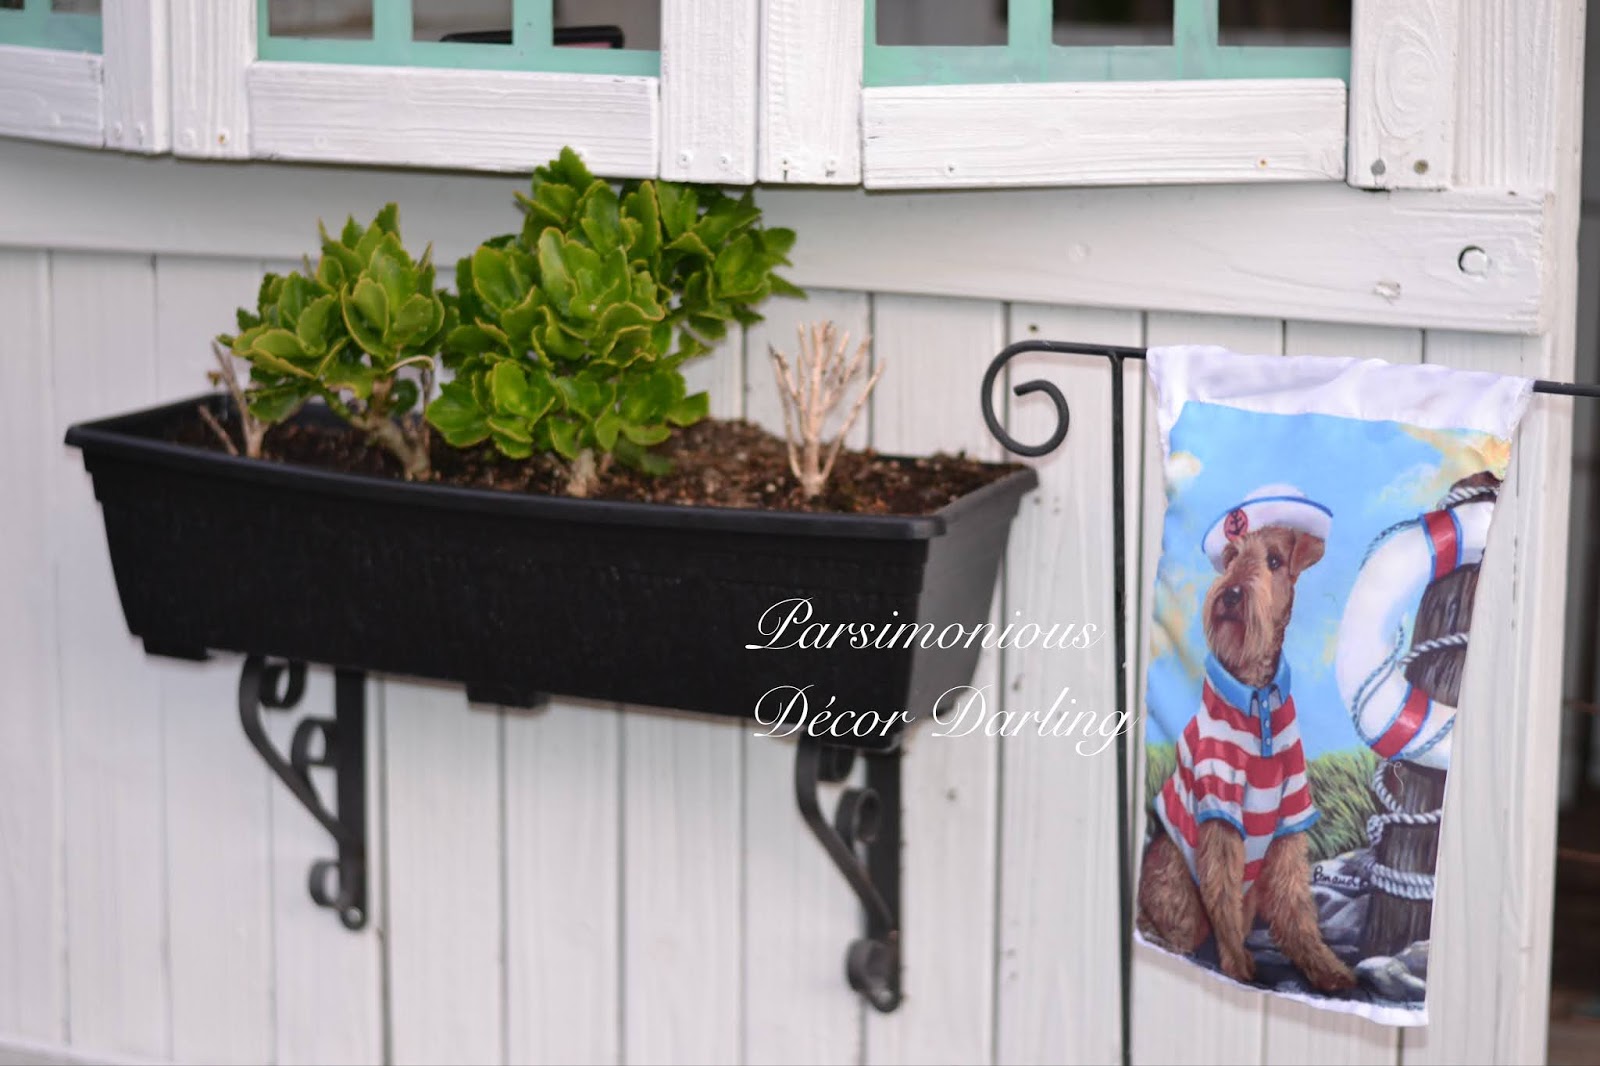


Isn't Mr. Schnauzer too cute snappily outfitted in red, white, and blue sailing regalia!?  Love him!


Setting the Table with Flair

No celebration for me is complete unless it includes delicious treats and a lovely setting to eat them on.  This Independence Day will be no exception.


A no-fuss, no-muss setting in the garden is perfect for a lazy Summer afternoon.


I began the setting with vibrant crimson charger plates placed on a background of crisp white linen


followed by simple white plates.


Cobalt blue stemware for summery sips


are complimented by crimson teacups


and a grand blue bowl full of patriotic charm.


Close up.


Charming little saucers dance merrily


with crisp blue-and-white linens, completing the table setting.


Completed tablescape.


The napkins are easily set aside to place dainty mini Charlotte Russes for guests...strawberry adorned with red ribbon,


and blueberry adorned with blue, of course!


The pièce de résistance??  Blueberry and Strawberry Charlotte.  A Charlotte Russe makes the perfect Summertime dessert.  So light yet so decadent...


and such a pretty presentation adorned with patriotic ribbon!  View of the reverse side.


I hope all is well with each of you and your families.  Please let us remember to be kind and to treat others with respect.  I love the golden rule, it never loses its meaning.  Treat others as you wish to be treated, and God Bless the United States of America!


Until next we meet,


Y


Door Hangers
Totes, Ribbon, and Flags, The 99¢ Store
Red Carnations, The Dollar Tree


Tablescape Elements

Crimson Chargers, generic
White Plates, Ralph Lauren Club Collection
Striped saucers, Kate Spade for Lenox
Crimson teacups, antique
Blue goblets, Libbey Teardrop Cobalt
Bowl for centerpiece, Ralph Lauren Somerset Island Collection
Navy and white napkins, Tai-Pan Trading
White French linen tablecloth, Amazon
Silver plated cake plate, Godinger
Faux white roses, Tai Pan Trading
Faux red carnations, The Dollar Tree
Mini flags, The 99¢ Store


If you enjoy this post, please visit the archives!  You may also visit my full profile to view my other blogs. Connect with me on my Facebook Page, Parsimonious Décor Darling.   You might like to visit my other blog hubs,  

The Marvelous Maison, a lifestyle blog hub and 
Frugal Fab Fashionista, my fashion blog hub. 

Follow me on Pinterest!!  Please be sure to kindly follow the board guidelines, as it takes time and effort to find fabulous pins across the Internet and Pinterest!  Thank you!  

Thank you for stopping by! ❤


Sunday, May 3, 2020

Dreams of Versailles and a DIY Planter

Hello, friends!  I hope this post finds you in good spirits and in good health, especially during these uncertain and difficult times.  This pandemic has been surreal, and it has been such a quandary trying to bode well and navigate these circumstances by attempting to be wise, cautious, and proactive!

I'm sure in childhood, most have heard the proverb 'April Showers bring May flowers.'  A couple of weeks ago (see post here), I shared the happenings around my garden.  When videoing the area, I included a shot of my Versailles-style deck planter box.

I have always been a fan of the well-manicured, overtly curated garden.  One of the most famous and meticulous in the world is featured at the Palace of Versailles.  There are paths, orangeries, statuaries, parterre gardens, and more.  It is definitely on my bucket list to one day tour the fantastic grounds.

Isn't this stunning!!?


The garden is not only famous for its expansive, beautiful grounds; it is also famous for its distinctive planters, shown here in the orangery.  These planters were originally designed during the 17th century by André Le Notre, the gardener of King Louis XIV.


A couple of years ago, when I was planning some of the landscape aspects of my backyard, I thought it would be a great idea to incorporate some of the elements seen in Versailles.  I decided I wanted to add a deck-sized Versailles-style planter and fill it with a combination of topiary and white roses.

Upon searching for a planter, I must say I was shocked at how expensive a Versailles-style planter is!!  There are varying types, and even the same ones officially used in the palace, all at different cost levels.

If you want an official planter like those seen in Versailles, you must fill out a form before you will even be quoted a price!!  Serious gardeners, only please.  Ha.  These are manufactured by Jardins du Roi Soleil, and they are the official provider of the boxes seen at the palace.


A close second (a cheater brand to be honest), is the planter from Jardinier du Roi (note the closeness of the website name...however, these ARE NOT the official ones seen in Versailles).  One of my favorites of theirs is the Ladurée vert.  These are inspired by the famous Ladurée Pâtisserie in Paris.  These will cost you a bit over two thousand dollars to start and upwards to four thousand or more, contingent upon size.


I found a site offering an insight into how much the official planters cost, which start at $3,100 and up to over 10k!!  These were found at Eye of the Day.


One of my favorite sites to peruse is Accents of France, makers of fine French trelliage and planters.  They make truly beautiful planters such as these.


The site also offers a latticed variation, which I rather love.


However, just as those offered at the aforementioned official Jardins du Roi Soliel, you must fill out a form before a price will be quoted to you.

There is such a plethora to choose from!!  Even Frontgate offers a cost-efficient version, with a starting price of $600.


Being the frugal gal that I am, I figured I could build one myself at a fraction of the cost.  I am by no means a professional, but I love a challenge and usually take them head-on!!

If you would like to see a shortened video version of the step-by-step, you may do so here:


The written instructions:

To build your Versailles-inspired planter, you will need:

One fence section (I had a dog-eared one leftover from the prior building of my backyard fence)
Four 4X4 fence posts with attached finials (Cedar French Gothic Fence Post came from Home Depot)
Saw
L brackets
Decorative bracket hardware
Nail gun and Nails
Staple gun and staples
Wood planer
Two 1" X 3" X (? desired length of planter) wood boards
3/4" X 9" Wood planks
Metal Struts
Paint
Deck screws
Large 4X4 beam
Large plywood or thin particle board sheet
Level
Drill and assorted drill bits
Mold-resistant landscape fabric


I began by removing the dog-eared and uneven sections of my fence panel.


Next, I cut the fence into two even sections.


I used a planer to even out any flaws or uneven bits.


Using my fence posts as a guide,


I measured and cut a few board planks to be the sides of the planter.


Measure and cut the 1X3 boards to length of the two fence panels portions.  These will follow the length of the planter. Please excuse my sawdust!! LOL


Using a nail gun, attach the 1X3 boards to the outer sides of the fence sections.  This will act as an additional strut, as well as offering aesthetic appeal to the outside of the planter.


Paint all the parts of the planter.


Next, I added decorative brackets as an additional interesting feature.


Cut the 4X4 beams to the desired width of your planter.

I used brackets (in the corners) and struts (on the outsides) to attach the fence posts to the 4X4 sections.  I used heavy-duty screws and deck screws.


Repeat until all of the elements are put together.


Next, I added the pre-cut and pre-painted wood planks to the sides of the posts using L-brackets.


Measure the bottom of your planter, and cut the plywood sheet to fit.


Use a spade drill bit to create irrigation holes in sporadic places throughout the bottom of your planter. Place inside the planter box.


Finally, cover the insides of the completed box with mold-resistant landscape fabric, and use a staple gun to hold in place.  I doubled mine up.  This will help to prevent roots or anything growing out of the sides of the planter.


Please keep in mind, I added a bottom so that the box could be moved if so desired.  If you dig out an area prior to your build, it may not be necessary to add the bottom.

Just add nutritious planting soil and flowers!!!

I made a cutesy video of my adding the flowers.  You can view it via my YouTube channel here:


Voilà!!


When it was all said and done, I believe I spent less than $100 on the project, most likely because I did not have to purchase the panel.  I estimate it certainly will cost less than $150 if you are building one for yourself.  I hope you enjoyed this little look into my garden!!


Please be safe wherever you might roam.  Until next we meet,


--Y


If you enjoy this post, please visit the archives!  You may also visit my full profile to view my other blogs. Connect with me on my Facebook Page, Parsimonious Décor Darling.   You might like to visit my other blog hubs,  

The Marvelous Maison, a lifestyle blog hub and 
Frugal Fab Fashionista, my fashion blog hub. 

Follow me on Pinterest!!  Please be sure to kindly follow the board guidelines, as it takes time and effort to find fabulous pins across the Internet and Pinterest!  Thank you!  

Thank you for stopping by! ❤