Saturday, June 3, 2023

Series: Setting the Scene for Year-Round Enjoyment. Part Three: Vibrantly Verdant Without the Wait

Hello, friends!  Thank you for stopping by to spend a few moments.  Quite some time ago in this post, I shared the DIY Versailles-inspired planter I had built for an area of my garden.  Today, I will be sharing the next step I took in creating a relaxing space perfect for enjoying not only those warm Summer nights and cool Autumn evenings, but year-round when it is Winter or not quite Spring and there are no flowers!  Here in Southern California, the temperatures are finally beginning to imply Autumn is nigh, although there are days with temps soaring past 100, and it is a no-go working on projects around the garden...but the benefit of the heat is it's the perfect time to share my faux garden wall and pretty planters.  I hope you enjoy!


I have always admired garden spaces resplendent in either tradition or romance:


Traditional gardens of meticulously maintained topiary,
Levens Hall.  Photo via VisitCumbria.com
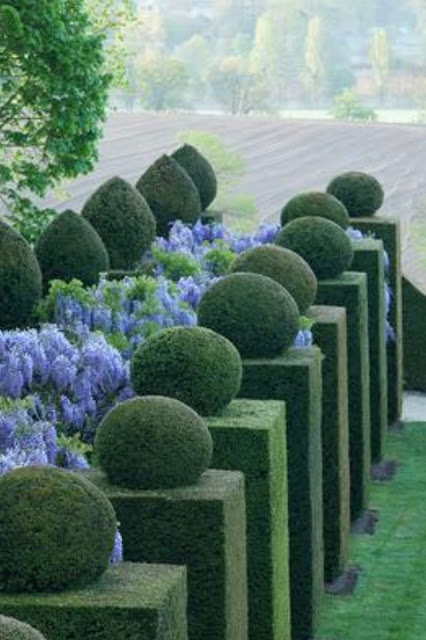


Château de la Ballue Garden.  Photo via the European Garden Heritage Network 


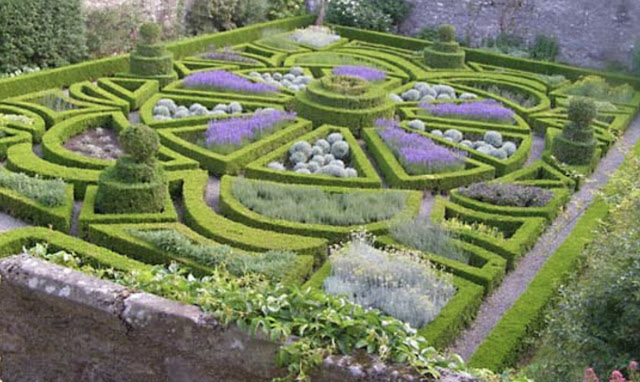
or fantastic French parterre gardens that enchant with verdant allure.
Parterre garden at Bodysgallen Hall, Wales.  Photo via Britannica.com


Beautiful and whimsical English-style gardens full of charm:


Mixing the gracious splendor Mother Nature has to offer.
  Levens Hall.  Via The Levens Hall Garden Gallery.


Climbing flowers dripping off of trellises.
Beautiful "Strawberry Hill" climbing roses.  Via David Austin Roses EU


Rambling, fragrant gorgeousness growing along bucolic fences


and spilling untamed in their unabashed glory over walls.


Wonderful garden follies full of old-world appeal.
Capel Manor Garden Folly, photo via Wikimedia Commons.


Layered gardens that delight the senses with fantastic color; truly a feast for the eyes!


Most gardens are a labor of love that take years to master, complete, and maintain.  For the DIY-home gardener, it is an arduous exercise in trial and error.  I am an impatient one in this regard, specifically because it is very, very hot where I live and the Summers are quite near arid.  The soil is terribly hard, rocky, full of clay, and a lot of folks opt for succulent gardens (which sorry to say, I low-key abhor, lol!).  When planning my outdoor space, I wanted to combine my love of the romantic as well as the traditional by incorporating a little bit of both old-world charm and streamlined meticulousness.


The area where I added the furniture and small fireplace was slowly coming together, but still looked somewhat barren and incomplete.


As previously stated, I first added my DIY Versailles-style planter you see on the right.  I still felt the area was missing something.


By adding some potted pretties along with faux greenery, the space really began to take shape.


To make a faux ivy wall, you will need several panels of faux grass.  I purchased mine from the 99¢ Store, although you can likely also purchase them in bulk online. At the local 99¢ Store where I found mine, they usually have stock every Spring, even with flowers!


You will also need:

2X4 wood stud sections
Saw for cutting
Nail gun and nails
Faux grass roll (optional)
Staple gun and staples
Garden or florist twine in green


Begin by building a stand, with staggered studs/beams.


Use two by fours as footing.

Next, you will drape the faux grass roll onto the stand, pulling it taut, using the staple gun to staple it into place on the reverse side.  You may opt to skip this step if you prefer, but because portions of the fake grass sections can be slightly see-through, I added the roll of fake grass first for a more cohesive look...and in essence, building a grass accent wall.

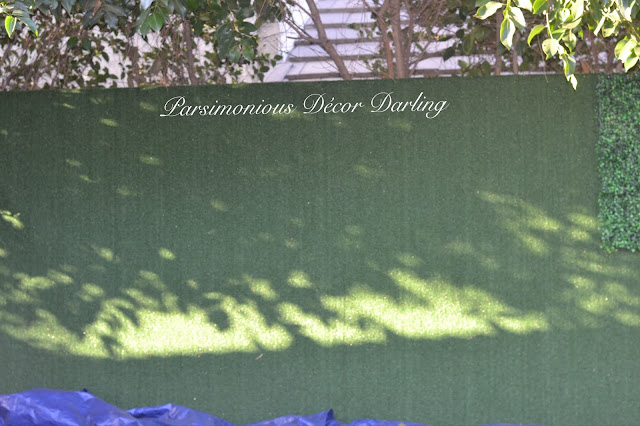

Once the faux grass roll is stapled (tightly) into place, use the staple gun to staple the faux grass sections over it.  Staple them directly to the staggered wood hidden beneath the faux grass.  I used the green twine to attach the separate sections to each other, especially on portions where there is no wood beam to adhere to, making them much more secure.


Continue until completely covered.


The finished grass wall:


 You will note I added a glass mirror as an accent.  I go into more detail about it here.


Pretty planters:


A while back, at a local statuary/nursery, I came across these beautiful extra large planters.  I was immediately drawn to their ornate detail, the beautiful bronze, and the simulated patina.


Closeup.


I simply used some premixed enriched soil:


filled the pot about 3/4s full:
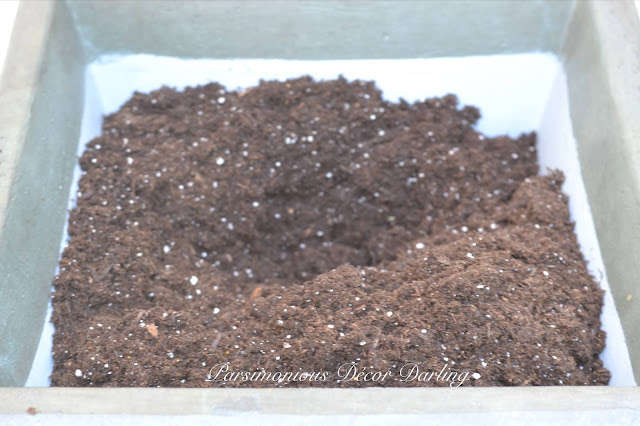

Then added some pretty blooms.  Geranium seem to do very well in the California heat, and although they are not fragrant in a good way...they come off very pungent to me; they are aesthetically pleasing.  


Closeup.


A planter was placed at the side of each sliding door.


Trellises were added to each pot along with fragrant, climbing jasmine.  Jasmine, unlike the geranium, smells beautiful and is such a delight for the senses!!


Next, I added a row of raised garden urns on plinths down the path near the wall of the garden.  

Before:


So bland!!


I found this adorable stone garden urn at my local Lowe's, for less than $30!!  You can find them here.


Each planter was placed on a column plinth


  and I planted small boxwood balls in each along with trellising/weeping vines. 


To each, I added a small solar-powered lantern.


So. Much. Better. 


Next, I added flowers to this lovely fluted planter I'm pretty sure I found at Lowe's as well.     


They no longer sell this model at Lowe's


however, this one is very similar available here at Frontgate.


This one is available at Wayfair.  You may view it here.


The wall has held up fabulously over the last couple of years, requiring me to restaple here and there only sporadically.  The funny thing is, on a recent jaunt to Lowe's, I found they now sell their own trellis with faux foliage.  I am considering changing these out to those, because they may require even less maintenance.  They appear a little sturdier.  They are quite pretty:


What I like is the base is hardier and likely easier to nail or staple down, and it covers a much larger area.  

Do you “cheat” in your garden, or are you blessed with enviable circumstances with which to cultivate with ease?  ☺️


If you enjoy this post, please visit the archives!  You may also visit my full profile to view my other blogs. Connect with me on my Facebook Page, Parsimonious Décor Darling.   You might like to visit my other blog hubs,

The Marvelous Maison, a lifestyle blog hub and 
Frugal Fab Fashionista, my fashion blog hub. 

Follow me on Pinterest!!  Please be sure to kindly follow the board guidelines!  Thank you!  

Thank you for stopping by! ❤


Friday, May 12, 2023

April Showers Bring May Flowers/DIY Classic European Style Window Box


Hello, dear lovelies!  Thank you so much for stopping by!  We are now in the full swing of Spring, and I am loving seeing signs of life all over the garden.   It is the perfect time to start planting, or to continue maintaining your perennials and/or to begin refreshing your annuals.

A wonderful way to display your beautiful blooms is in a classic window box.   Some time ago during the beginning of the pandemic, I began perusing multiple sites for inspiration, because I had just finished skip-troweling the exterior of my house, but it still looked a little bland.  I decided the implementation of window boxes would make for a pretty addition to the newly stuccoed and painted exterior.  

I wanted something classic or with European nuances.  Here are some of the window boxes I considered:


I found this one to be just gorgeous!!  It is The Shipman from the Bunny Williams Collection at Ballard Design.  The price tag of this beauty is $489.


Lovely.  The Savannah Window Box from www.flowerwindowboxes.com.  What I liked about this option is that you have a choice of adding a self-watering system, and also a choice five different finishes for the metal box insert.  These vary in price contingent upon size and finishing options, starting at $203.99 for the smallest (24") and $662.99 for the largest (108").


Very pretty.  The European Window Box from Hooks and Lattice. These start at $173.85 and up with many options such as liner choices, et cetera.


Stunning.  Just one of the many pretty options at GardenMetalWork.com.  Prices vary.


Then, one day as I was perusing my local 99¢ Store looking for crafting supplies, I came upon these wonderful fence panels.  Needless to say, inspiration hit!  Being the frugal gal I am, I wondered if I could build my own window boxes using them.


Today, I am sharing a tutorial on how I built lovely, classical style window flower boxes for pennies on the dollar.  I hope you enjoy the post!


This is an intermediate level project, so of course there was a bit of trial and error .  I initially intended these boxes to sit on the ground just underneath each window, so the material I used did not need to be overly sturdy or hardy.  However, since I ended up hanging these boxes, I recommend using a thicker, heavier wood than the particle board I used which is featured in my photos.  


To build your box you will need:  

Pre-treated wood planks

Measuring Tape

Lattice fence sections

Drill with a forstner or wood/spade bit

Paint of your choice

Landscape weed barrier fabric

Staple gun and staples

Brackets strong enough to accommodate weight of your soil, planter, and flowers

Small gauge nails

Panel nails

Small thin wood sections, or 1 X 1 inch flashing, furring strip, et cetera 

Construction adhesive in coordinating color

Sharp razor blade or cutting tool (I used an angle grinder)

Mounting nails or screws intended for masonry 


First, you will want to measure the window to see what size you want your window box to be.  Once you have measured, cut your boards to size.  You will need three boards the length of your window, and two shorter boards for the width of each box.


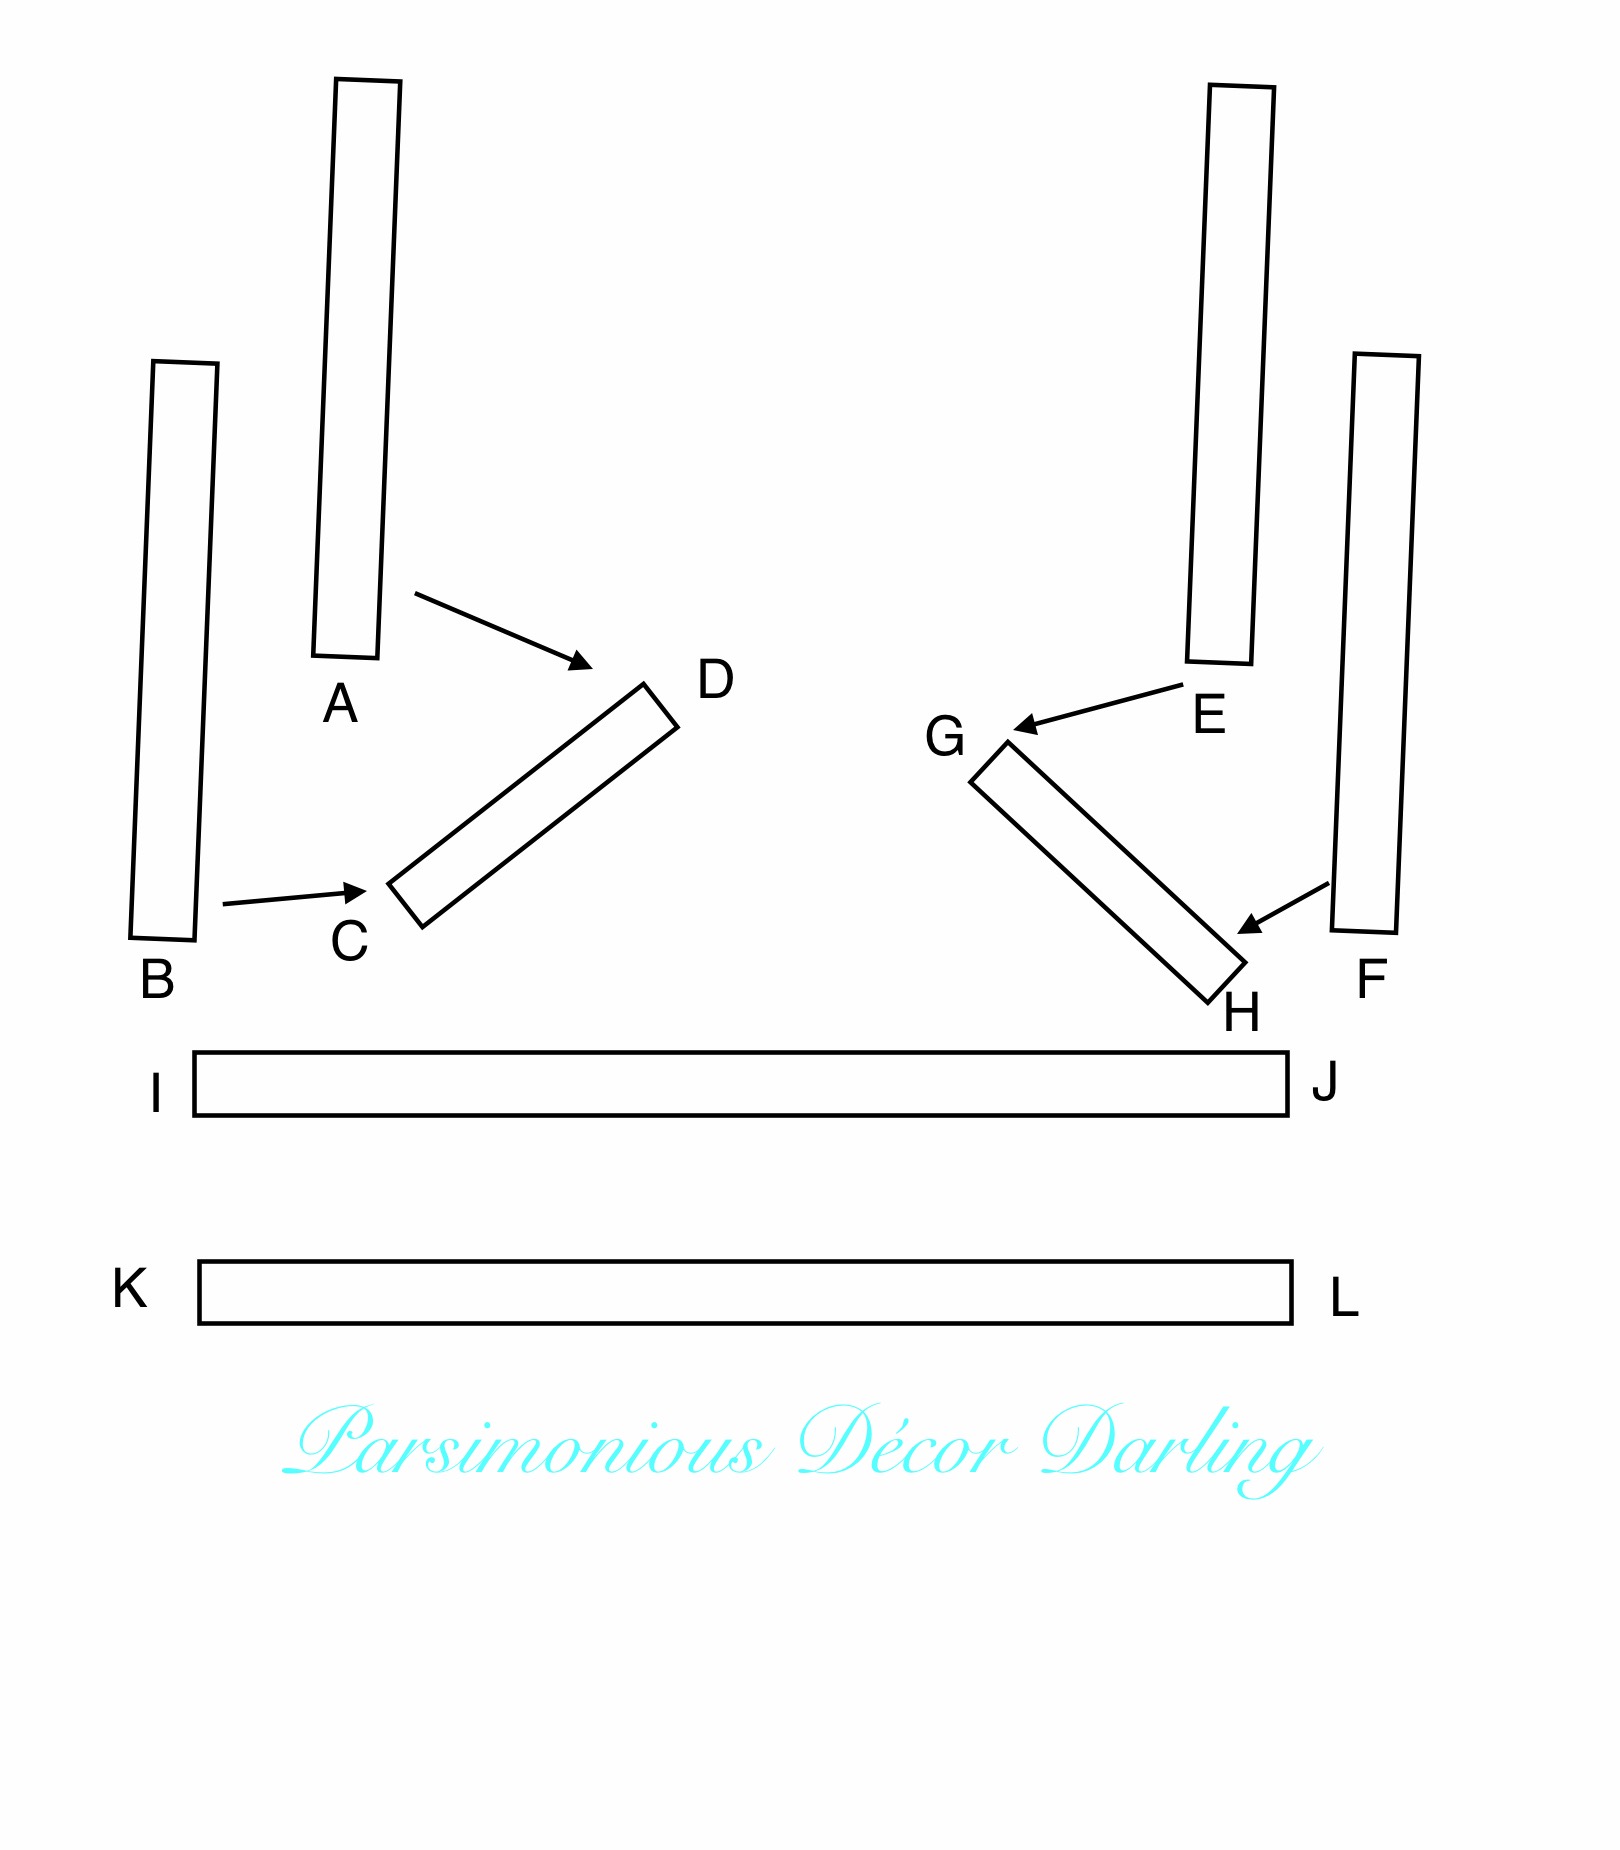
Once measured, you will need to measure and cut the thin pieces of wood to size to coordinate with the height of the box.  You will need one for each corner, and one for each bottom length…or eight total for each box.  Using the small gauge nails, attach measured furring strip (thin wood pieces) to form a topless rectangular form.  You may use the diagram below as a reference.  First, create the shorter sides of the form.  Attach the side of Strip A to Strip D, forming a 90 degree angle in an inverted L shape.  Next, attach the side of Strip B to side C. You should now have a U shape.  Repeat the process; side of Strip E to the side of Strip G  (forming an L) and the side of Strip H to the side of Strip F, forming the second U shape.  Finally, attach side A/D to side I, side E/G to side J, side B/C to side K, and side H/F to side L.  


Attach your pre-measured boards (sides) to their coordinating places and measurements.  Your box is almost complete 😅!  Use the drill with a forstner bit to make drainage holes in the bottom of your box.  Paint the completed box your preferred color.


Attaching the lattice design did require quite a bit of patience, because my window boxes were longer than each fence panel.  The easiest part was attaching the side panels.  First, I beaded a bit of black construction adhesive to the side of the box.  I used Dap’s Dynaflex ultra.


Here is a photo of one of the longer sides, on which I beaded the adhesive.


Next, nail a piece of the lattice that has been cut to size in place over the adhesive.  I also cut sections to cover each length of the lattice, adding or subtracting where needed.


I used these small panel nails to accomplish this task.


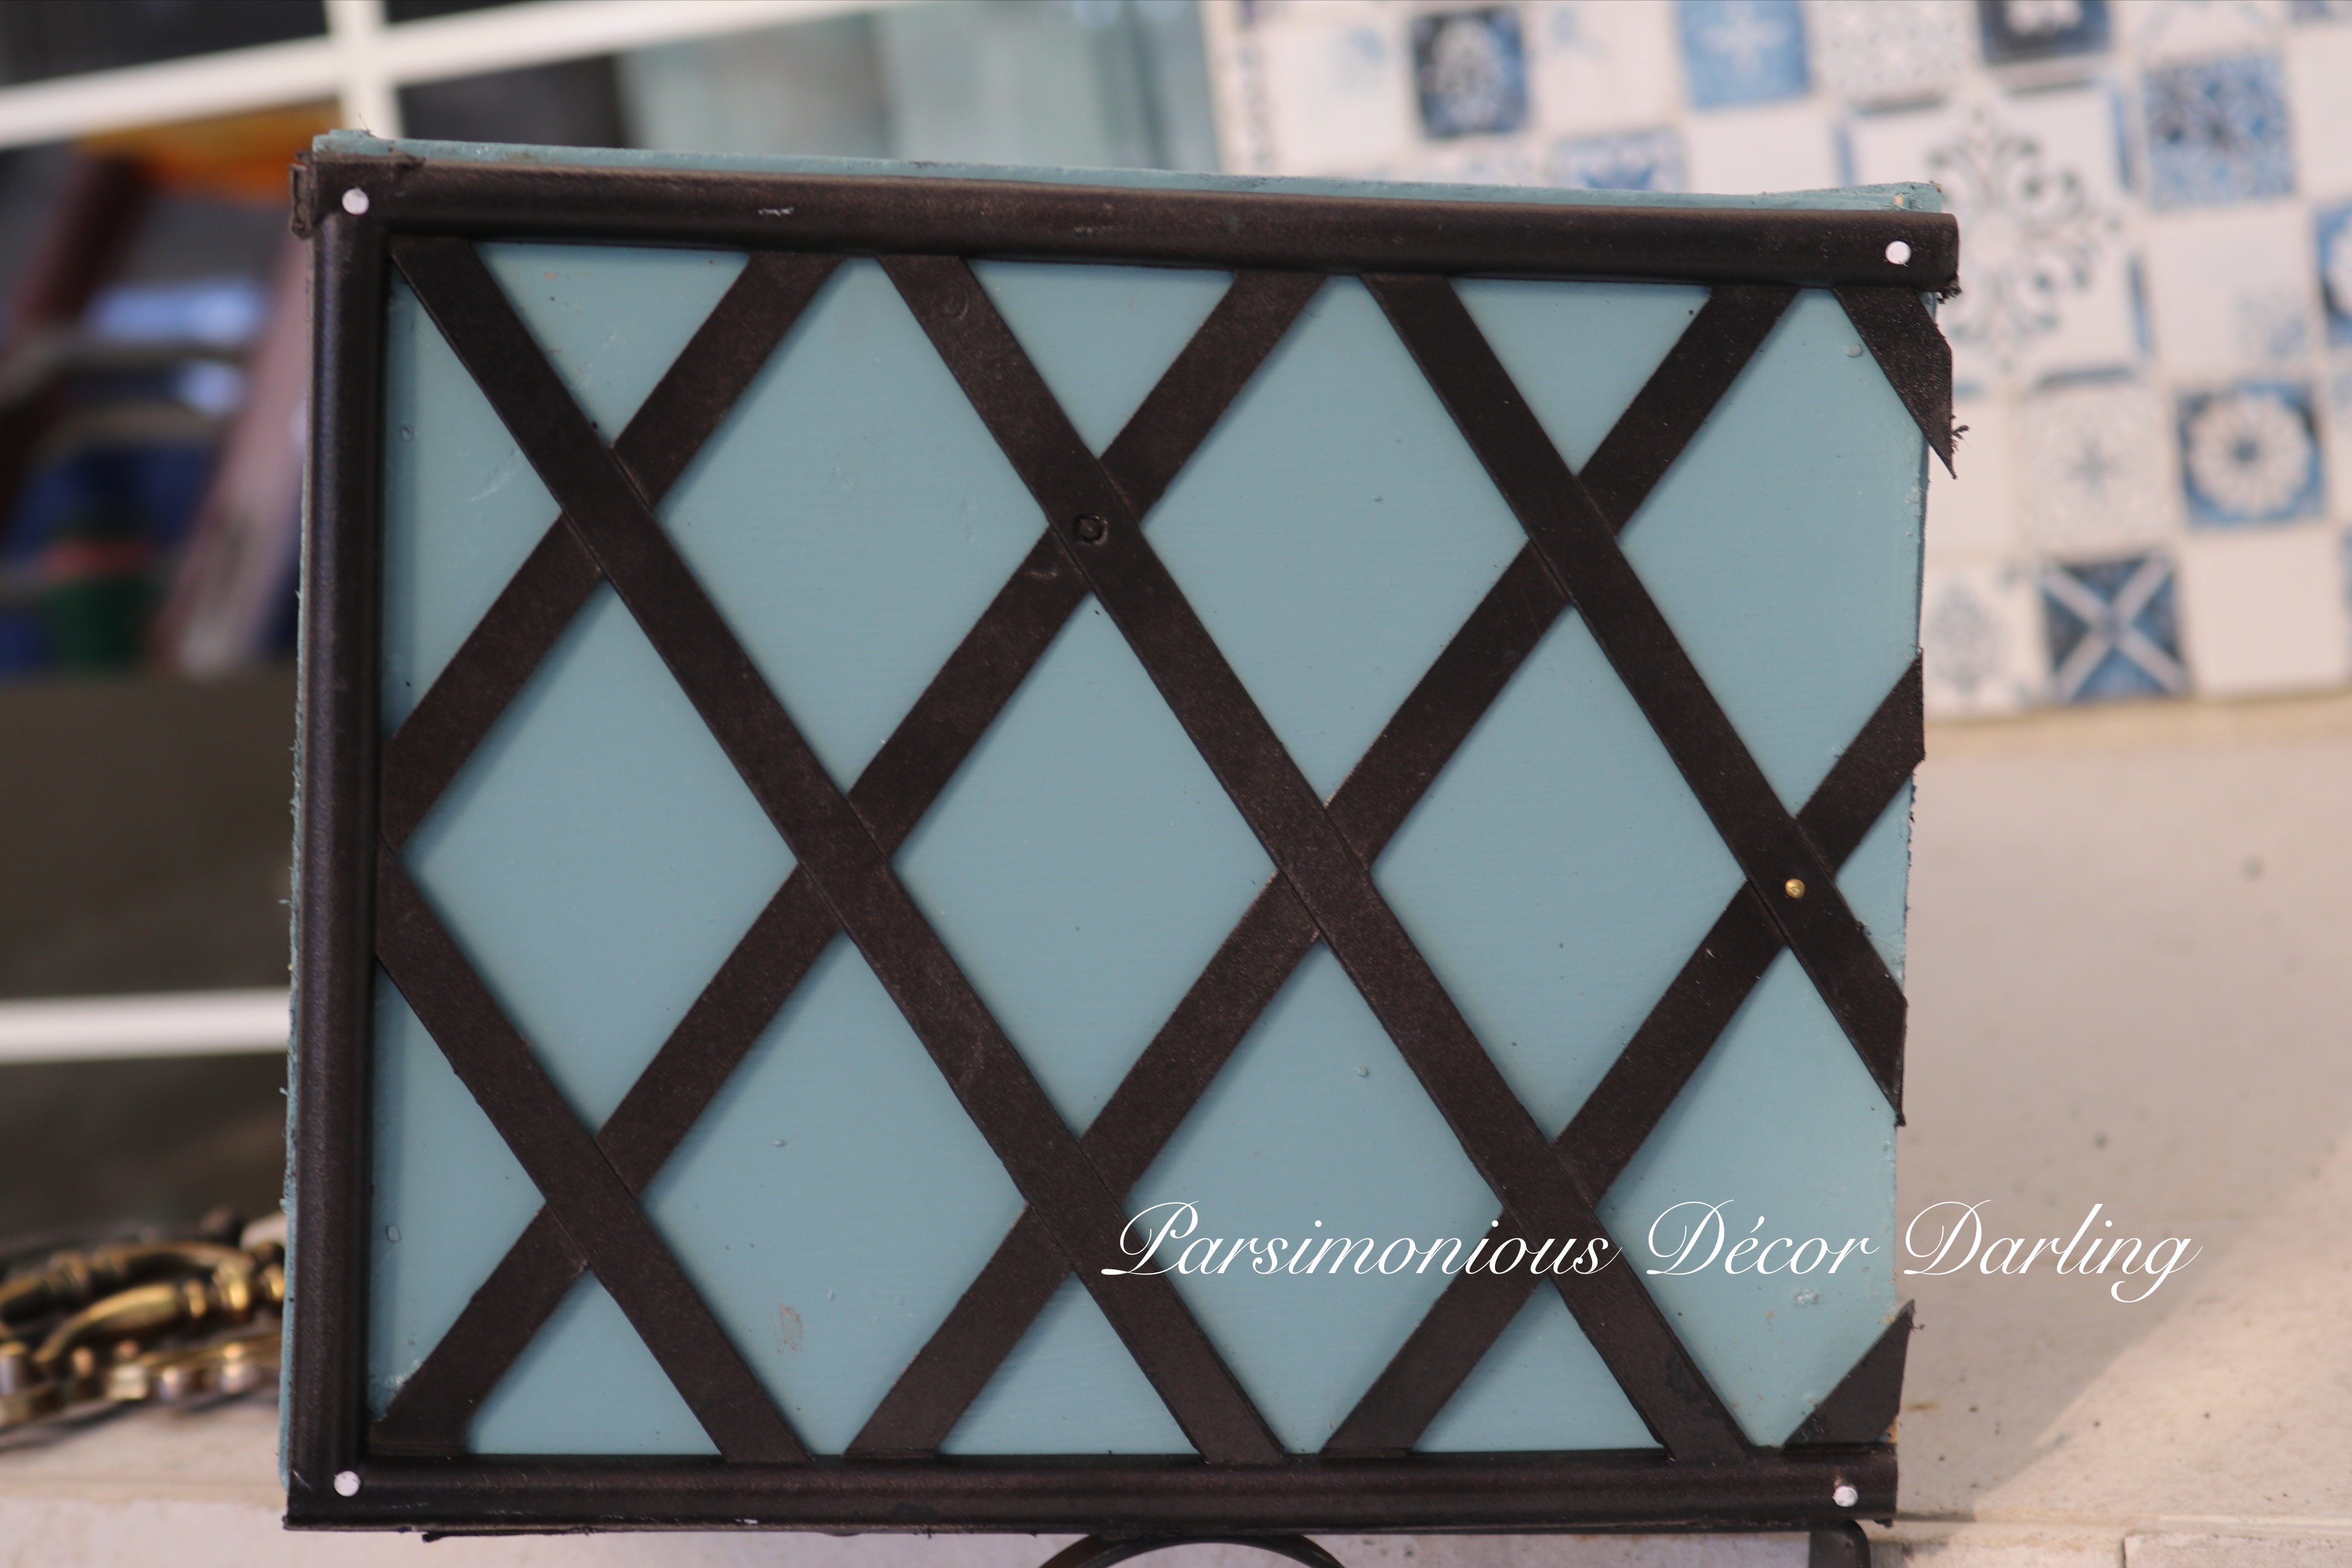
Here’s how it looks on the side of one of my boxes.  After attaching the pieces, bead a bit of adhesive over the nails’ heads to camouflage them.


Photos of the length down one of the longer sides.  As mentioned, this was arduous; it took a lot of measuring, cutting, and matching edges to make a lattice the full length of the box.


Next, I attached brackets.  I used these brackets I found from Lowe’s.  Each pair can accommodate up to 80 lbs of weight.  For my largest box, I used three.  I also added another furring strip down the middle of that specific box as reinforcement, also providing a place for the bracket to be attached.  


Shown here.


Finally, right exactly in the middle of each box, I decided to add a (DARLING!) wooden monogram.  

I began with a thin piece of lightweight wood.


I whitewashed the wood with chalk paint.


I used a Rustoleum chalk paint in Linen White.


I looked online and created a design using a amalgam of several I fancied…I ended up with this design:


Thank you so much to Mr. Parsimonious for using his laser cutter to make these!  Aren’t they sweet?

Finished box:


Just prior to mounting the boxes, I used a staple gun to staple landscape fabric inside each box.  Here are photos of the completed boxes on my windows:


It is very hot here in Southern California, so I decided to use hearty plants.  I chose White Kalanchoe Widow’s Thrill) and English Ivy. 

Here’s a few photos about a year on when they really began to flourish.


I hope you are enjoying the beauty of spring in your neck of the woods!


If you enjoy this post, please visit the archives!  You may also visit my full profile to view my other blogs. Connect with me on my Facebook Page, Parsimonious Décor Darling.   You might like to visit my other blog hubs,

The Marvelous Maison, a lifestyle blog hub and 
Frugal Fab Fashionista, my fashion blog hub. 

Follow me on Pinterest!!  Please be sure to kindly follow the board guidelines!  Thank you!  

Thank you for stopping by! ❤