

Hello, Dear Friends!!
How are you all acclimating to a Summertime pandemic-wrought? I hope you are faring well. We have been trying to play it safe here, especially because Mr. Parsimonious works in the medical field.I don't know why, but the Summer months often make me think of the Mediterranean countryside. Perhaps it has to do with the fervent weather. My palate also craves a lighter menu this time of year. Two of my favorite things to eat this time of year are wood-fired pizzas and beautiful nibbles presented on a charcuterie board.
Charcuterie is the French art of preparing different types of meats that are often sold in a delicatessen. A huge board for presenting these delightful noshes is a perfect addition any entertainer, epicurist, or chef-aspirant's paraphernalia, but the board can also be utilized as a board to slide pizzas into a fire-brick oven.
In today's post, I am sharing a simple tutorial of how I made an extra-large presentation board perfect for the dual uses of charcuterie presentation and as a pizza peel (paddle). I hope you enjoy the post!
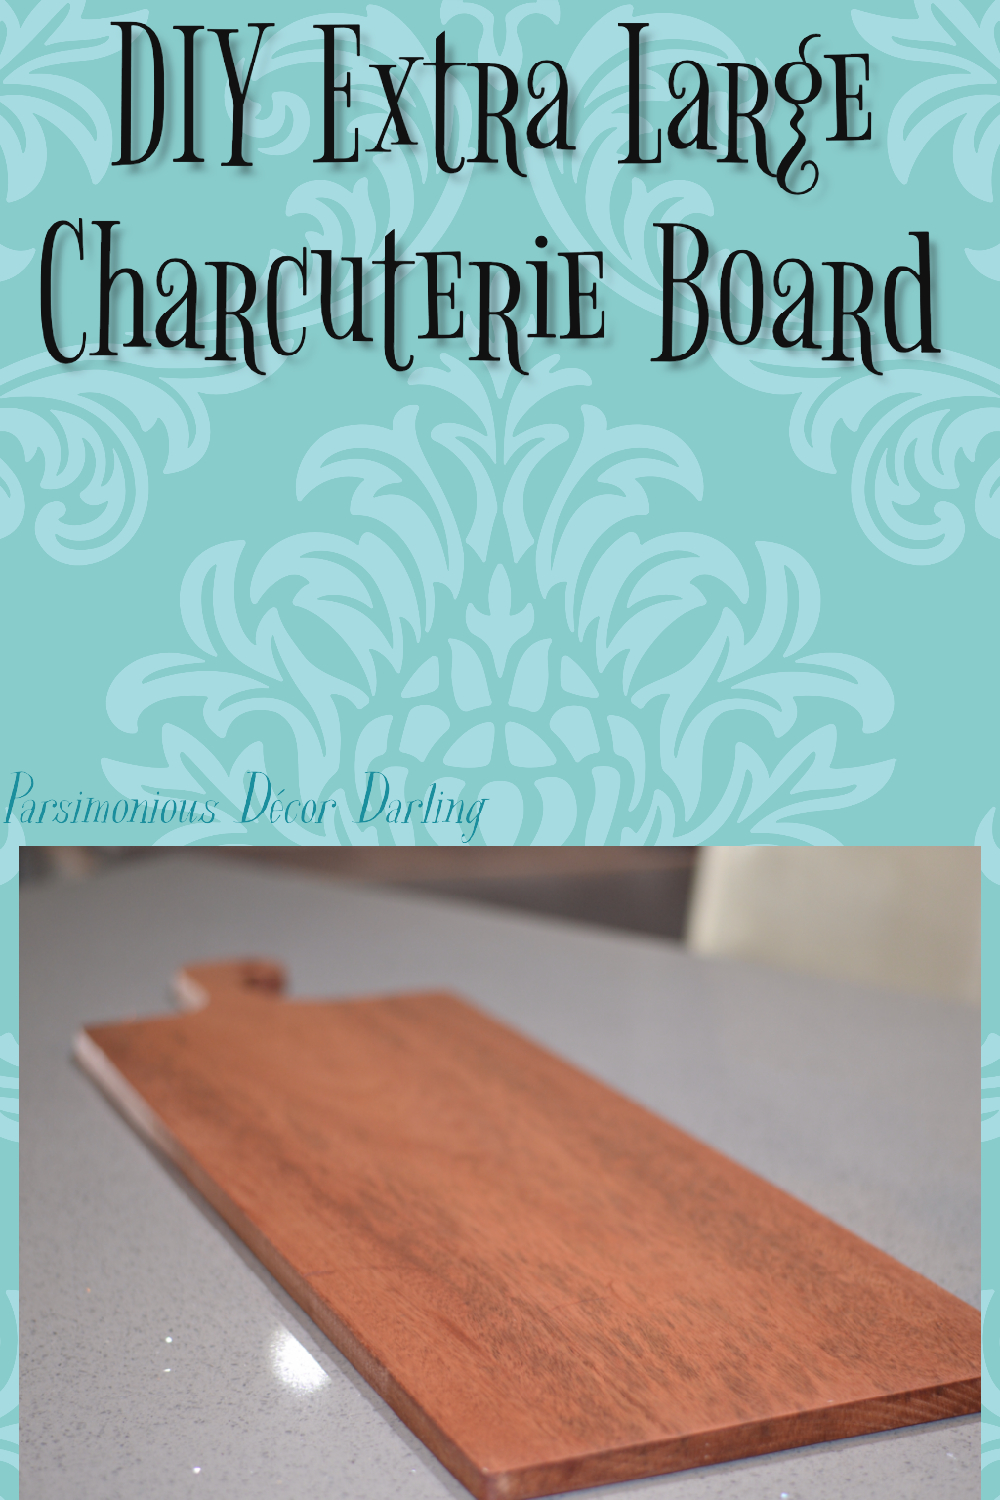
You will need a large plank of wood. I chose a beautiful African Mahogany. I really loved the gorgeous grain of the wood. I bought my plank from the Home Depot.

I began by roughly sketching (very rough, lol!!) a drawing of my handle. I wanted my board to be quite large, so I kept the wood at the 3-foot size as purchased and didn't cut any away, save for the handle.


I cut the template using a jigsaw, carefully following the lines.

Next, I cut out a hole that will be used for hanging the completed piece on a wall. To cut out the hole, I drew an approximate area where I wanted it to land, and then

cut it out using a drill fitted with a Forstner wood-boring drill bit.

A closer look.

Next, I used an oscillating spindle sander to smooth out all those edges. An oscillating sander works very well for sanding out curves.

Finally, I used a sheet (finishing) sander fitted with sandpaper of varying grits to complete the board, removing any flaws and/or remaining pencil marks. I began with papers of coarser grits, continuing to decrease the roughness of the paper with each sanding succession until the final sanding, for which I used a very fine grit paper. As you sand, be sure to sand in the same direction of the wood grain.
To seal the wood, I used a mineral oil I found at Ikea. You can likely find cutting board wood oil at any hardware store, or even on Amazon. Just be sure that it is a food-grade or food-safe oil. You may also opt to add a layer of all-natural bees wax to the wood as well as an additional sealant. The same rule applies; be sure it is food-safe!!

Just use a very clean, soft dry cloth and wipe the mineral oil on the board until all of the wood is covered. The mineral oil will absorb into the wood and act as a barrier between the raw wood and your food. It will also protect the wood. Be sure to repeat this process after every few uses.

Completed board.

Handle Detail.

If you have enjoyed this tutorial, you may pin it here:

Until next we meet,
-Y
If you enjoy this post, please visit the archives! You may also visit my full profile to view my other blogs. Connect with me on my Facebook Page, Parsimonious Décor Darling. You might like to visit my other blog hubs,
The Marvelous Maison, a lifestyle blog hub and
Frugal Fab Fashionista, my fashion blog hub.
Follow me on Pinterest!! Please be sure to kindly follow the board guidelines! Thank you!
Thank you for stopping by! ❤
really gorgeous. love the assymetrical handle
ReplyDeleteThank you!
Delete