Monday, September 25, 2023

Enjoying the Beauty of Autumn


Hello, beautiful people in the bloggerverse and beyond!  Well, we are finally here, at long last...Autumn.  Even though it was officially Autumn September 23 this year, here in sunny southern California, we oftentimes don't feel it until much later in the season; it almost always occurs on Halloween night.  I always notice that is the evening that there is a definite crisp in the air, and usually subsequent to that, the rains come.


A couple of years ago, just as the Autumn was upon us, we were able to stay in a cabin in the mountains belonging to a colleague of my husband.  This beauty was tucked away in the woods just a few short steps from Lake Arrowhead.  It was an amazing property, and we had such a great time.  During our time there, we took hikes, fished, and went shopping at the picturesque and charming town center, which even had a scant of upscale stores such as Coach.


On one of our hikes, I was giddy when I looked and noticed wild brambleberries growing alongside the trail.  Brambleberries are really any berries that grow on thorny, prickly bushes (or brambles) and include blackberries, raspberries, boysenberries, and fruits of the like.  I had never seen them growing in the wild, but I immediately recognized what they were and I went on to pick several straight away.  


When I got them back to the cabin, I decided to make a lovely brambleberry jam.  I completely  romanticized the idea of a morning java in the mountains with a jam made by my own hand.  Is there anything better??  ;) 


Here is my process.


I began by thoroughly washing the fruit.


I found this darling little antique saucepan in the cabin; it was just the right size for making a small batch.


I placed the cleansed fruit into the pan on medium to medium/high heat.


I added a squeeze of fresh lemon juice, about one teaspoon.  

I added sugar, approximately two to three tablespoons.


I brought the fruit to a boil, then reduced the heat to medium/low, and continued cooking until all of the liquid in the fruit was reduced.


I allowed the jam to cool completely.


Look at this beautiful view!


I couldn't wait to sit outside in that gorgeousness and enjoy the morning!  I served this yummy jam with bagels and inexpensive caviar.  I love a sweet/salty combo.  I also had a bit of orange juice.  It made for a lovely start to the day.


Have you ever found deliciousness growing in the wild?


Until next we meet...

--Y


If you enjoy this post, please visit the archives!  You may also visit my full profile to view my other blogs. Connect with me on my Facebook Page, Parsimonious Décor Darling.   You might like to visit my other blog hubs,

The Marvelous Maison, a lifestyle blog hub and 
Frugal Fab Fashionista, my fashion blog hub. 

Follow me on Pinterest!!  Please be sure to kindly follow the board guidelines!  Thank you!  

Thank you for stopping by! ❤


Saturday, September 23, 2023

Hello, Autumn

 The Summer season has closed.


The flowers of seasons past have come full bloom,


likely for the last time before the cold arrives.


The blooms of Autumn slowly peek out,


in hopes to beat the frost.


Goodbye, Summer.


--Y


If you enjoy this post, please visit the archives!  You may also visit my full profile to view my other blogs. Connect with me on my Facebook Page, Parsimonious Décor Darling.   You might like to visit my other blog hubs,

The Marvelous Maison, a lifestyle blog hub and 
Frugal Fab Fashionista, my fashion blog hub. 

Follow me on Pinterest!!  Please be sure to kindly follow the board guidelines!  Thank you!  

Thank you for stopping by! ❤


Friday, September 15, 2023

Series: Setting the Scene for Year-Round Enjoyment. Part Four: A Reflective Touch

Hello, friends in the blogosphere and beyond!  Can you believe another year has flown by and that it is Fall yet again!?  My, how time flies.


Today, I would like to again share some of the goings on in my garden.  


What inspires you when planning an outdoor space?  Do you enjoy a stately aesthetic or do you prefer a more free-flowing space, allowing for nature to take its own course?  I personally prefer a mix of both.


Levens Hall Garden


It is so interesting how times change and how trends catch on.  A few years ago when I initially began thinking about planning my garden and outdoor space, I became quite intrigued absolutely obsessed with the idea of a garden folly.


Have you ever seen a garden folly?  They are very popular in England.  A garden folly can simply mean an ornate outdoor structure, 


Hever Castle


or even an elaborate build resembling ruins.  


Fab.  Gothic arches, from Haddon Stone.


Beautiful arches, via Redwood Stone.

The one thing in common is that follies are structures that are mainly meant for decorative purposes, even if they also happen to be functional.

A couple of years back, I was mostly inspired by the type of folly that resembled ruins, specifically those that exemplified old-world or gothic influence.

Eventually, as I began to realize just how involved a folly build would be, I put to rest the idea of a full folly; the idea evolved into the idea of a faux-folly.  I liked the idea of a simple folly consisting of mirrors meant to emulate windows. 


Aren’t these fab??  These mirrors replicate gothic cathedral windows, and I was immediately enamored.  These are just what I had in mind when I was thinking of a faux-folly.  Unfortunately, at the time, they were only available in Europe, and because they were made of very heavy crushed stone, were extraordinarily expensive to ship (we are talking thousands upon thousands!!).


Source unknown.


Lovely.  From English Salvage.


Love these.  Both from Brighton Roc Gothic Mirrors.


Incorporated into a folly ruin, also from Brighton Roc Gothic Mirrors.


Alas, at the end of it all, I had to settle for something much, much less extravagant.  I ended up creating some European-styled mirrors for my garden.  This is such a bummer; in the years that have passed, the trend has caught on and I have even seen similar items comparable to the aforementioned gothic windows at Wayfair, for truly inexpensive prices now!!

I digress…

Here is the method to my madness at the time.

When I started the makeover in the garden, I replaced a section of garden gates, but I'd set aside the gates because I really fancied the diamond pattern of the gates, which reminded me of Elizabethan glass you might see in old Tudor houses. 


I took the gates to a local glass/window making shop and asked that they add mirrored glass to each of the gate panels.  They were able to do so for only a couple of hundred dollars, so not bad!


I then mounted them on the grass wall I had previously created.  They add much more dimension to the space!


Here is a look as I was completing the faux grass wall.


The completed space after the completion of the wall, addition of the seating, firepit, and addition of complementary throw pillows.


A couple of closeups.


A view from the dining area in the house out to the back yard.  I love how all of that gorgeous California sunshine reflects back and forth between the sliding glass, the cabinet glass, and the mirrors!


In the years since, they have held up amazingly well, although I may still lament from time to time not being able to have a true folly, lol!!


From where do you glean inspiration?


--Y


If you enjoy this post, please visit the archives!  You may also visit my full profile to view my other blogs. Connect with me on my Facebook Page, Parsimonious Décor Darling.   You might like to visit my other blog hubs,

The Marvelous Maison, a lifestyle blog hub and 
Frugal Fab Fashionista, my fashion blog hub. 

Follow me on Pinterest!!  Please be sure to kindly follow the board guidelines!  Thank you!  

Thank you for stopping by! ❤


Tuesday, August 8, 2023

Set Your Table with Flair--Teatime Tuesday for Afternoon Tea Week


Hello, dear friends!

How is life in your neck of the woods?  Are you looking forward to a respite from this unrelenting heat?  I know that I am, lol...

It just so happened that just last week, we saw a slight decrease in temperatures, just in time for afternoon tea week, which commences every year during the second full week in August.  This year, it lands on August 7 through August 13.  I absolutely adore taking tea and am an avid collector of pretties!  

Today I am sharing how I set up a charming teatime al fresco just in time for this very lovely occasion.


I wanted a setting with cool tones, so I opted to combine pretty blues and minty greens.  


An elegant fluted cup with delicate gilt sits atop a dainty saucer and pretty plate in coordinating colors.


A demitasse spoon, cocktail fork, and spreader in gold make for ample accoutrement. 


An iridescent pot used for café plays perfectly with a stout pot in floral for tea.  Guests have an option for either.


At each setting, a petite teapot favor contains a teabag for each guest.


Aren't these sweet?


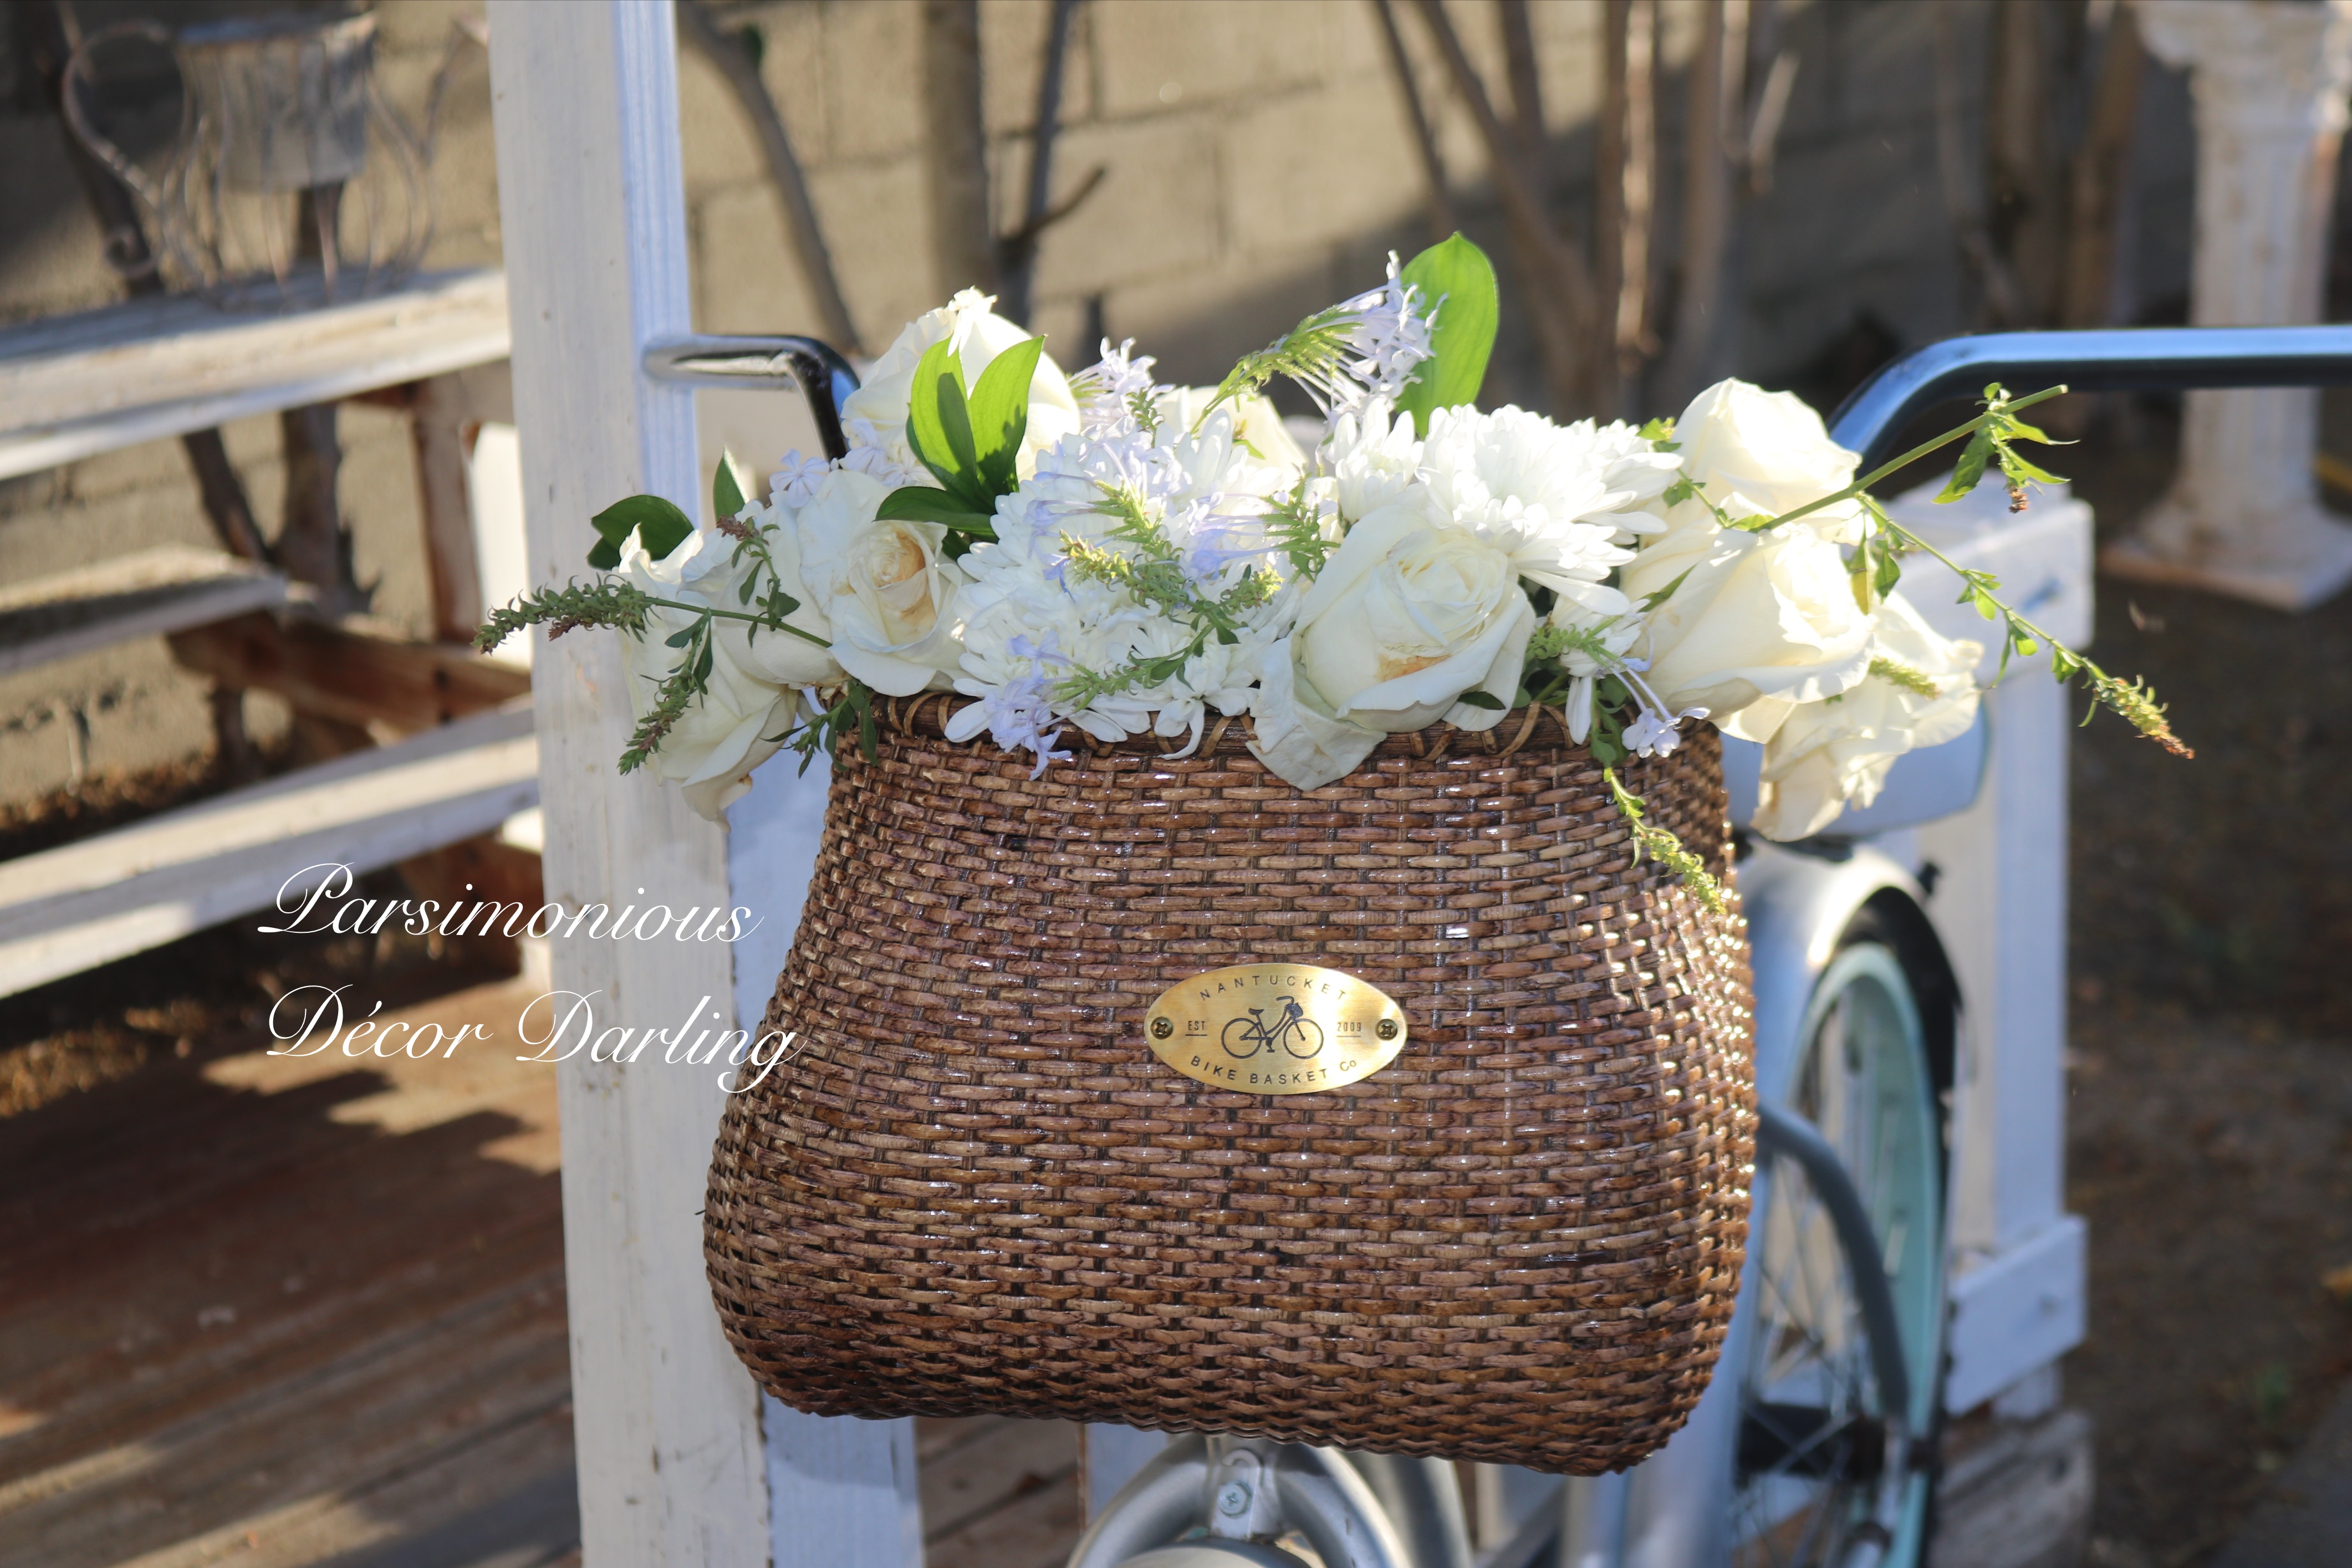
An arrangement of simple flowers; white roses, white chrysanthemums, and pale bluish plumbago.


  The roses and mums came from the local grocer, and the plumbago, from my garden.


On to the main attraction, the yummies!!  Afternoon tea typically has three courses:  the scone, the savory, and the sweet.  I opted only for two, a savory and a sweet course for my simple setting.  I used a few clever tricks in preparation to save time.


The Savories:


For my afternoon tea, I opted to have finger sandwiches as well as open-faced sandwiches, which were close to canapés, save for the omittance of the garnish on the top of each.  I prepared an egg salad, a Waldorf chicken salad, and open-faced cucumber and salmon sandwiches. 

Egg salad:

I hard-boiled two eggs, and added mayonnaise, enough to make a creamy mixture.


  This was placed on bread with the crusts removed.


A thinly sliced Roma tomato


was laid atop the egg salad,


and finally, a sprinkle of lemon pepper.


There are so many options for these dainty treats, but I decided to cut them into length-wise strips and small squares.


Waldorf Chicken salad:


To make this salad, I used approximately 3/4 of one granny smith apple, sliced,


and finely chopped.


Two thin stalks of celery, cut lengthwise,


and finely chopped.


Next, I added walnuts,


finely chopped,


One can of chunk chicken,


drained,


chopped finely,


and finally, both red and green grapes right off of my vines.  The grapes that grow in my garden are relatively small in comparison to those that you find at the grocer, so there was no need to halve them.  


I combined all of these ingredients together along with mayonnaise, salt and pepper to taste, and a dash of lemon juice.  Waldorf is one of my favorites!  So delicious!


For the Waldorf salad sandwiches and the open-face "canapés," I used my handy biscuit cutter to cut bread into rounds.


For these sandwiches, I prefer a heartier bread, and I used Dave's Killer Bread.


The base for the two remaining sandwiches, which were both open-face sandwiches (no tops), was the same.

I combined softened cream cheese,


fresh dill and chives,


rinsed,


and finely chopped,


seasoned with salt and pepper to taste.


Spread onto each round,


Then I topped them with either halved


and thinly sliced cucumber,


or salmon.


The sweets:


Petit fours


For 'cheater' petit fours, I used premade pound cake from Entenmann's. 


I cut the pound cake into fours.


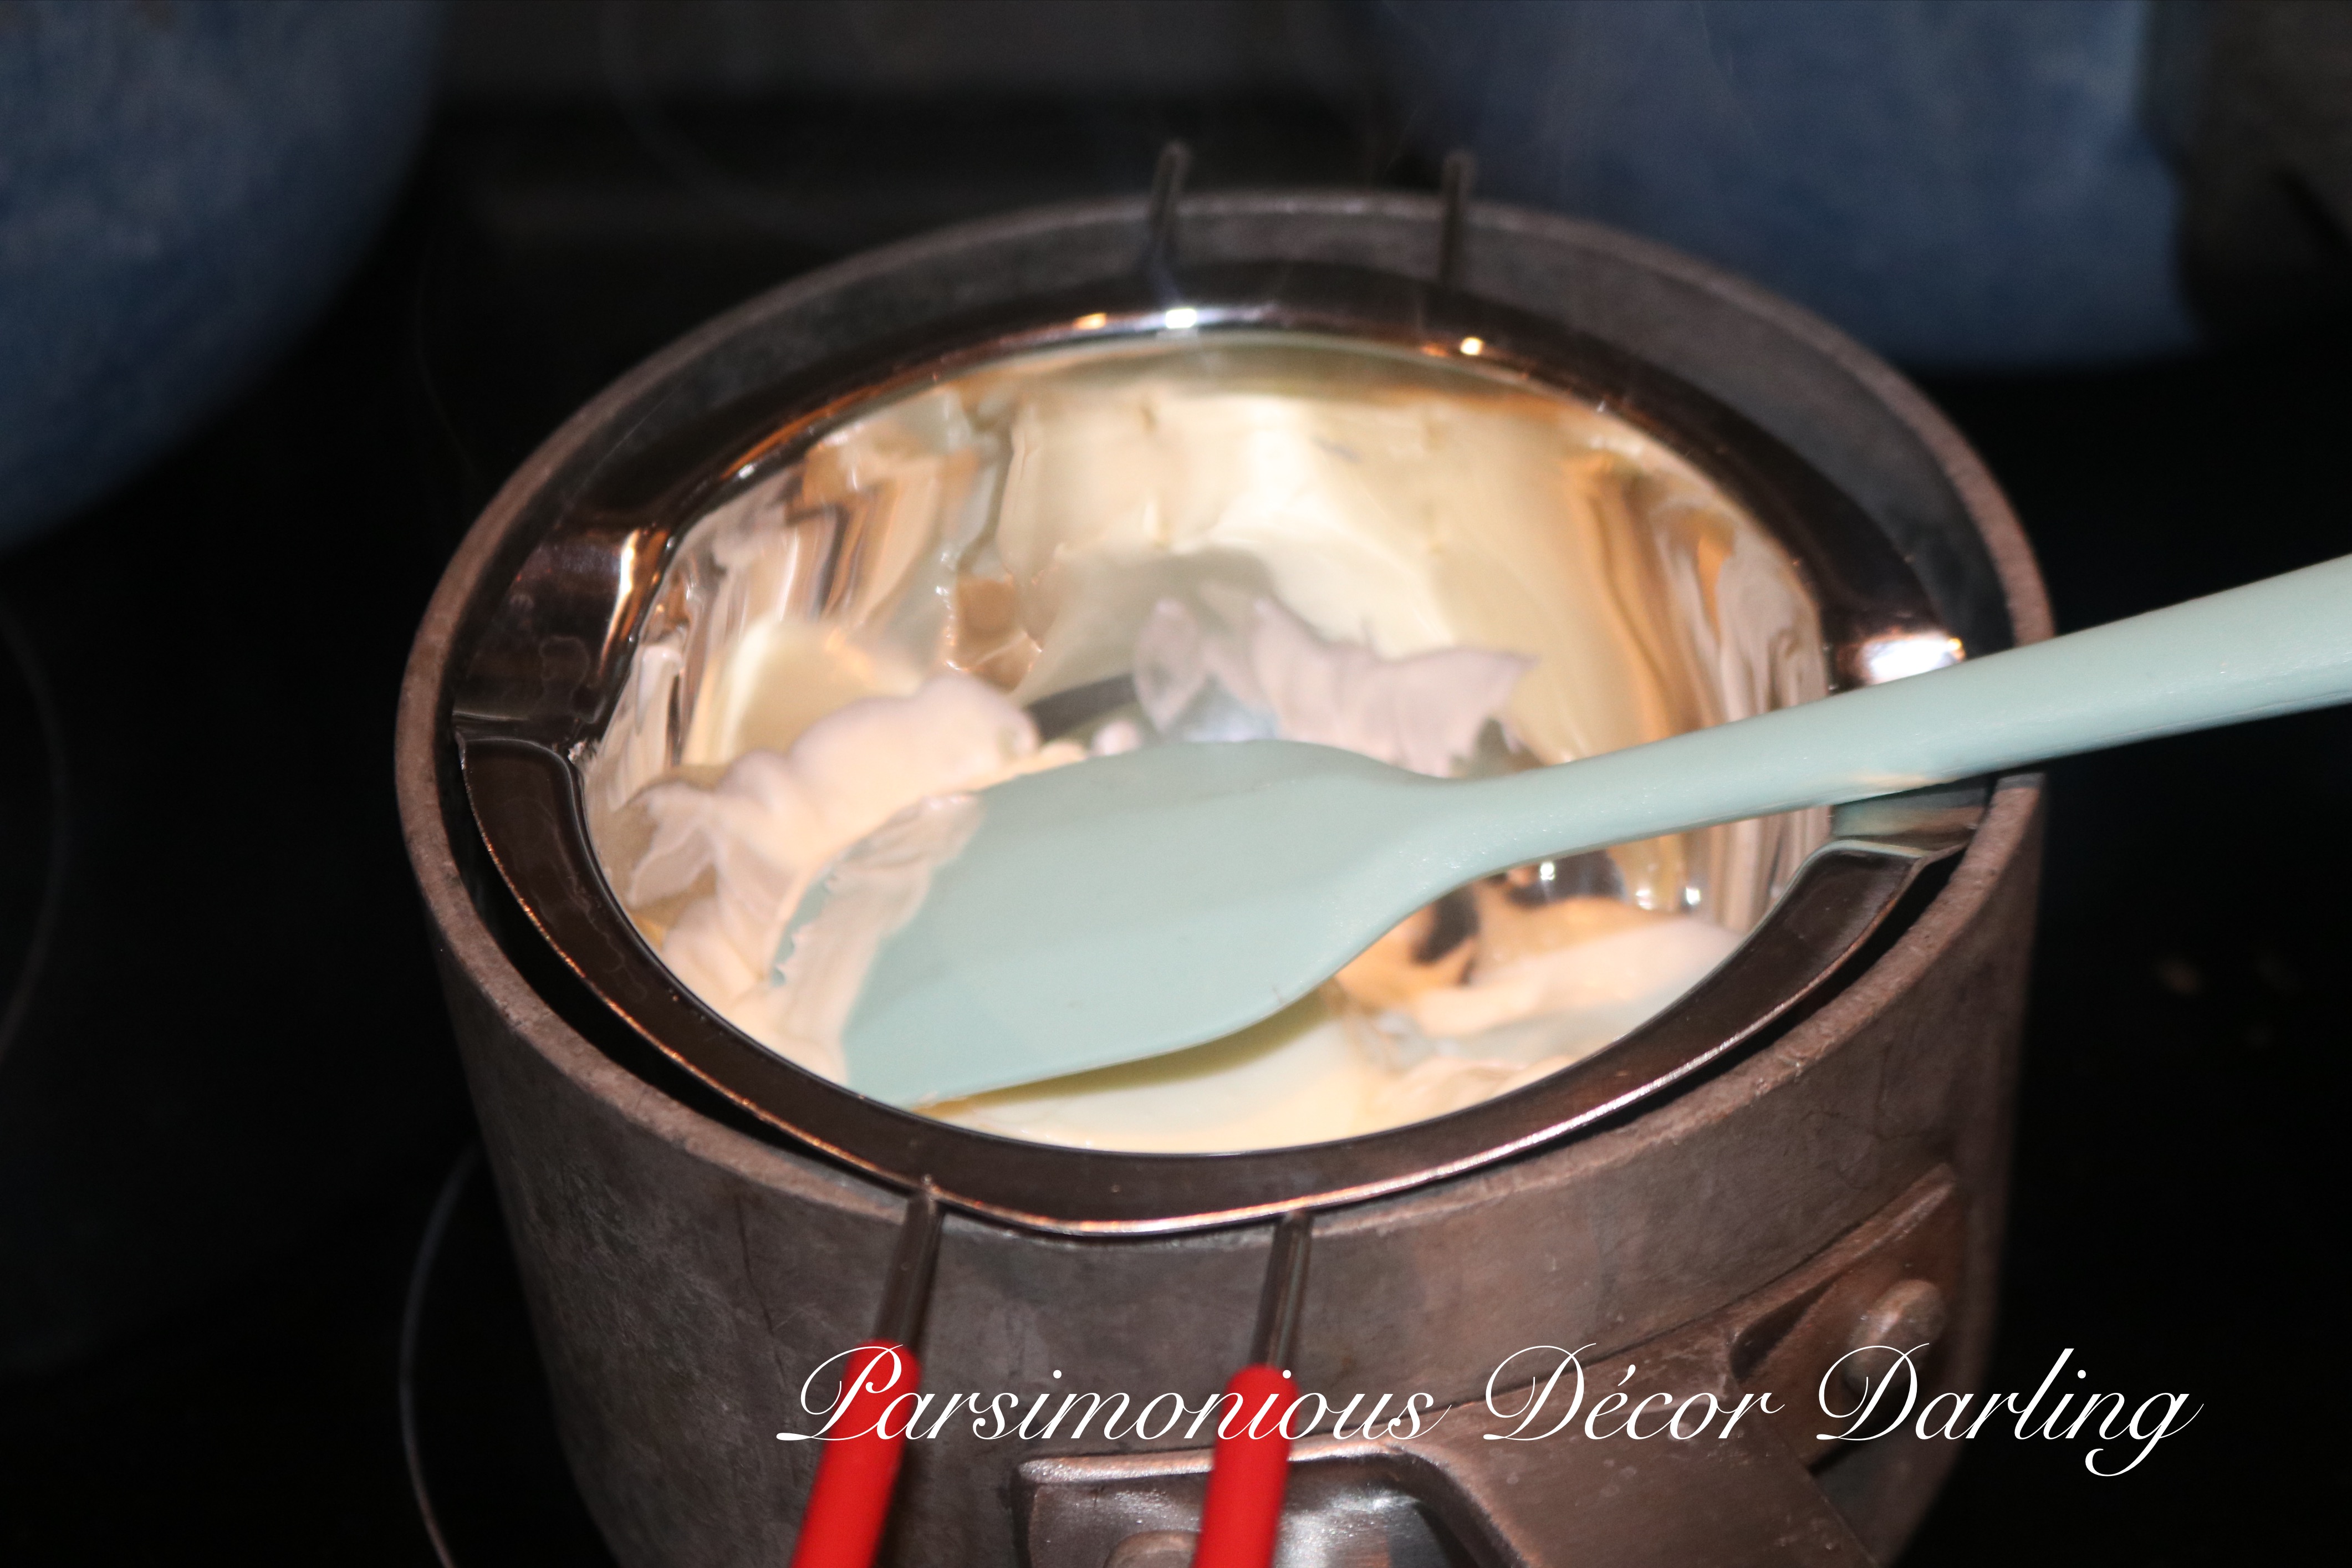
I melted vanilla flavored candy melts using a pot and double-boiler insert.


I added a bit of food coloring to some of the candy to make a pretty mint color as well.  If you try this process, be sure to add a little bit of shortening to the candy melts for a better flowing consistency; use sparingly, and do not add so much that it will affect the flavor.  Using a slotted candy spoon, I drizzled the melted candy over each piece of cake, and placed it on wax paper to cool.  I then placed the colored melted candy into a ziplock bag and cut the corner off; I drizzled a zig-zag design onto each little cake.  I repeated the process in the reverse so I ended up with one white cake with mint accents and one mint blue-green cake with white accents for each guest.  On each mint-colored cake, I dotted a bit of cookie icing.  I placed these in the fridge to set prior to serving.


Strawberry shortcakes


For cheater strawberry shortcakes, I also used premade pound cake.


First, I took the pound cake,


and cut it into two thin halves.


I cut these halves into rounds using my biscuit cutter.


Next, I spread a layer of whipped cream.


You can opt to make your own, but again, I cheated, lol, so I used premade.


Next, I laid thin slices of strawberries.


I capped each shortcake,


dolloped each top with whipped cream,


and added a quarter strawberry slice as garnish.


Complete setting.


Do you celebrate afternoon tea week, and what goodies do you enjoy?


Until we meet again,


--Y


From my collection:

Mint and gold-rimmed plates, Ralph Lauren Hampton's Tea Collection
White saucers, Haviland France Limoges Ranson and Marsielle Collections
Gold flatware, Wallace Silvermiths Antique Baroque Collection
White Cake stand, Ralph Lauren Pavilion Collection
Glass Cake stand, Bed, Bath, and Beyond Our Table Collection
Iridescent Teapot, Agyiuns, Amazon
Floral Teapot, Delton Blue Romance Collection
Fluted cup, Dicunoy, Amazon
Teapot favors, My Wedding Favors
Blue canister used as vase, Le Creuset 


If you enjoy this post, please visit the archives!  You may also visit my full profile to view my other blogs. Connect with me on my Facebook Page, Parsimonious Décor Darling.   You might like to visit my other blog hubs,

The Marvelous Maison, a lifestyle blog hub and 
Frugal Fab Fashionista, my fashion blog hub. 

Follow me on Pinterest!!  Please be sure to kindly follow the board guidelines!  Thank you!  

Thank you for stopping by! ❤