Showing posts with label Home Decorating. Show all posts

Saturday, February 22, 2025

Going Against the Grain: Part 2: Powder Room Update


Hello, friends in the blogsphere and beyond!!  Thank you for stopping in for a visit!  

Do you like to follow design trends, or are you a person who prefers to march to their own beat and decorate as you please?  I definitely am the latter.  Not to say that I don't like updating my space, or that I don't admire spaces that are modern, but this gal loves things that are storied and more often than not, something that is classic rather than something that is on-trend but also may fade quickly.  I still prefer books over reading from a tablet, or perusing a local antique for a collectible rather than looking at the trendiest catalogue.  

When I decorate my home, I try to keep a balance of combining things with history and modern elements so that my space is classic, but never dated.  

For a about a year and a half or longer, I have noticed a trend toward the mid-century modern.  I truly appreciate its clean lines and modern sensibility, however, it's really not my forte.  My eldest son literally pounced on this trend, as he has been a fan of it as well as the art-deco aesthetic for as long as I can remember...for certain as long as he's been an adult, lol.  Previously, he had had a hard time as a young twenty-something finding pieces he appreciated but within his budget.  Since the style has become popular, the world has opened up for him, items are available everywhere, not just in expensive antique stores, and I can live vicariously through his youthful, enthusiastic eyes.

I, however, stay in my lane, lol.

Not too long ago, I gave my powder room an update.  And though the cabinet color and tile choices may have coincided with what was considered to be on-trend at the time, by combining some classic elements, I believe it will endure a while past those trends.  As a matter of fact, trends for 2025 seem to be leaning toward the classic aesthetic, or at least the inclusion of some elements of classicism.  

If you have been here before, you may remember from the archives of my blog here where I gave the space a quick upgrade by applying fabric to the walls.  Here's a glimpse of the before and after:


It had been a few years since then, so last year during my blog's hiatus, I gave it another update.  Here are the results.

First, I chose paint and cabinet colors that I felt were calming.  I adore, adore blue, so of course I still chose its wonderful palette.

We decided to subway tile half of the wall.  Although the color is different, I still kept a cool blue hue on the walls.  This time, I chose a blue with greener undertones...more of a duck-egg or robin's egg color.


The dove grey drawers came from Ikea.


To add a bit of that classicism I so admire, used antique drawer pulls instead of new.  I think they add a sense of old world charm, and they match those I've placed in other rooms of the house as well, such as here in my kitchen remodel.  They are similar to Chippendale, and definitely elevate the plain Ikea drawers!  


All new tile in the shower, new oil-rubbed bronze showerhead, and new shelf.


The shower seat and floor has been tiled with a coordinating pebble tile.


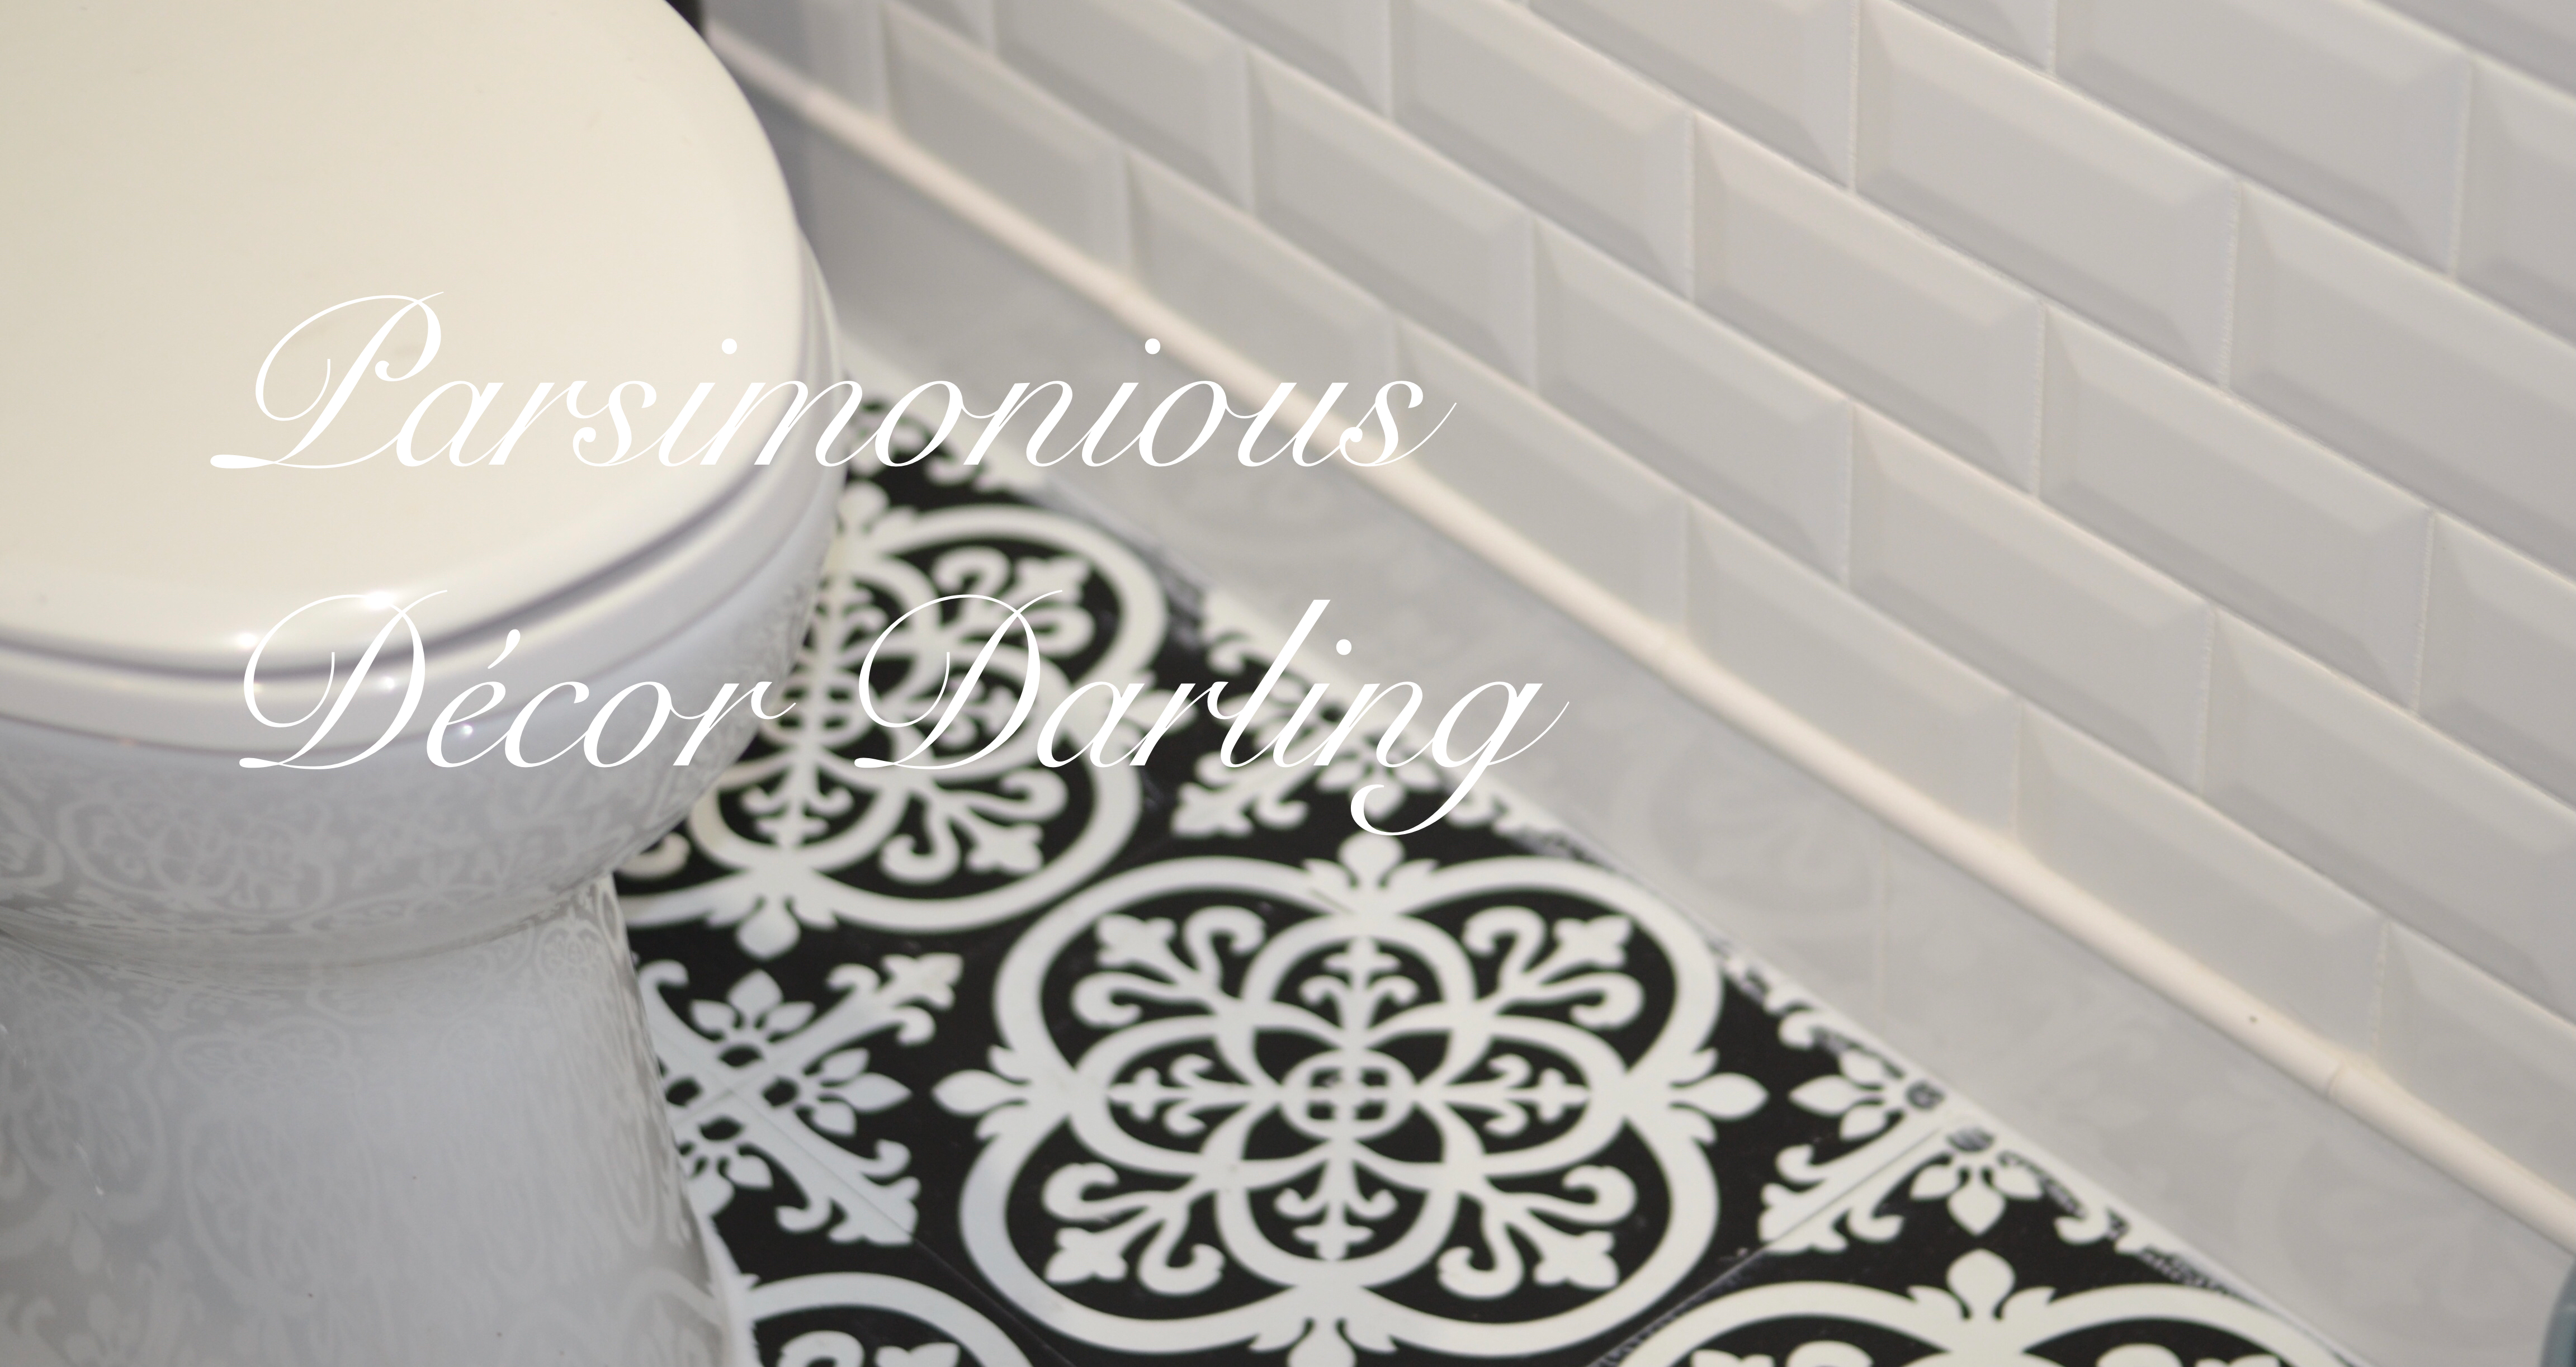
Updated flooring, from Hobby Lobby of all places!!


A closer look at the tile baseboard, which is also new.


I added a new shelf for toiletries and supplies.


I loved the scroll detail!


The shelf came from Horchow/Neiman Marcus.  You may view it here.  This photo is of the green version, but I ordered the antique brown.


I also changed out the mirror.  


I liked the detail, and the muted pewter color complimented the blue wall and greys in the marble tile.


The mirror came from Lowe's.  You may view it here.


I also added a new medicine cabinet.  I was delighted how this cabinet from Lowe's matched the grey cabinetry from Ikea almost perfectly!


To add a cohesive element, the medicine cabinet was also outfitted with an antique brass pull in lieu of the brushed nickel knob that was included.


Do you follow trend?


Until next time,

--Y


If you enjoy this post, please visit the archives!  You may also visit my full profile to view my other blogs. Connect with me on my Facebook Page, Parsimonious Décor Darling.   You might like to visit my other blog hubs,

The Marvelous Maison, a lifestyle blog hub and 
Frugal Fab Fashionista, my fashion blog hub. 

Follow me on Pinterest!!  Please be sure to kindly follow the board guidelines!  Thank you!  

Thank you for stopping by! ❤


Saturday, November 23, 2024

Adding Old World Charm to the Home/Antiquing the Doors


Hello friends, and thank you for visiting my blog!

What do you consider your design aesthetic?  Whence do you glean inspiration?  

Over the years, one of the aspects I have noticed about the world of design is that there is one constant.  It is NOT constant, lol.  Trends come.  Trends go.  Although I do enjoy the trends, in my personal space, I prefer classic, timeless design.  I adore a collected, storied look that transcends time and trend.  

I fancy homes that have an Old World aesthetic or those that exude European flair.  Though the name designated for Old World style has changed over time and includes several niche genres such as the straight-forward Old World, as well as Mediterranean, Spanish Colonial or Spanish Colonial Revival, Tuscan, Rustic, English Country, French Country, and the latest, Dark Academia...their commonality remains the same:  they include decorative items that sophisticatedly reflect a refreshed outlook of styles from times past.

In our tiny casita, we have adopted and adapted elements from many of these styles, and because that is so, I have endearingly termed my specific personal style European Hodgepodge.  

I love the look of rustic, all-wood doors reflected in the Old World manner and I wanted to have all wood doors throughout the interior of my home.  I have researched several.  Here are a few examples of some of the beautiful Spanish Colonial and/or rustic interior doors I considered.


Gorgeous.  From DeMejico designs.  You may see this door via their website here


Lovely.  The Puerta Seville, also from DeMejio.  You can see this one here.


Stunning.  From Santa Fe Doors.  You may view this door via their website here.


Although not really Old World, I like the understated elegance of this door from Wayfair.  You can view it on the Wayfair website here.  The price tag for this door is $445.12.


After much consideration and looking, I realized that replacing all of the doors in my house would be quite expensive, as I needed a total of 7 doors, or 8 if I wanted to also replace the door leading to the garage.  Most of the sites I viewed had doors priced starting at approximately $1,500.00 and up per door (with the exception being the aforementioned Wayfair option), or there was no pricing at all...which lead me to think the door would likely be extraordinarily expensive.  To replace all the doors would likely cost approximately $15,000 or up to $20,000 with installation.  WHEW!

Well, if you have been here before, you are aware that I like to improvise wherever I can and attempt to beautify with budget-friendly solutions, so I set about making over my existing doors rather than replacing them.  This method was a much more economical way to upgrade my doors, I still achieved the Old World aesthetic I admire, and all it required were a few supplies and a bit of labor from me.  SOLD!

The first door I made over was my pantry door.  This door was already a lovely door of natural wood, so I knew staining and adding hardware would make the door a stand-out piece.  


Here are a couple of photos of my pantry door before I went to work.  

This photo is from Halloween a few years ago.


This one Is from Christmas a few years back.  You may view the full tour in the archives of my blog here.  You can really see how plain the door was, ha.


To begin the makeover process of the pantry door, I took it off of the door frame and removed the hardware.

Next, I sanded the entire door, removing any debris and/or clear polyurethane on the door.

Once completely sanded, I stained the door using this beautiful dark stain I found by happenstance (at Walmart of all places!).  I loved the rich color!  It was $19.97 at Walmart, but you can likely find this stain at most hardware stores.  I opted to use the water-based version for faster drying time and easier clean-up.  I also chose this stain because it already contained a polyurethane finish, which alleviated the need to apply a clear coat after staining.


After I added several coats of stain (allowing dry time between each coat) using soft, clean rags until the door was to my liking,


I added some decorative hardware.  I added this speakeasy grille by Agave Ironworks.  I found it at Lowes for $132.30.  You can view it here.


I added some coordinating decorative clavos (nails) which were also from Agave Ironworks.  They were designated to use on a wood gate, but they worked fabulously on my door.  I found them at Lowe's as well.  They were $55.08 for a set of 20.  You can view them here


Adding the clavos.


Here is a look at the detail of the top of the door after I stained it and added the decorative hardware.  Please note that while I had the door off of its hinges, I also sanded and stained the inside of the door frame to match.


Completed pantry door.  Much better.  I love the way it turned out!  


Next, I set about staining the other doors in the house.  The rest of the doors were not wood, so this was a much more arduous task, and took a lot more work and patience.  Here is my process.  


The first of the remaining doors I renovated and stained was the door leading to my garage. Here is a look at the door leading to the garage before I went to work.


The door was plain white before I made it over.  On the reverse side of the door where my hubby has his workshop and where the laundry is, the door was quite dirty.  I used a magic eraser to clean the door prior to sanding.  


I gave the door a light sanding, then I used a universal primer before painting the door.  Next, I painted the door this golden-yellow color, which was close to a natural wood color.  The paint is from Sherwin Williams.


Allow time for the paint to dry completely.


Next, I used the same Kona stain to add a faux wood grain look by wiping on the stain lighter in some areas and darker in others.  This is the first coat.


A couple of coats on.  


Closer.  This task took several coats (approximately 5-8 coats per door or more, if I remember correctly) and hours, allowing for dry time between each coat, so as you can imagine, it took a long time, lol!  Eventually, I set up fans at each door to help the coats dry faster.  If you attempt this process, stain until your liking.


Almost there...just a few more coats!


Completed garage door, as shown last Christmas.  You can see the post, My Tartan and Winterberry Christmas in the archives of my blog here.


Here some of the other doors dressed up.  These photos are from last year as well.  All of these can be seen here on the same post.


Pantry door, dressed.


Some of the hallway doors, dressed for the season (hmm...mental note, need to clean up the finish on the door casing, lol).


Detail.  So much better than stock white!


If you have made it thus far, thank you!  If you have enjoyed this tutorial, you may pin any of the photos or this long pin.


Thank you for visiting this post!  Are you prepping for the holiday this week?  

Until next we meet, 

--Y


If you enjoy this post, please visit the archives!  You may also visit my full profile to view my other blogs. Connect with me on my Facebook Page, Parsimonious Décor Darling.   You might like to visit my other blog hubs,

The Marvelous Maison, a lifestyle blog hub and 
Frugal Fab Fashionista, my fashion blog hub. 

Follow me on Pinterest!!  Please be sure to kindly follow the board guidelines!  Thank you!  

Thank you for stopping by! ❤


Thursday, March 16, 2023

Simple Shenanigans for Saint Patrick's Day


Hello, all!  I hope everything is well with you and yours.  Thank you for popping in to spend a quick moment.  Today, I am sharing a few simple decorating ideas I utilized to make my home festive for Saint Patrick's Day.  I hope you enjoy!  


If you have been to my blog before, you are aware that I usually like to start my holiday décor from the front doors of the house, working my back way from there.  It gives visitors and family a fun first impression, and also indicates the shenanigans that might ensue inside!


This time, I chose simple handmade wreaths made of mesh, bowler hats, shamrocks, and ribbon.


Closeups of both.


Right.


Left.


If you would like the full tutorial of how I put these goodies together, you may visit my post on my other blog The Crafting Table here.


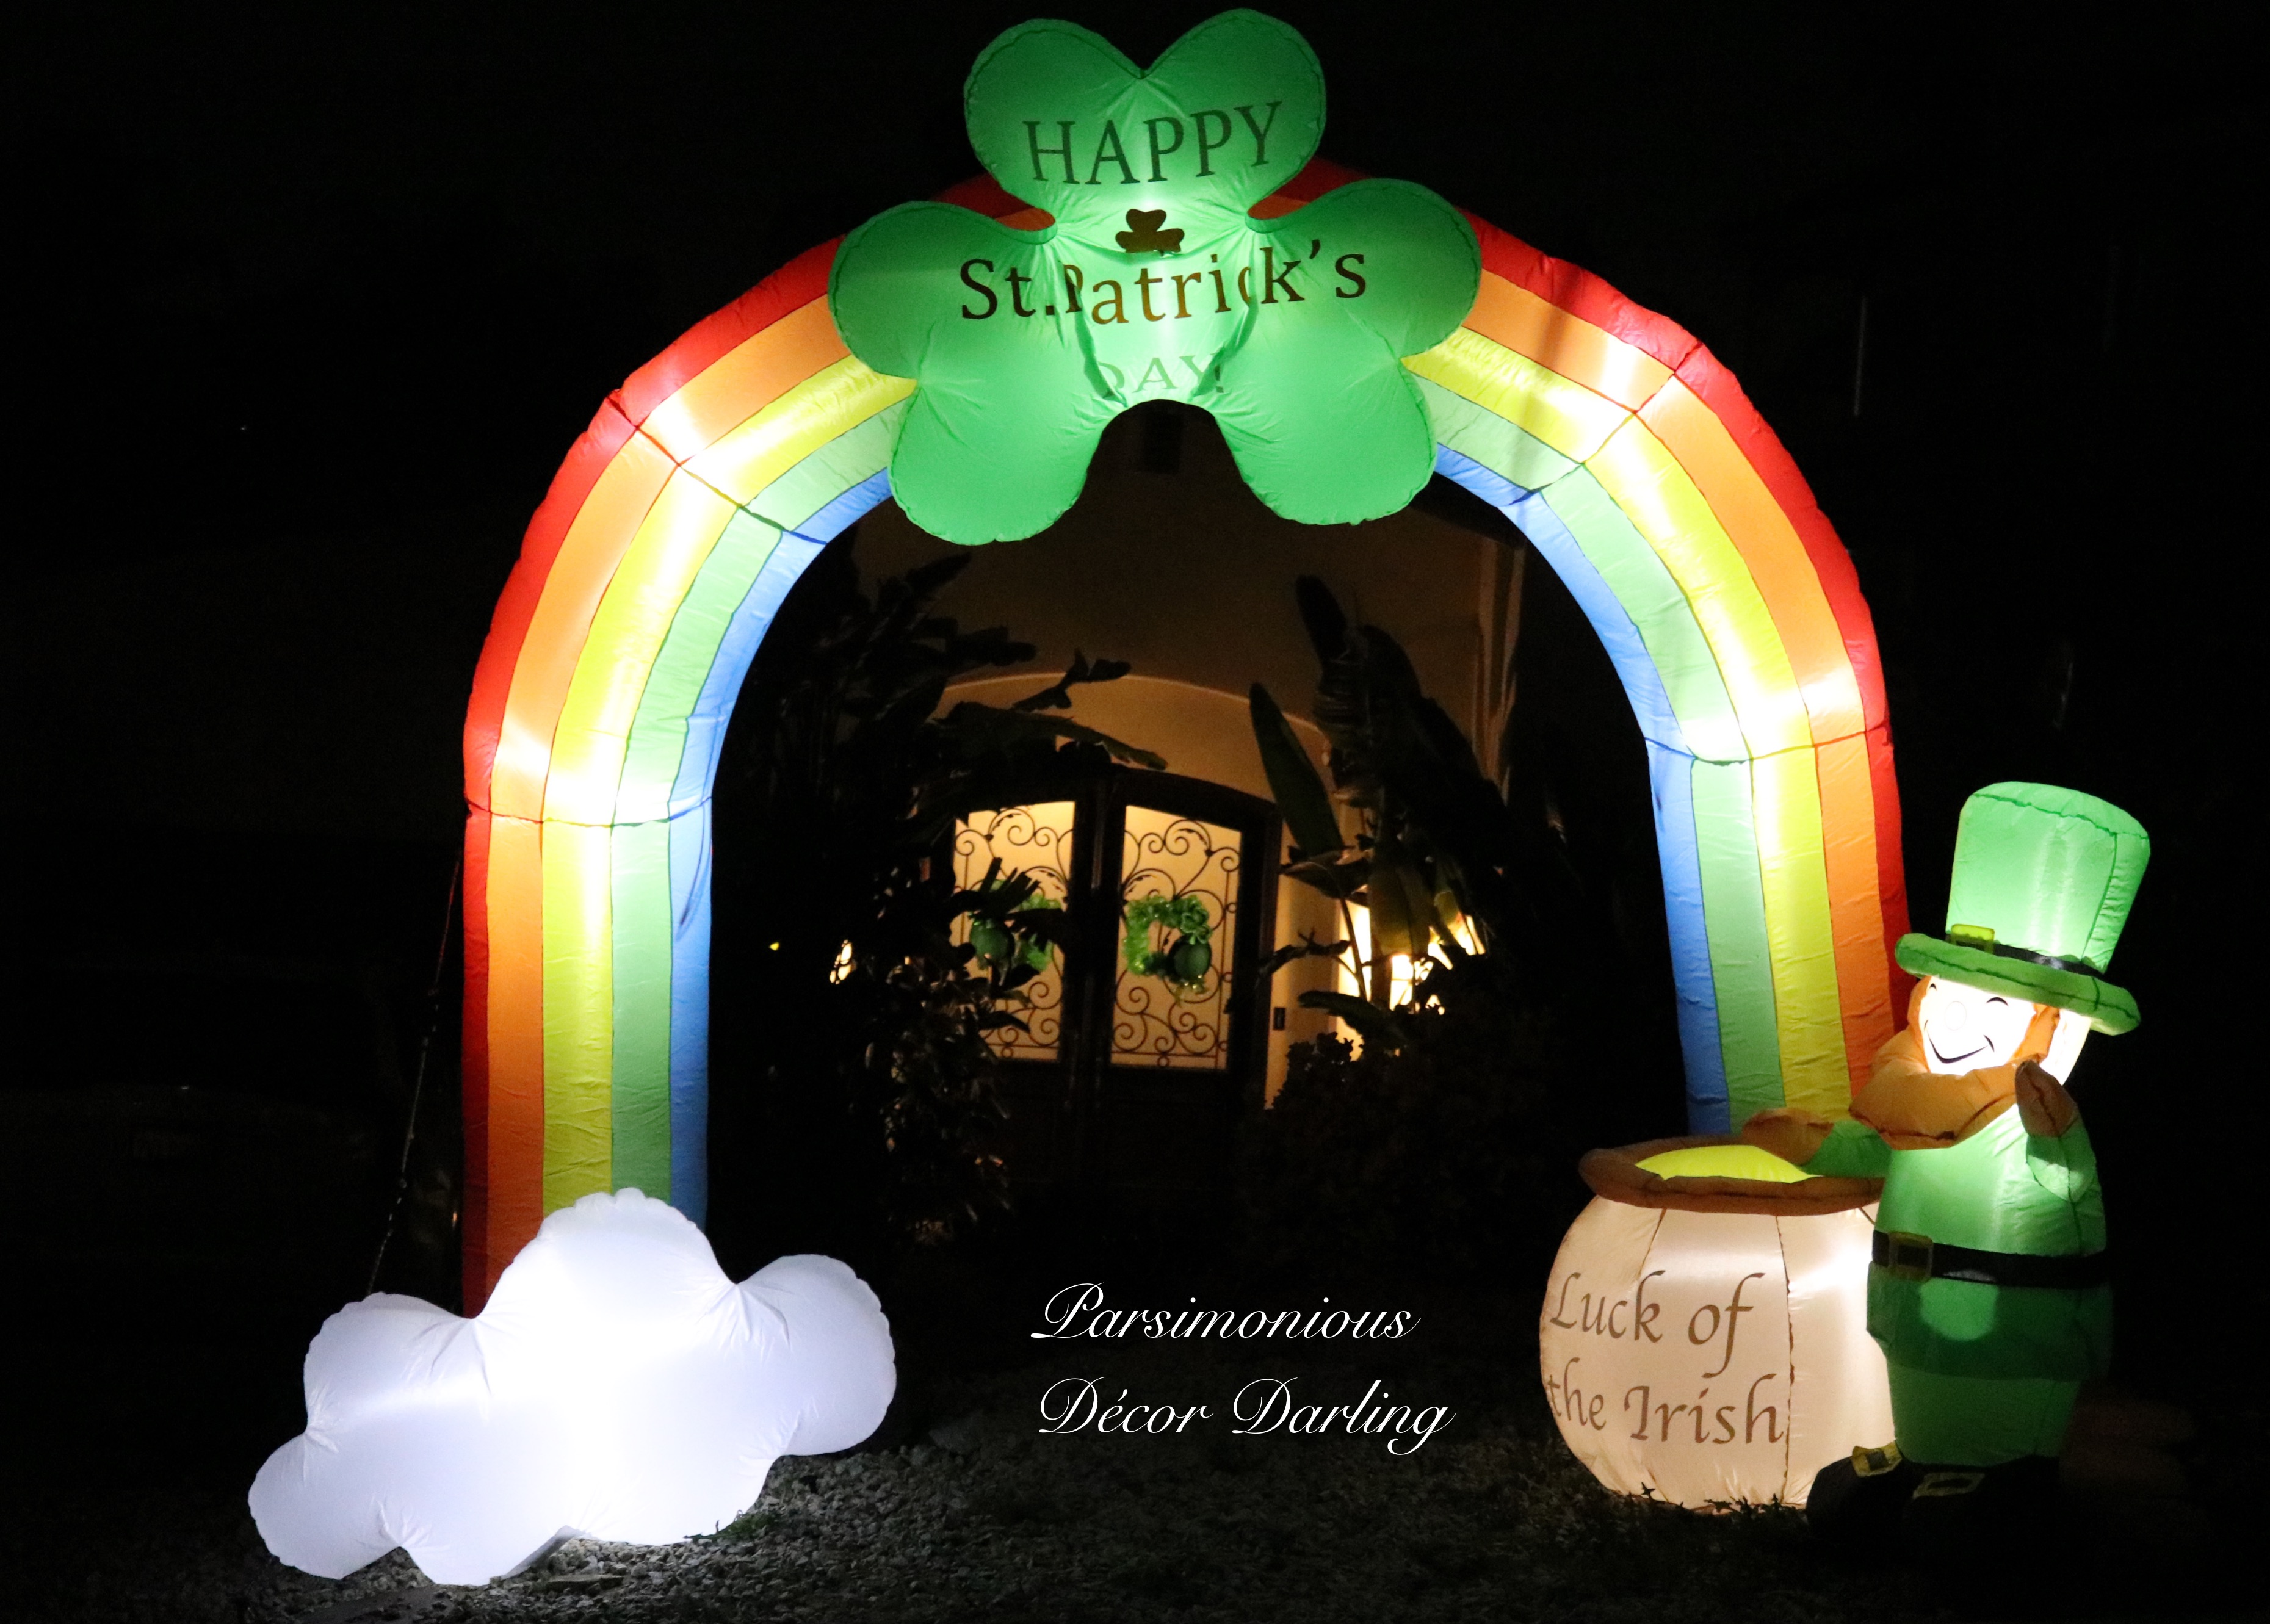
If my doors do not indicate malarkey and shenanigans, certainly this fun blow-up does.  An extra-large blow-up is kitschy, for sure...but they are such a delight, and so easy!  Just plug in, and allow to self-inflate!!


Isn't he presh??!


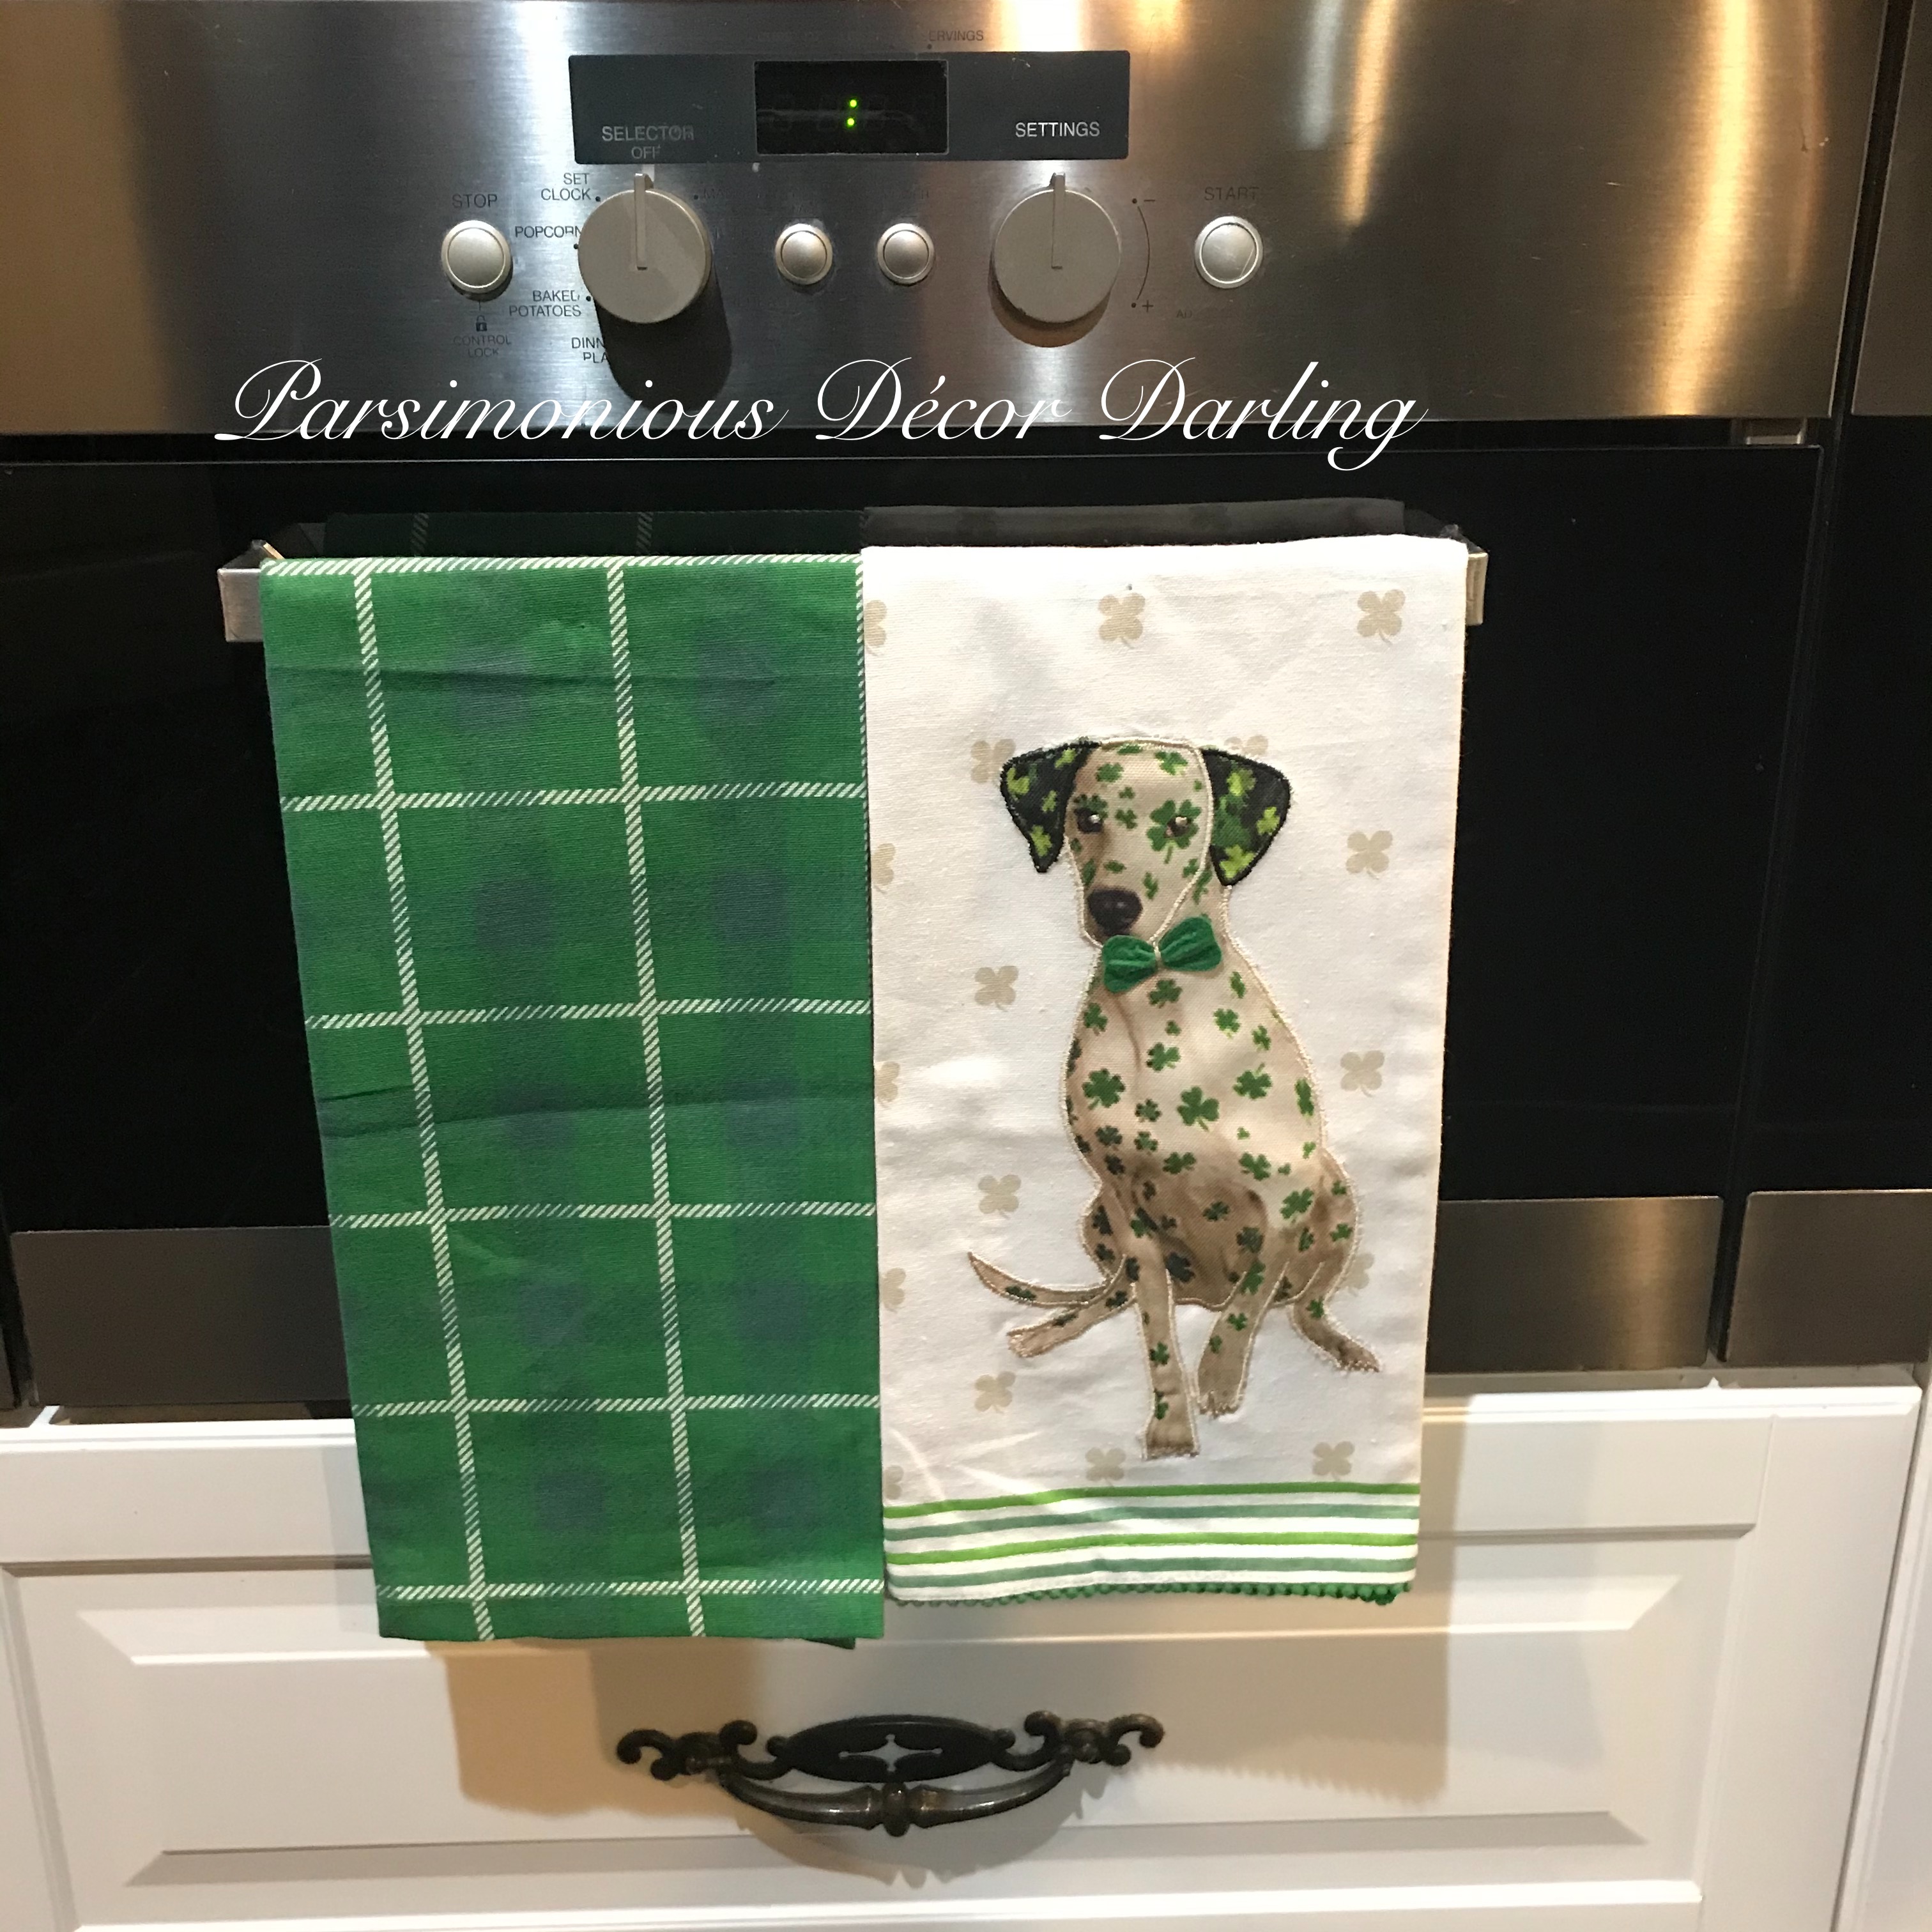
In the house, I also change out the linen in the kitchen.  This time around, I used these adorable themed towelettes with handsome pooches...and any combination works!


Pompous Prince.


Dapper Dalmatian.


Two sweet poochies


I hope you enjoyed these simple tips and that you had a fun, festive Saint Patrick's Day filled with love and laughter!


Until next we cross,

-Y

From my collection:
Towels, HomeGoods
Giant Blow-Up, Amazon


If you enjoy this post, please visit the archives!  You may also visit my full profile to view my other blogs. Connect with me on my Facebook Page, Parsimonious Décor Darling.   You might like to visit my other blog hubs,

The Marvelous Maison, a lifestyle blog hub and 
Frugal Fab Fashionista, my fashion blog hub. 

Follow me on Pinterest!!  Please be sure to kindly follow the board guidelines!  Thank you!  

Thank you for stopping by! ❤